Rowing Machine Setup: Upgrading Gold's Gym Treadmill Older Models
Transition from Gold's Gym treadmill older models to a modern rower with our complete buying guide, technique tips, and physical setup walkthrough.

Many home gym owners in 2026 are actively re-evaluating their cardio footprint. If you are holding onto Gold's Gym treadmill older models—like the ubiquitous Strider 1000, the GG 510 series, or the early 2010s TRM units—you likely know the mechanical pain points: degraded MDF deck cushioning, failing DC motor control boards, and a high-impact stride that no longer serves your aging joints. Upgrading to a rowing machine is the smartest pivot for sustainable, full-body home cardio. This guide covers the transition, providing a complete rowing machine buying guide, a biomechanical technique breakdown, and a physical setup and installation walkthrough to get your new machine running flawlessly.
Why Retire Gold's Gym Treadmill Older Models?
Older budget-friendly treadmills were built for walking and light jogging, not sustained athletic conditioning. After 7 to 10 years of use, the 1.5 to 2.0 CHP motors in these legacy machines often overheat, and the plastic drive gears strip under heavy loads. Furthermore, treadmills only engage the lower body. According to the Mayo Clinic's aerobic exercise guidelines, incorporating full-body, low-impact movements is critical for long-term cardiovascular health and joint preservation.
| Feature | Gold's Gym Treadmill (Older Models) | Modern Air/Magnetic Rower |
|---|---|---|
| Muscle Engagement | Lower body only (~40%) | Full body (86% of muscle mass) |
| Joint Impact | High (2-3x body weight per step) | Zero impact (seated, fluid motion) |
| Storage Footprint | ~70' x 30' (Heavy, awkward to fold) | ~107' x 24' (Splits or stands vertically) |
| Maintenance | Belt lubrication, deck waxing, motor dusting | Rail wiping, occasional chain oiling |
The 2026 Rowing Machine Buying Guide
When replacing a bulky treadmill, you want a rower that offers commercial-grade durability without monopolizing your living space. Here are the top tiers to consider based on resistance type:
1. Air Resistance: The Gold Standard
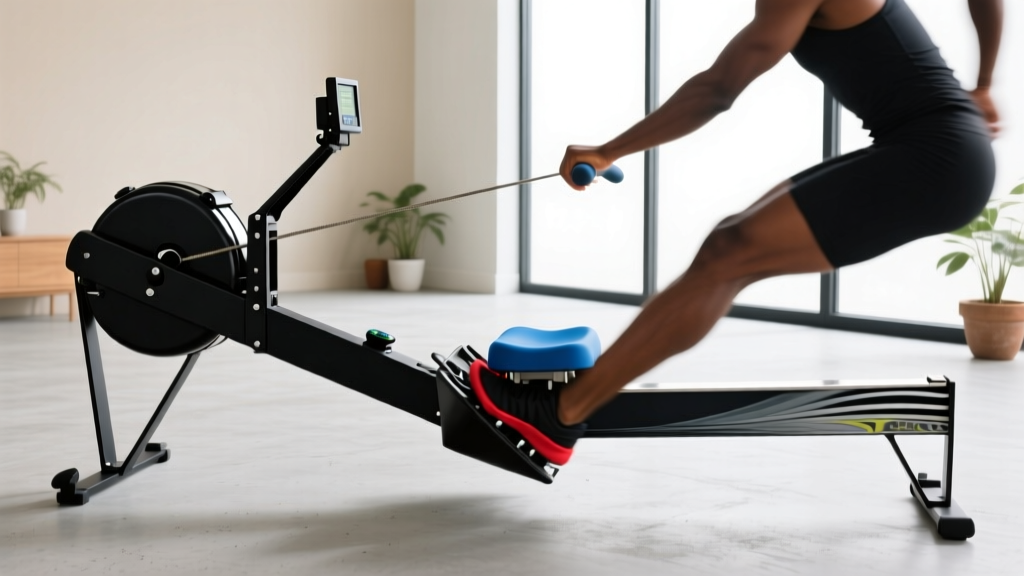
The Concept2 RowErg (formerly Model D) remains the undisputed king of home and CrossFit gym rowing. Priced around $999, it uses a flywheel fan to create dynamic resistance—the harder you pull, the more drag it generates. It features a 14-inch seat height, a nickel-plated steel chain, and the PM5 monitor, which tracks exact wattage and drag factor (aim for a damper setting of 3-5 for optimal aerobic conditioning).
2. Water Resistance: The Aesthetic Choice
The WaterRower Natural Oak (~$1,299) uses a polycarbonate water tank and wooden paddles to simulate the feel of a boat on water. It is significantly quieter than air rowers and stands upright on its end, taking up just 22 square inches of floor space. The resistance scales with your stroke rate, but it lacks the granular digital telemetry of air rowers.
3. Magnetic Resistance: The Smart Tech Option
If you miss the digital screens of your old treadmill, magnetic rowers like the NordicTrack RW900 (~$1,199) offer silent operation and 26 levels of precise resistance. These are ideal for users who want guided, instructor-led classes via integrated touchscreens, though they require a continuous Wi-Fi connection and monthly subscription fees.
Pro Tip: Space PlanningBefore unboxing, measure your space. A standard Concept2 requires a 107-inch length and 24-inch width during use. Always leave at least 18 inches of clearance behind the fan cage for safe air intake and exhaust.
Complete Setup and Installation Walkthrough
Unlike Gold's Gym treadmill older models, which often required two people and an hour of frustrating belt-aligning, modern rowers are remarkably straightforward to assemble. Here is the step-by-step installation walkthrough for a standard two-piece monorail rower (like the Concept2 or similar air models).
- Prepare the Foundation: Do not place your rower directly on hardwood or carpet. Lay down a 3/8-inch high-density EVA foam equipment mat (minimum 110' x 30'). This dampens the acoustic vibration of the fan cage and protects your floor from sweat corrosion.
- Unbox and Inspect: Remove the front cage assembly and the rear monorail. Verify you have the 10mm hex bolts, lock washers, and the included 10mm Allen wrench.
- Mate the Monorail: Slide the rear rail into the front cage receiver. Align the pre-drilled holes. Insert the four 10mm hex bolts with lock washers. Crucial Step: Tighten them in a star pattern (top-left, bottom-right, top-right, bottom-left) to ensure even pressure distribution and prevent the rail from warping.
- Attach the Front Stabilizer: Bolt the front footplate to the base using the 13mm socket bolts. Ensure the leveling feet are screwed all the way in before placing the machine on the floor.
- Level the Machine: Sit on the seat and roll to the back of the rail. If you feel any lateral wobble, adjust the threaded rubber leveling feet on the front and rear stabilizers until the machine is dead-flat.
- Connect the Telemetry: Plug the PM5 monitor cable into the underside of the flywheel housing. Secure the excess wire with the provided velcro strap to prevent it from catching in the chain drive.
Mastering the Technique: The 4-Phase Stroke
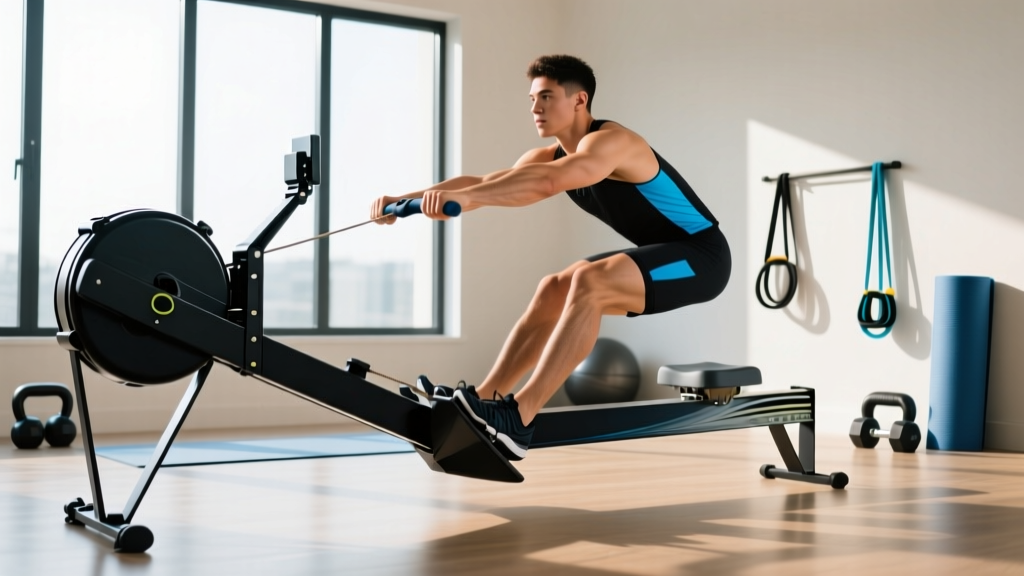
Transitioning from a treadmill requires a complete neuromuscular rewiring. Treadmill running is passive and rhythmic; rowing is an active, power-driven sequence. According to Concept2's official technique guide, the stroke is broken into four distinct phases. A common beginner failure mode is 'shooting the slide'—pushing with the legs before engaging the core, which places dangerous shear force on the lumbar spine.
1. The Catch
- Position: Shins vertical (no further), arms straight, torso hinged forward at 11 o'clock.
- Tension: Lats engaged, core braced as if preparing for a punch.
2. The Drive (Power Phase)
- Sequence: Legs push first (60% of power), then the hips hinge open (30% of power), and finally the arms pull to the sternum (10% of power).
- Handle Path: The handle must travel in a perfectly straight horizontal line back to the lower ribs.
3. The Finish
- Position: Legs fully extended, torso leaned back to 1 o'clock, handle resting lightly against the lower chest.
- Pause: A micro-pause here allows the flywheel to spin freely before the return.
4. The Recovery (Return Phase)
- Sequence: The exact reverse of the drive. Arms extend first, torso hinges forward to 11 o'clock, and only then do the knees bend to slide back to the catch.
- Timing: The recovery should take twice as long as the drive (a 1:2 ratio).
'The rowing machine is a brutally honest piece of equipment. It does not allow you to hide poor mechanics or momentum. Master the sequence, and you will build a posterior chain of steel.' — Biomechanics Coaching Staff, American Council on Exercise (ACE)
Maintenance & Longevity
One of the primary reasons users abandon Gold's Gym treadmill older models is the tedious maintenance: belt centering, silicone lubrication, and vacuuming motor dust. Rowers are vastly superior in this regard. To keep your new machine in peak condition for the next decade:
- Daily: Wipe down the stainless steel monorail with a damp microfiber cloth and a mild glass cleaner. Never use abrasive scrubbers, as scratches on the rail will destroy the seat rollers.
- Weekly: Inspect the bungee cord inside the chain housing for fraying. Ensure the chain is free of dust.
- Every 50 Hours: Apply 1-2 teaspoons of purified mineral oil to a paper towel and pull it along the entire length of the nickel-plated chain. Wipe off the excess. Never use WD-40 or 3-in-One oil, as they attract grit and degrade the internal o-rings.
By retiring your legacy treadmill and properly installing a modern rower, you are upgrading from a high-impact, lower-body isolator to a sustainable, full-body conditioning engine. Follow this setup walkthrough, respect the 4-phase stroke, and your home gym will serve you efficiently well into the future.
More gear to consider
All reviews
Walking Pad vs Treadmill: Mistakes During an Hour on the Treadmill
Rowing Machine Guide & Technique: Surge Protector for Treadmill Tips

Noise Comparison Guide: Quiet Treadmill Exercises for Belly Fat

Walking Pad vs Treadmill: Are Treadmills Bad for You?

Elliptical vs Treadmill: Space Layouts & WPPRO Folding Treadmill
