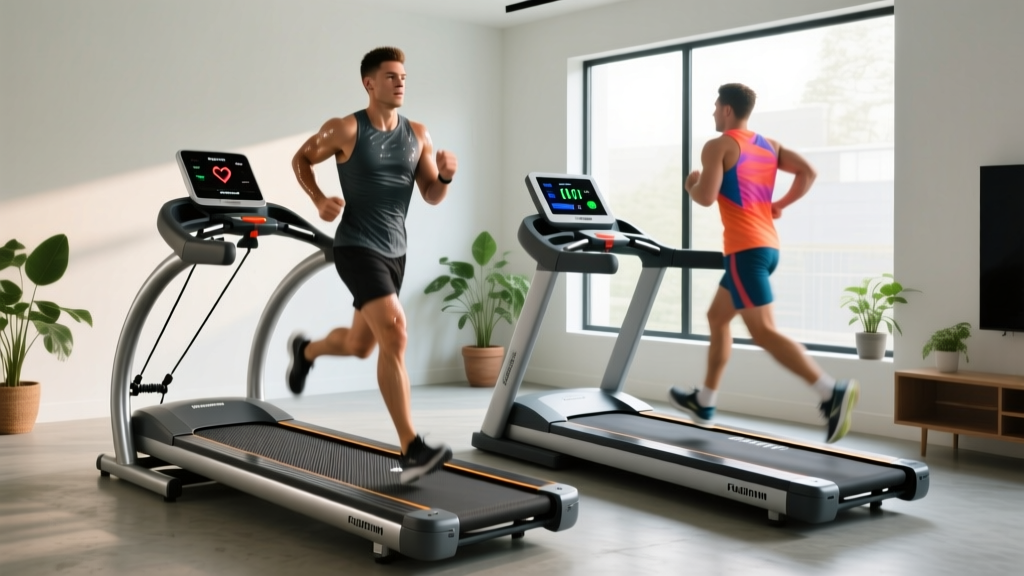
Ditching the Treadmill Routine 12 3 30: Rowing Machine Setup Guide
Transition from the treadmill routine 12 3 30 to rowing. Expert buying guide, technique breakdown, and complete setup walkthrough for home rowers.

The viral treadmill routine 12 3 30 (12% incline, 3 mph, 30 minutes) took the fitness world by storm, offering a straightforward low-intensity steady-state (LISS) cardio protocol that required zero technical skill. While it remains a staple for many, a growing number of home gym enthusiasts in 2026 are experiencing plateauing results, lower back stiffness, and overuse injuries in the calves and Achilles tendons from the constant steep incline. The solution? Pivoting to the rowing machine. Rowing provides a superior full-body stimulus, engaging 86% of your musculature while eliminating the high-impact joint stress associated with prolonged treadmill walking.
This comprehensive guide will walk you through why transitioning away from the 12-3-30 treadmill trend is a smart move, how to select the right ergometer, and provide a meticulous, step-by-step setup and installation walkthrough to get your home rowing station dialed in perfectly.
The Limits of the 12-3-30 Treadmill Trend
Walking at a 12% grade at 3 mph for 30 minutes burns roughly 300 to 400 calories, depending on body weight. It is an excellent zone 2 cardio stimulus. However, as noted by biomechanics experts at the American Council on Exercise (ACE), repetitive steep-incline walking places continuous eccentric load on the gastrocnemius and soleus muscles, often leading to Achilles tendinopathy in unconditioned users. Furthermore, it completely neglects the upper body and posterior chain.
Rowing, conversely, demands coordinated power output from the legs, core, and upper back, resulting in a higher caloric expenditure (400 to 600+ calories in 30 minutes) and a more balanced muscular development profile.
| Metric | Treadmill Routine 12 3 30 | Standard Rowing Ergometer |
|---|---|---|
| Muscle Engagement | Lower body (Calves, Quads, Glutes) | Full Body (86% of musculature) |
| Joint Impact | Low impact, high Achilles strain | Zero impact, high core stabilization |
| Caloric Burn (30 min) | ~300 - 400 kcal | ~400 - 650 kcal |
| Posterior Chain Focus | Minimal | High (Lats, Rhomboids, Hamstrings) |
| Floor Footprint | ~18 sq ft (70' L x 30' W) | ~36 sq ft (108' L x 48' W) |
The 2026 Rowing Machine Buying Framework
Before you can set up your machine, you must choose the right resistance profile. The market has consolidated around three primary resistance types, each with distinct price points and maintenance requirements.
1. Air Resistance (The Gold Standard)
Air rowers use a flywheel with fan blades. The harder you pull, the more resistance is generated. The undisputed king of this category is the Concept2 RowErg (priced at $1,095 for standard legs, $1,295 for tall legs). It is the universal standard for competitive rowing and CrossFit, offering unparalleled durability and a PM5 monitor that tracks exact wattage and drag factor. The Rogue Echo Rower ($1,395) is a premium alternative with a belt-drive system that operates significantly quieter than Concept2's chain drive.
2. Magnetic Resistance (The Quiet Option)
Magnetic rowers use electromagnets to brake the flywheel. They are virtually silent, making them ideal for apartments or shared living spaces. However, the resistance curve feels less dynamic than air. Models like the NordicTrack RW900 ($1,199) pair magnetic resistance with large HD touchscreens for interactive coaching.
3. Water Resistance (The Aesthetic Choice)
Water rowers feature a polycarbonate tank filled with water, providing a realistic 'catch' feel and a soothing swoosh sound. The Hydrow Arc ($2,495) and various WaterRower models ($1,200 - $1,800) dominate this space. They require periodic water purification tablets to prevent algae buildup but offer a beautiful, furniture-like aesthetic.
Complete Setup and Installation Walkthrough
Proper installation is critical for safety, accurate telemetry, and machine longevity. Follow this exact walkthrough for setting up a standard air or magnetic ergometer in your home gym.
Phase 1: Space Allocation and Flooring
- Dimensions: Clear a space measuring at least 9 feet long by 4 feet wide. You need clearance behind the machine for the slide rail and monitor visibility.
- Subfloor Protection: Do not place the rower directly on hardwood or carpet. Purchase a 3/8-inch thick rubber horse stall mat (typically 4x6 feet, costing around $50-$70). This absorbs vibration, prevents the machine from creeping during high-wattage sprints, and protects your floor from sweat corrosion.
Phase 2: Unboxing and Assembly
- Stabilizer Attachment: With the help of a second person, lift the main rail assembly. Align the front stabilizer feet with the mounting holes. Insert the M8 hex bolts and tighten using a 14mm wrench. Crucial: Do not fully tighten until all four feet are flush with the floor.
- Monitor Arm Installation: Slide the monitor arm into the receiver tube on the flywheel housing. Secure it with the provided quick-release pin or thumb screw. Ensure the hinge joint moves smoothly but holds tension when angled.
- Leveling the Machine: Place a torpedo level on the main steel rail. Adjust the threaded leveling feet on the front stabilizer until the bubble is perfectly centered. An unlevel rail will cause the seat carriage to drift, leading to premature wear on the polyurethane wheels.
- Chain/Belt Inspection: For chain-driven models like the Concept2, run your fingers along the nickel-plated steel chain. It should feel slightly lubricated from the factory. If it feels dry, apply 10 drops of purified mineral oil immediately.
⚠️ Warning: Damper Setting Misconception
Do not set the damper lever to 10. According to Concept2's official guidelines, a setting of 10 simulates rowing a heavy, slow wooden boat. For the most accurate simulation of a sleek racing shell and optimal aerobic conditioning, set the damper between 3 and 5. Check your PM5 monitor's 'Drag Factor' menu; aim for a drag factor between 110 and 130.
Technique Mastery: The Stroke Sequence
Unlike the 12-3-30 treadmill routine, which requires zero learning curve, rowing demands technical proficiency. The stroke is divided into four distinct phases. The power distribution should always follow a 60% legs, 30% core, 10% arms ratio.
- The Catch: Shins are perfectly vertical (not compressed past the ankle). Arms are straight, shoulders relaxed, and the torso is hinged forward at an 11 o'clock angle. The heels may lift slightly.
- The Drive: Initiate the movement by driving through the heels. The arms remain completely straight until the legs are 80% extended. Only then does the core swing open to 1 o'clock, followed finally by the arms pulling the handle to the lower sternum.
- The Finish: Legs are fully extended, core braced at 1 o'clock, and the handle is resting just below the pectorals. Elbows are drawn back and down.
- The Recovery: The exact reverse of the drive. Extend the arms, hinge the torso back to 11 o'clock, and only then allow the knees to bend, sliding the seat back to the catch. The recovery should take twice as long as the drive (a 1:2 stroke ratio).
Long-Term Maintenance and Failure Modes
To ensure your investment lasts a lifetime, implement this preventative maintenance schedule:
- After Every Session: Wipe down the stainless steel slide rail with a damp paper towel. Sweat and dust create a gritty paste that will pit the rail and flatten the seat wheels over time.
- Every 50 Hours: Lubricate the drive chain with purified mineral oil or 3-in-One oil. Never use WD-40, as it is a solvent that will strip existing lubrication and attract dust.
- Annually: Inspect the bungee return cord. If the handle fails to retract briskly to the cage, the internal bungee cord has lost tension or is fraying. Replacement kits cost under $15 and take 10 minutes to install.
Frequently Asked Questions
Can I replicate the 12-3-30 cardio zone on a rower?
Yes. To replicate the steady-state Zone 2 heart rate stimulus of the treadmill routine 12 3 30, set your rower to a drag factor of 115 and aim for a consistent stroke rate of 18-20 strokes per minute (SPM) with a moderate split (e.g., 2:15 - 2:30 / 500m). This will keep your heart rate in the 120-140 BPM range for a 30-minute session.
Is a rower better for lower back pain than an incline treadmill?
If your lower back pain stems from tight hip flexors and weak glutes (common in desk workers), rowing can actually rehabilitate the posterior chain. However, if you have active lumbar disc herniations, the repetitive flexion-extension of rowing may aggravate it. In such cases, the 12-3-30 treadmill walk remains the safer, albeit less comprehensive, option.
How loud are air rowers compared to treadmills?
Air rowers generate a 'whoosh' sound that peaks around 70-75 decibels at high stroke rates, which is roughly equivalent to a vacuum cleaner. While louder than magnetic rowers, they lack the heavy, rhythmic thumping bass of a treadmill motor and footfalls, making the noise less likely to vibrate through floor joists to downstairs neighbors.
More gear to consider
All reviews
AoraPulse Treadmill Reviews: Motor Size & Setup Walkthrough

Small Space Folding Treadmills vs MrBeast Treadmill Challenge
Winfita Treadmill Reviews: 2026 Noise Level Head-to-Head Test

Air Bike vs Assault Bike Care: Beyond the ProForm Treadmill Manual
Elliptical vs Treadmill: Is a Self-Moving Treadmill Better?