Treadmill Removal to Rowing: Buying Guide & Technique Mistakes
Upgrading your gym? Navigate treadmill removal costs and avoid common rowing machine buying and technique mistakes with our 2026 expert troubleshooting guide.

The True Cost of Treadmill Removal and Upgrading
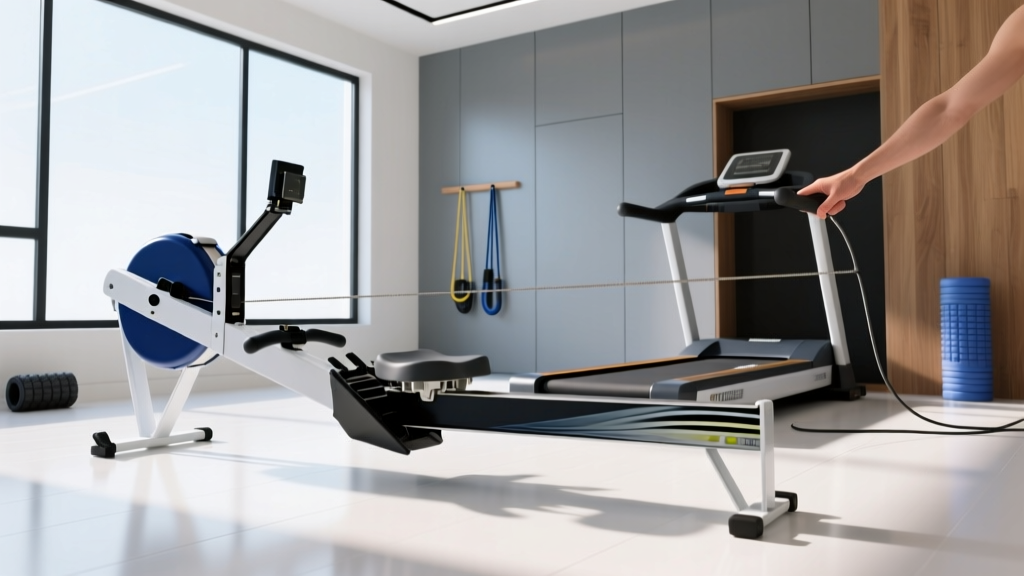
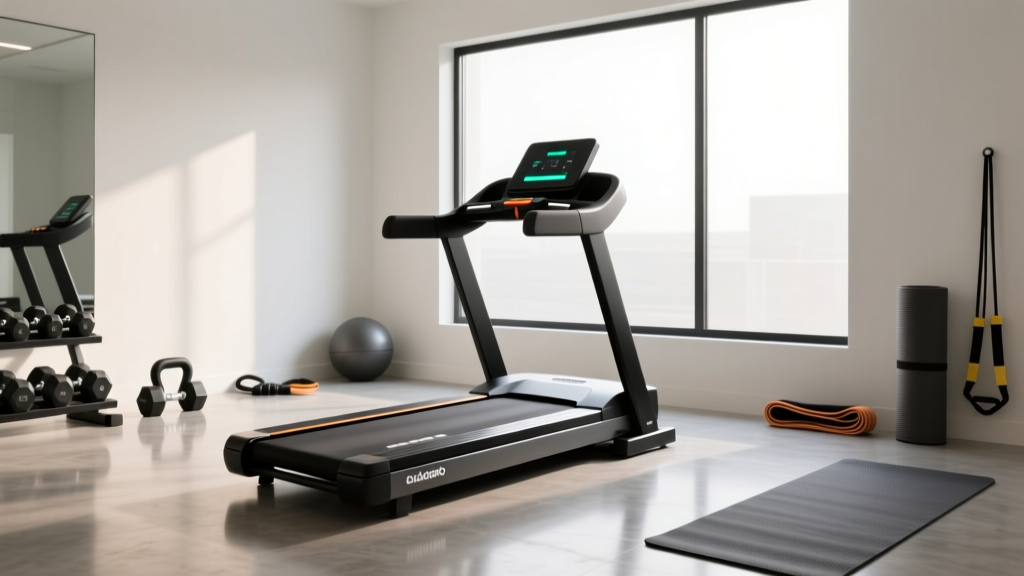
Transitioning from a high-impact treadmill to a full-body rowing machine is one of the smartest biomechanical upgrades you can make for your home gym in 2026. However, the physical act of treadmill removal is where many home gym owners make their first costly mistake. A standard motorized treadmill, such as the NordicTrack 1750 or Sole F85, weighs between 250 and 310 pounds. Attempting to maneuver this assembled bulk down a staircase or through a narrow 32-inch doorframe frequently results in severe drywall damage, ruined door casings, and personal injury.
⚠️ Treadmill Removal Troubleshooting Warning: Never attempt to carry an assembled treadmill down stairs. The center of gravity on a folding treadmill shifts dangerously when tilted. Always detach the upright console mast from the deck base (usually requiring a 15mm socket wrench and an Allen key set) before moving the pieces. According to national hauling services like 1-800-GOT-JUNK?, professional treadmill removal and eco-friendly disposal typically costs between $175 and $350 in 2026, a fraction of the cost of repairing a shattered staircase banister or a hole in your drywall.Once the treadmill is successfully removed and the footprint is reclaimed, you are left with an ideal space for a rowing machine. But buying and mastering a rower introduces an entirely new set of troubleshooting challenges. Below is our expert guide to avoiding the most common purchasing and technique errors.
Rowing Machine Buying Guide: 3 Critical Purchasing Mistakes
The indoor rowing market is saturated with subpar equipment that looks impressive in renderings but fails under the mechanical stress of daily use. Here are the most frequent buying mistakes we see, and how to troubleshoot your purchasing decision.
Mistake 1: Confusing 'Rowing Machines' with True 'Ergometers'
An ergometer (or 'erg') is a machine that accurately measures the actual work you are doing in watts, regardless of environmental factors or machine wear. Many budget magnetic rowers under $400 simply count flywheel rotations and apply a static multiplier to guess your calorie burn. If you are tracking fitness metrics, training for a USRowing sanctioned indoor event, or following structured wattage-based programs, you must buy a true ergometer. The Concept2 RowErg remains the undisputed gold standard for accurate drag factor calibration and wattage output.
Mistake 2: Ignoring Rail Length and Inseam Limits
A highly specific, often-overlooked edge case in rower purchasing is rail length. Standard monorails accommodate inseams up to 38 inches. If you are 6'3' or taller, a standard rail will cause the seat to 'bottom out' against the rear bumper before your legs fully extend, ruining your stroke mechanics and potentially damaging the seat wheels. Always check the maximum inseam specification. If you fall into the tall demographic, budget an extra $50 for an extended rail (which adds roughly 5 inches of travel) or opt for a machine with a naturally longer track.
Mistake 3: Misjudging the Storage Footprint
Many buyers assume all rowers can be stood upright on their front stabilizers. While air rowers like the Concept2 can be separated into two pieces and stood up (requiring a 25 x 33 inch floor footprint), premium water rowers and smart rowers like the Hydrow Arc (which measures 86 inches long) cannot be stored vertically. If your reclaimed treadmill space is in a high-traffic hallway, verify the 'stored dimensions' before purchasing.
| 2026 Rower Model | Resistance Type | Max Inseam / Rail | Est. Price (2026) |
|---|---|---|---|
| Concept2 RowErg | Air (True Ergometer) | 38' (Std) / 43' (Extended) | $1,350 |
| Hydrow Arc | Electromagnetic (Smart) | 40' (Fixed Track) | $2,495 |
| Echelon Row | Magnetic (App-Connected) | 37' (Standard) | $699 |
| WaterRower Natural | Water (Dual-Rail) | 38' (Standard) | $1,650 |
Technique Troubleshooting: Fixing the 'Big 4' Form Errors
Unlike a treadmill where you simply walk or run, the rowing stroke is a complex, sequential biomechanical movement. Poor technique doesn't just reduce your calorie burn; it actively causes lumbar herniations and rib stress fractures. Here is how to troubleshoot the most common errors.
1. 'Shooting the Slide' (Legs Before Handle)
The Error: The athlete pushes with their legs, but the handle and chain don't move immediately. The hips rise first, the legs extend, and the lower back is left to jerk the weight of the flywheel. This is the number one cause of rowing-induced lower back pain.
The Fix: You must create 'connection' before the drive. At the catch (the starting position), engage your lats and lock your core. Imagine your arms are rigid straps connecting the handle to your hips. The handle must move the exact millisecond your legs begin to push.
2. Over-Compression at the Catch
The Error: Sliding too far forward so that the shins angle past vertical (knees extending over the toes) and the heels lift excessively. This rounds the lumbar spine and puts immense shear force on the knee meniscus.
The Fix: Stop the slide the moment your shins are perfectly perpendicular to the floor (vertical). If you lack the ankle mobility to reach this point without your heels lifting off the footplates, focus on daily calf and Achilles mobility work rather than forcing the compression.
3. The 'T-Rex' Pull (Bent Arms Early)
The Error: Bending the elbows during the initial leg drive. This transfers the massive power of the quadriceps into the small bicep muscles, leading to bicep tendonitis and a severe loss of wattage.
The Fix: The rowing stroke sequence is strictly Legs -> Core -> Arms. Your elbows must remain completely locked and straight until the handle crosses your knees. Only then should the arms engage to finish the stroke into the sternum.
4. The 'Grip of Death'
The Error: Squeezing the handle tightly with all ten fingers, leading to severe blistering, callus tearing, and forearm pump (lactic acid buildup) within the first 5 minutes.
The Fix: Use a 'hook grip'. Wrap your fingers over the top of the handle, but keep your thumbs underneath, resting lightly. You should not be squeezing; the tension of the chain should keep the handle in your fingers. Apply athletic tape to the proximal phalanges if you are prone to tearing.
Expert Insight: A good rule of thumb for stroke ratio is 1:2. The drive (the pulling phase) should take one second, while the recovery (the sliding back to the start) should take two seconds. Rushing the recovery ruins your cardiovascular efficiency and prevents the flywheel from maintaining momentum.
Hardware Troubleshooting and Routine Maintenance
Even the best ergometers will degrade if ignored. Troubleshooting mechanical noise and performance drops is a vital part of ownership.
- Chain Stretch and Slippage: If you hear a 'clacking' sound on the catch, your chain may be stretched, or the sprocket is worn. On air rowers, wipe the chain with a paper towel and apply 1-2 teaspoons of purified mineral oil (never use WD-40, which strips lubrication) every 50 hours of use.
- Seat Wheel Flat-Spotting: If the seat bumps rhythmically as you slide, the polyurethane wheels have developed flat spots from sitting in one position for months. Wipe the monorail track with isopropyl alcohol weekly to remove dust buildup that grinds down the wheels.
- Monitor Battery Drain: PM5 and similar smart monitors drain batteries rapidly if left in 'storage mode' while plugged into the wall. If your AA batteries are dying every two weeks, ensure the machine's internal alternator is engaging properly during your strokes, or switch to a D-cell battery adapter for continuous power.
By carefully managing your treadmill removal and approaching your new rowing machine with a critical, detail-oriented mindset, you will secure a lifetime of low-impact, high-yield cardiovascular training.
More gear to consider
All reviews
Portable Cardio vs. The VO2 Max Treadmill Test: 2026 Market Trends
Air Bike vs Assault Bike Guide: Disassemble Sole F80 Treadmill
Elliptical vs Treadmill: Space Design & Treadmill Movie Setups
Treadmill Feature Comparison & NordicTrack Troubleshooting

Elliptical vs Treadmill Longevity: A Complete Treadmill Routine Guide