Beyond the Taylor Swift Treadmill Workout: Home Stair Climber Guide
Skip the Taylor Swift treadmill workout. Discover our beginner-friendly step-by-step guide to mastering the stair climber for home use in 2026.

The viral Taylor Swift treadmill workout—a 45-minute inclined walk mapped to the Eras Tour setlist—took the fitness world by storm. While walking at a 12% incline on a treadmill is a fantastic form of Low-Intensity Steady State (LISS) cardio, it presents two major hurdles for home gym owners in 2026: treadmills require massive floor footprints (often over 70 inches long), and sustained steep inclines can trigger Achilles tendonitis or plantar fasciitis in beginners.
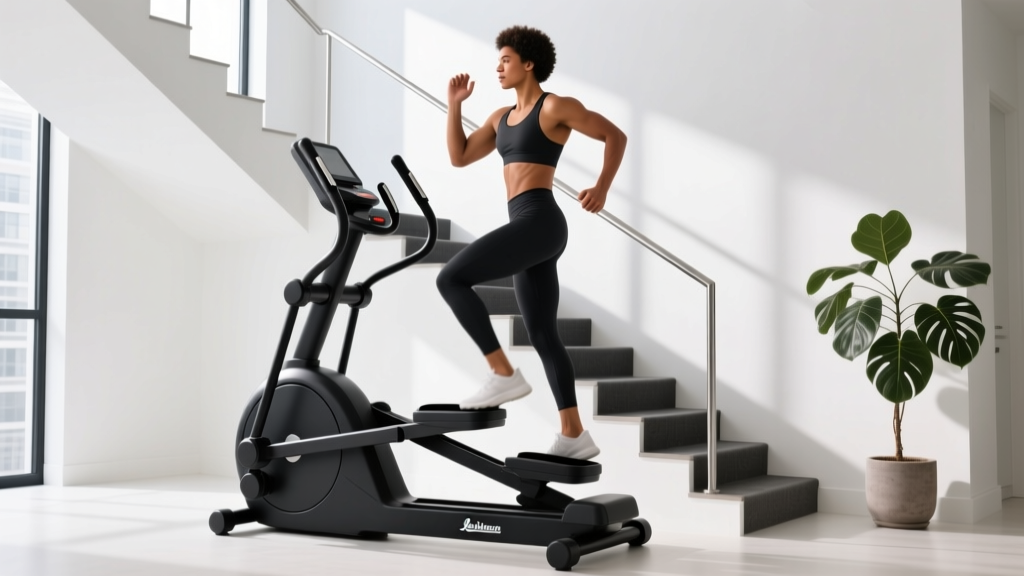
Enter the home stair climber. Offering superior glute activation, zero eccentric joint pounding, and a fraction of the floor space, the stair climber is the ultimate upgrade for beginners looking to replicate the cardiovascular benefits of the viral Swift routine without the biomechanical strain. This step-by-step guide will walk you through selecting the right machine, avoiding critical installation mistakes, and executing a beginner-friendly stair climbing routine.
Why Swap the Incline Treadmill for a Stair Climber?
When analyzing the biomechanics of the popular Taylor Swift treadmill workout, the primary mechanism is hip extension against gravity. However, treadmills force your ankle into extreme dorsiflexion at high inclines. A step-mill style stair climber removes the ankle strain while isolating the gluteus maximus, hamstrings, and quadriceps.
According to the Centers for Disease Control and Prevention (CDC), adults need at least 150 minutes of moderate-intensity aerobic activity per week. A stair climber elevates your heart rate into this target zone much faster than flat walking, meaning you can achieve the same caloric expenditure in 30 minutes that might take 50 minutes on an inclined treadmill. Furthermore, the American Heart Association emphasizes low-impact modalities for long-term joint preservation, making the continuous stepping motion ideal for beginners carrying extra weight or recovering from lower-leg injuries.
The 2026 Home Buyer’s Matrix: Step Mills vs. Pedal Climbers
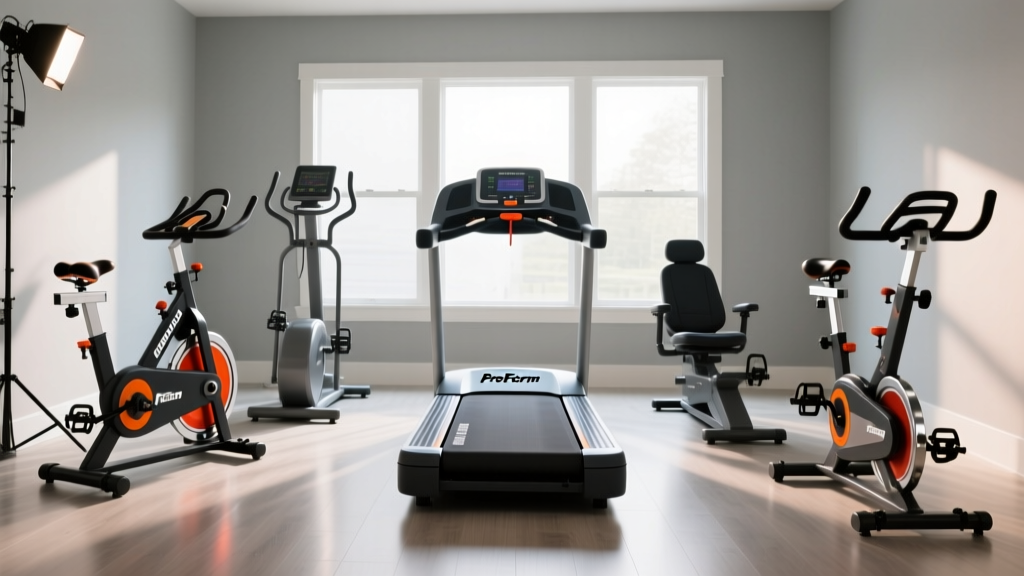
Not all stair climbers are built equally. Before you begin your workout, you must choose the right form factor for your space and budget. Here is how the top home models compare this year.
| Model Type | Example Model | Est. Price (2026) | Footprint | Best For |
|---|---|---|---|---|
| True Step Mill | Matrix S5x Home Stair Climber | $3,499 | 34' x 53' | Authentic stair feel, heavy-duty use |
| Hybrid Climber | Bowflex Max Trainer M9 | $2,299 | 30' x 49' | Small spaces, HIIT intervals, upper body |
| Pedal Climber | Sunny Health SF-E3911 Max Climber | $199 - $249 | 24' x 36' | Strict budgets, apartments, beginners |
⚠️ Critical Edge Case: The Ceiling Height Trap
The number one failure mode for home stair climber buyers is ignoring ceiling clearance. A true step mill adds roughly 10 to 14 inches to your total height. If you are 6'0' tall and have standard 8-foot (96-inch) ceilings, your head will strike the ceiling at the top of the pedal stroke. Formula: User Height + 15 inches = Minimum Ceiling Height Required. Always measure before purchasing a step mill.
Step-by-Step Beginner Stair Climber Routine (The 'Eras' Alternative)
If you are transitioning from the Taylor Swift treadmill workout to the stair climber, your goal is to maintain a steady, moderate heart rate (Zone 2 cardio) while adapting to the new movement pattern. Below is a 30-minute beginner protocol designed to build endurance without burning out your central nervous system.
Phase 1: The 'Lover' Warm-Up (5 Minutes)
Do not jump onto the machine and immediately start sprinting. The step mill requires significant blood flow to the lower extremities.
- Pace: 30 to 40 Steps Per Minute (SPM).
- Resistance/Level: 1 to 3 (Lowest setting).
- Form Focus: Release the handrails. Keep your chest up and core braced. Let your arms swing naturally to establish a rhythm.
- Goal: Lubricate the knee and hip joints while gradually elevating the heart rate to 100-110 BPM.
Phase 2: The 'Reputation' Interval Block (20 Minutes)
Instead of a monotonous 45-minute slog, beginners benefit from micro-intervals. This builds cardiovascular capacity while giving the muscular system brief recovery periods.
- Minutes 5-8 (Cruel Summer Push): Increase to 50-60 SPM. Resistance at level 5. You should be able to speak in short sentences, but not sing.
- Minutes 8-10 (Delicate Recovery): Drop back to 35 SPM. Resistance at level 2. Catch your breath.
- Repeat this 3-minute push / 2-minute recovery cycle three more times.
- Minute 20-25 (The Steady Climb): Find a sustainable 'cruising' pace (around 45 SPM) at a moderate resistance (Level 4). Hold this steady state for 5 continuous minutes without touching the rails.
Phase 3: The 'Folklore' Cool Down & Mobility (5 Minutes)
Stopping abruptly on a stair climber can cause blood to pool in the lower legs, leading to dizziness.
- Pace: Gradually reduce from 45 SPM down to 20 SPM over 3 minutes.
- Post-Cardio Mobility: Step off the machine and immediately perform 2 minutes of standing calf stretches and deep bodyweight squats to open the hips and prevent the glutes from tightening up.
Common Beginner Mistakes and Form Corrections
Even the best cardio machine is useless if your biomechanics are flawed. Watch out for these three pervasive errors:
1. The 'Death Grip' (Leaning on Handrails)
Leaning your body weight onto the handrails reduces caloric expenditure by up to 20% and completely disengages your core and lower back stabilizers. If you must hold on for balance, use a light, two-finger grip on the side rails or the heart-rate monitor contacts. If you cannot maintain the pace without leaning, slow the machine down.
2. Shallow Stepping (Half-Steps)
Many beginners take tiny, rapid steps, barely pushing the pedal down. This shifts the load entirely to the calves and quads while ignoring the glutes. Press the pedal down fully until your leg is almost straight (without locking the knee) to engage the posterior chain.
3. Knee Valgus (Caving Inward)
As fatigue sets in, the knees tend to cave inward toward the midline of the body. This places immense shear stress on the ACL and MCL. Actively think about 'pushing the pedals apart' and keeping your knees aligned directly over your second toe.
Maintenance & Longevity for Home Units
Home stair climbers endure different wear patterns than commercial gym units. To protect your investment in 2026, follow these maintenance rules:
- Sweat Corrosion: Step mills have exposed internal chains and gears near the pedal wells. Always use a towel over the console and wipe down the pedal shafts with a non-corrosive cleaner after every session.
- Belt and Chain Tension: If your step mill begins to 'hesitate' or jerk when you apply weight, the internal drive chain may have stretched. Consult your owner's manual for the specific tensioning bolt (usually located under the top shroud) and adjust it quarterly.
- Pedal Grip Tape: The abrasive grip tape on pedals wears down after 6-12 months of heavy use. Replace it with standard skateboard grip tape to prevent slipping in sweaty socks or worn-out running shoes.
Final Thoughts
While the Taylor Swift treadmill workout remains a brilliant cultural touchstone for making cardio fun and accessible, the physical limitations of incline walking and the spatial demands of treadmills make them less than ideal for many home setups. By pivoting to a stair climber, you secure a highly efficient, joint-friendly, and space-saving alternative. Follow the step-by-step protocol above, respect your ceiling clearances, and focus on full range-of-motion stepping to build a resilient, powerful lower body right in your living room.
For more expert reviews on home cardio equipment and biomechanical breakdowns, explore our comprehensive aerobic exercise guides and equipment matrices.
More gear to consider
All reviews
Treadmill Origin & Space: Elliptical vs Treadmill Home Layout Guide

What Do Treadmills Do For Your Body? 2026 Under-Desk Trends

Small Space Folding Treadmills vs MrBeast Treadmill Challenge

Elliptical vs Treadmill Care: StairMaster or Treadmill for Belly Fat

Best Compact Variable Response Cushioning Treadmill Picks 2026