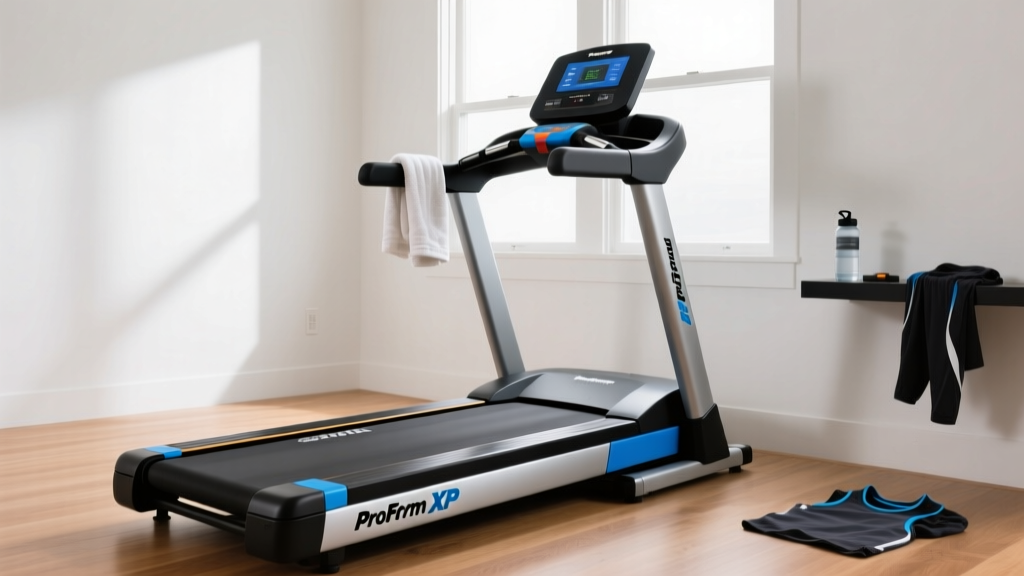
T6 5s Treadmill Setup: Curved Manual vs Motorized Installation
Master the T6 5s treadmill setup with our complete installation walkthrough. Compare curved manual vs motorized treadmill space, flooring, and assembly needs.

The Physics of Placement: Pre-Installation Requirements
When upgrading your home gym, the debate between a curved manual treadmill and a traditional motorized model extends far beyond the workout itself. The installation footprint, structural load, and environmental staging are fundamentally different. As we walk through the complete setup of the premium T6 5s treadmill—a 32-slat curved manual powerhouse—we will continuously contrast it with the baseline requirements of a standard 3.0 HP motorized treadmill. Understanding these differences before unboxing is critical to avoiding costly flooring damage or electrical failures.
Expert Insight: The T6 5s treadmill generates a significantly higher downward force vector at the apex of the curve during sprinting compared to the linear impact of a motorized belt. Standard interlocking EVA foam mats will compress and bottom out under the T6 5s. You must use 1/2-inch thick vulcanized rubber horse stall mats for curved manual setups.Footprint, Weight, and Utility Matrix
| Specification | T6 5s Curved Manual | Standard Motorized (3.0 HP) |
|---|---|---|
| Overall Footprint | 69" L x 33" W | 80" L x 34" W |
| Shipping / Assembled Weight | 385 lbs / 345 lbs | 280 lbs / 230 lbs |
| Power Requirement | None (Self-Powered Console) | 120V / 15A Dedicated Circuit |
| Ceiling Clearance | 84" (Standard 8ft ceiling OK) | 90"+ (Requires step-up clearance) |
| Recommended Subfloor | 1/2" Vulcanized Rubber | 3/8" High-Density EVA / Rubber |
Unboxing and Staging the T6 5s Treadmill
The T6 5s treadmill arrives in a single, heavily reinforced palletized crate weighing nearly 400 lbs. Unlike motorized treadmills, which often ship in two separate boxes (base and upright console), the curved chassis of the T6 5s is fully welded at the factory to maintain the precise geometric arc required for the slat belt.
- Position the Crate: Use a pallet jack or two heavy-duty furniture dollies to move the crate to the installation room. Do not attempt to tilt the crate on its side; the internal magnetic resistance flywheel can shift if subjected to lateral impacts.
- Extract the Chassis: Cut the steel banding and remove the corrugated walls. You will find the main curved frame, the handlebar assembly, the console mast, and a hardware blister pack.
- Stage the Hardware: The T6 5s uses metric hardware exclusively. Lay out the M10 and M12 flange bolts, the 3mm and 5mm hex keys, and the 17mm socket wrench. Motorized treadmills typically use a mix of metric and SAE hardware, making the T6 5s refreshingly uniform.
Assembly Walkthrough: Curved Manual vs. Motorized
The physical assembly highlights the starkest differences between the two treadmill archetypes. Motorized treadmills require complex wiring harnesses, incline motor calibration, and deck lubrication. The T6 5s curved manual treadmill eliminates the wiring but demands rigorous mechanical torque specifications to handle the high-tension slat belt.
Step 1: Uprights and Console Mast
For a motorized treadmill, attaching the uprights usually involves feeding a delicate data cable through the steel tube and securing it with four M8 bolts. A pinched cable here is the number one cause of DOA (Dead on Arrival) console errors.
With the T6 5s treadmill, there are no data cables running through the uprights. The console is powered by a localized kinetic generator and internal lithium battery. You simply align the heavy-gauge steel mast with the welded receiver brackets on the front curve. Use the included 17mm socket wrench to tighten the four M12 flange bolts to exactly 45 Nm (Newton-meters) of torque. Under-torquing these bolts on a curved treadmill will result in catastrophic handlebar flex during heavy sled-push simulations.
Step 2: Handlebar and Resistance Unit Integration
Motorized models feature static side rails. The T6 5s features an integrated magnetic resistance braking unit mounted to the rear axle.
- Attach the rear horizontal stabilizer bar using the M10 carriage bolts.
- Connect the resistance tension cable to the console dial. This requires routing a braided steel cable through the frame's internal guide tubes—a process that takes about 10 minutes and requires needle-nose pliers.
- Secure the multi-grip handlebars. Ensure the quick-release pins click audibly into the detents.
Calibration: Belt Tension and Slat Alignment
This is where the setup of a curved manual treadmill diverges entirely from a motorized model. According to ASTM International standards for treadmill safety and performance, motorized belts require a specific amount of 'slip' and are tensioned via rear roller adjustment bolts until the belt tracks perfectly center without lifting more than 2 inches off the deck.
The T6 5s treadmill does not use a continuous loop belt. It uses 32 individual vulcanized rubber slats connected by a central Kevlar-reinforced timing belt.
Warning: Do Not Over-Tension the Slat BeltUnlike a motorized PVC belt, over-tensioning the T6 5s slat belt will cause premature wear on the 110 sealed ball bearings that line the curved track. The belt should have exactly 1/4 inch of vertical deflection at the apex of the curve when pressed with 10 lbs of force.
The T6 5s Tensioning Procedure
- Locate the dual tensioning camshafts on the rear axle housing.
- Insert the 5mm hex key into the left camshaft and turn clockwise exactly two full rotations.
- Repeat on the right side to ensure the tracking remains perfectly square.
- Manually push the belt down the curve. It should glide smoothly over the UHMW (Ultra-High-Molecular-Weight) polyethylene guide strips without grinding or clicking.
Environmental Staging and Joint Impact Considerations
Because curved manual treadmills encourage a forefoot strike and higher cadence, the biomechanical loading on the lower extremities changes. Research published in sports medicine journals and highlighted by the American College of Sports Medicine (ACSM) indicates that while curved treadmills reduce the impact peak associated with motorized heel-striking, they increase the metabolic cost and Achilles tendon loading.
Therefore, your installation environment must account for this. Place the T6 5s treadmill in a room with adequate ventilation. Without a motorized fan or the breeze generated by a motorized belt's movement, curved treadmill users experience a higher perceived rate of exertion (RPE) and core temperature rise. Installing a wall-mounted oscillating fan directly in front of the T6 5s is a mandatory staging step for optimal 2026 home gym ergonomics.
"The absence of a motorized deck means the user's kinetic energy is the sole driver of the T6 5s. Ensure your flooring is perfectly level; even a 2-degree floor slope will cause the slat belt to drift laterally during deceleration phases." — FitGearPulse Installation Engineering Team
Post-Setup Safety and Maintenance Protocols
The Consumer Product Safety Commission (CPSC) frequently cites improper assembly and lack of maintenance as primary causes of treadmill-related injuries. Once your T6 5s is assembled, perform the following 5-minute diagnostic run:
- The Walk Test: Step onto the apex and walk at 2.0 mph. Listen for rhythmic clicking, which indicates a misaligned slat pin.
- The Sprint Test: Accelerate to 12.0 mph. The magnetic resistance should remain disengaged unless manually dialed in. The console telemetry should update cadence and wattage within 0.5 seconds.
- The Deceleration Test: Stop running and step onto the side rails. The belt should coast to a complete stop within 4 to 6 seconds. If it stops instantly, the rear axle bearings are over-torqued or lack factory grease.
Frequently Asked Questions (FAQ)
Does the T6 5s treadmill require deck lubrication like motorized models?
No. Motorized treadmills require 100% silicone lubricant applied between the PVC belt and the MDF deck every 150 miles to reduce friction and prevent motor burnout. The T6 5s curved manual treadmill uses dry UHMW polyethylene guide strips and sealed bearings. Applying silicone to a curved slat track will attract dust, create a gummy residue, and ruin the belt tracking.
Can I fold the T6 5s for storage after setup?
Unlike 90% of residential motorized treadmills that feature hydraulic folding decks, the T6 5s has a fixed, welded curved chassis. You must dedicate a permanent 69" x 33" footprint in your home gym. It does feature transport wheels on the front stabilizer, allowing you to tilt and roll it for vacuuming, but it cannot be folded vertically.
Why is my console not turning on after assembly?
Because the T6 5s is entirely self-powered, the console relies on kinetic energy generated by the belt movement, backed up by an internal supercapacitor. If the screen is blank post-assembly, simply step on the belt and walk at a brisk pace for 30 seconds. The internal generator will wake the LCD display and initialize the firmware.
More gear to consider
All reviews
Best Folding Treadmill Review & 30 Minute Pregnancy Treadmill Workout
Curved vs Motorized Treadmills: Fixing Jane Fonda Treadmill Mistakes

Compact Ice Skating Treadmill: 2026 Budget & Value Analysis
Maximize Your Treadmill Trade In: Upright vs Recumbent vs Spin Bikes

How Old Was the Inventor of the Treadmill? Plus Top Under-Desk Picks