Swift Treadmill Setup: Motor Size Guide & Installation Walkthrough
Master your Swift treadmill setup. Learn how motor size impacts performance and follow our step-by-step installation walkthrough for a safe, perfect fit.

Understanding Your Swift Treadmill: The Heart of the Machine
The modern home fitness landscape in 2026 has seen a massive shift toward agile, space-saving cardio equipment, with the Swift treadmill line leading the charge in compact, high-performance design. However, unboxing and assembling a treadmill is only half the battle. To truly maximize the lifespan and performance of your machine, you must understand its core component: the drive motor. Many users mistakenly assume all treadmill motors are created equal, leading to premature burnout or frustrating mid-workout stalls. This comprehensive guide will decode Swift treadmill motor specifications and provide a meticulous, step-by-step installation walkthrough to ensure your machine is calibrated perfectly from day one.
Peak HP vs. Continuous Duty HP (CHP)
When evaluating your Swift treadmill's specifications, you will encounter two distinct metrics: Peak Horsepower (HP) and Continuous Duty Horsepower (CHP). Peak HP measures the absolute maximum output the motor can achieve for a few seconds before overheating. CHP, however, measures the power the motor can sustain continuously during a standard workout. According to the Consumer Reports Treadmill Buying Guide, CHP is the only metric that matters for home buyers. A Swift treadmill advertised with a '3.0 Peak HP' motor might only deliver 1.75 CHP, which is adequate for walking but insufficient for sustained running.
Swift Treadmill Motor Size Comparison Matrix
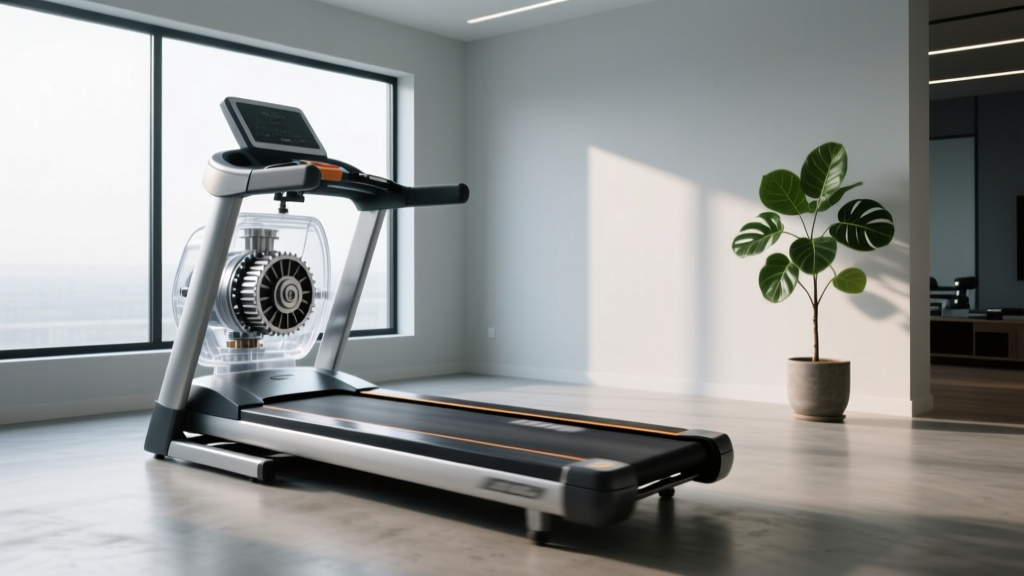
Swift treadmills typically utilize advanced Brushless Direct Current (BLDC) motors, which are significantly quieter and run cooler than older brushed alternatives. Use the matrix below to identify your specific motor tier and its ideal use case based on user weight and activity level.
| Motor Size (CHP) | Max User Weight | Ideal Activity | Thermal Output | Expected Lifespan |
|---|---|---|---|---|
| 1.5 CHP | Up to 180 lbs | Walking / Light Jogging | Low | 3-5 Years |
| 2.0 CHP | Up to 220 lbs | Jogging / Interval Training | Moderate | 5-7 Years |
| 2.5+ CHP | Up to 300+ lbs | Heavy Running / Sprinting | High (Requires Cooling Fan) | 7-10+ Years |
Pre-Installation: Space and Electrical Requirements
Before cutting the zip ties on your Swift treadmill box, you must prepare the installation environment. Treadmills draw significant amperage, particularly during the initial startup surge when the motor must overcome the static friction of the belt and the user's body weight.
- Electrical Circuit: Plug your treadmill directly into a dedicated 15-amp or 20-amp wall outlet. Never use an extension cord or a power strip, as the 14-gauge internal wiring of the treadmill requires unimpeded current flow to prevent voltage drops that can damage the motor controller board.
- GFCI Warning: Avoid Ground Fault Circuit Interrupter (GFCI) outlets if possible. The natural power surges generated by a treadmill motor can falsely trip GFCI breakers, shutting off your machine mid-stride.
- Safety Clearance: The American Council on Exercise (ACE) strictly recommends a minimum of 24 to 30 inches of clear space behind the rear roller of the treadmill. This prevents severe friction burns if a user falls backward while the belt is in motion.
Complete Swift Treadmill Installation Walkthrough
Proper assembly goes beyond simply tightening bolts; it involves ensuring the data cables are secure and the belt tension is factory-calibrated. Follow these steps meticulously.
Step 1: Unboxing and Base Positioning
Open the top of the carton and remove the accessory box containing the safety key, hex tools, and silicone lubricant. Do not use a box cutter to slice the tape near the bottom of the box, as you risk severing the main drive belt or scratching the motor hood. With the help of a second person, lift the main deck out of the styrofoam cradle. Position the base so the rear roller faces the open room, ensuring the 24-inch safety clearance is maintained.
Step 2: Upright Assembly and Data Cable Routing
This is the most critical step where 80% of setup errors occur. The Swift treadmill's console communicates with the lower motor control board via a 9-pin serial data cable that runs through the hollow steel upright mast.
- Stand the upright mast vertically. Carefully feed the data cable down through the tube.
- Align the mast with the base hinges. Insert the provided M8 x 20mm hex bolts on both sides, but do not fully tighten them yet.
- Connect the 9-pin data cable. Ensure the pins are perfectly aligned before pushing the plastic housing together. Warning: If you pinch a wire between the steel mast and the base hinge, the console will power on but will immediately throw an E03 (Communication) error when you attempt to start the belt.
- Once the cable is secured in the designated notch, fully tighten the M8 bolts using the provided Allen wrench.
Step 3: Console Mounting and Wiring Verification
Mount the console to the top of the upright mast using the four M6 x 15mm screws. Connect the secondary data cable from the mast to the back of the console. Before snapping the plastic console cover into place, plug the machine into the wall and turn the master power switch (located near the floor on the front motor hood) to the 'ON' position. Verify that the console lights up and that the incline motor (if applicable) performs its initial auto-calibration cycle.
Post-Assembly: Belt Calibration and Motor Break-In
Even if your Swift treadmill arrives pre-assembled or semi-assembled, the shipping process often shifts the running belt. A misaligned belt creates excess lateral friction, forcing the drive motor to work up to 30% harder, which drastically reduces its lifespan.
Expert Calibration Tip: Stand at the rear of the treadmill. Walk the belt backward by hand. If the belt drifts to the left, insert the Allen wrench into the left rear roller bolt and turn it exactly one-quarter (1/4) turn clockwise. Do the same to the right bolt to maintain overall tension. Never adjust the belt while the motor is running.
The 30-Minute Motor Break-In Protocol
New BLDC motors and fresh running belts require a break-in period to seat the bearings and distribute the factory silicone lubricant evenly across the deck.
- Minutes 0-10: Run the treadmill at 2.5 mph with no user on the belt. Listen for rhythmic thumping, which indicates a slipped drive belt rather than a motor issue.
- Minutes 10-20: Increase speed to 4.0 mph. Step onto the side rails, then carefully step onto the moving belt. Walk normally to help the belt seat into the deck grooves.
- Minutes 20-30: Increase speed to 6.0 mph and jog lightly. Monitor the console for any sudden speed fluctuations, which could indicate a failing reed switch or speed sensor alignment issue near the motor flywheel.
Troubleshooting Common Swift Treadmill Setup Errors
If your newly installed Swift treadmill fails to operate, consult this diagnostic matrix before contacting customer support. Most 'dead on arrival' issues are simple setup oversights.
- Error E01 (Speed Sensor Loss): The console is not receiving RPM data from the motor. Remove the front motor hood (usually 4 Phillips-head screws). Locate the small magnetic reed switch next to the front roller pulley. Ensure the gap between the magnet and the sensor is exactly 2-3 millimeters. If it was bumped during shipping, gently bend the sensor bracket back into alignment.
- Error E02 (Motor Overcurrent): The motor is drawing too many amps and the controller board is protecting itself by shutting down. This is almost always caused by a dry running belt or a belt that is tensioned too tightly. Loosen the rear roller bolts by one full turn and apply 100% silicone treadmill lubricant under the belt.
- Console Powers On, But Belt Won't Move: Check the magnetic safety key. If the key is present, inspect the wiring harness connecting the console to the lower board. A single loose molex connector will allow the screen to function but will not send the 'engage' signal to the motor controller.
Final Safety and Maintenance Checks
Before concluding your installation, perform a final safety audit. Ensure the emergency stop clip is securely attached to your clothing during your first few runs. Verify that the treadmill is perfectly level; if your floor is uneven, adjust the threaded leveling feet located on the bottom of the rear stabilizer bar. An unlevel treadmill causes the motor to fight gravity, leading to asymmetric belt wear and premature motor brush degradation.
By understanding the specific CHP rating of your Swift treadmill and adhering to this rigorous installation and calibration protocol, you guarantee a smooth, quiet, and safe cardio experience. Proper setup is the ultimate preventative maintenance, ensuring your investment supports your fitness goals for years to come.
More gear to consider
All reviews
Stair Climbers vs Anti-Gravity Treadmill Physical Therapy: Home Guide

Treadmill Belt Maintenance to Keep Your 8 Minute Pace on Treadmill

WalkingPad A1 Pro Folding Treadmill: Small Space Budget Review
Treadmill or Elliptical for Belly Fat? Motor Size & HP Guide

Air Bike vs Assault Bike: Skipping a Dedicated Circuit for Treadmill