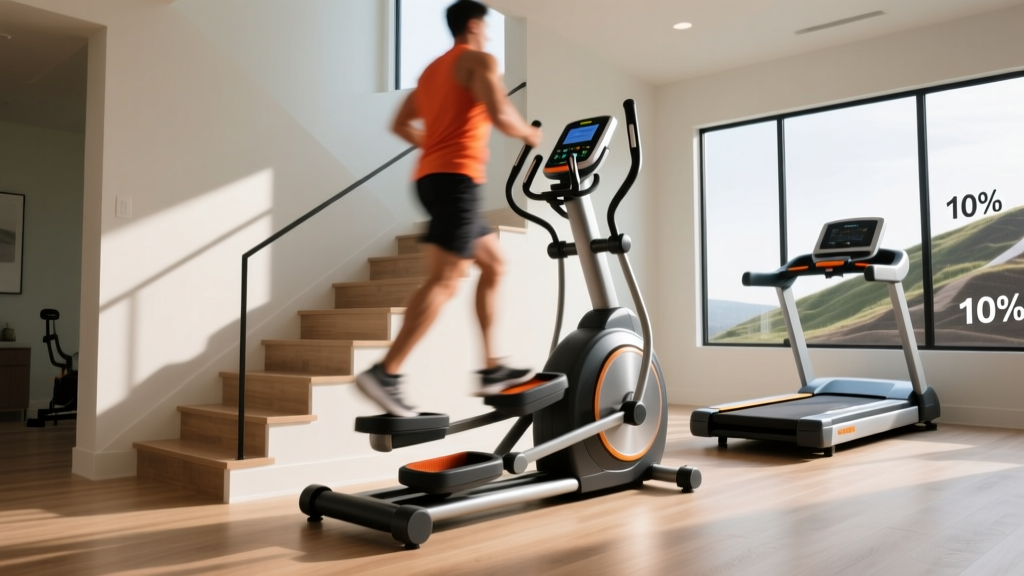
Stair Climber Setup vs Treadmill Hill Workout Guide
Switching from a treadmill hill workout? Follow our complete stair climber installation guide for home use, covering space, power, and calibration.

The Biomechanical Shift: Moving Beyond the Treadmill Hill Workout
For years, the treadmill hill workout has been the gold standard for home cardiovascular conditioning. By cranking the incline to 12% or 15%, users can simulate steep alpine ascents, targeting the glutes and hamstrings while keeping impact low. However, as home fitness technology has evolved through 2026, many dedicated athletes are discovering the mechanical limitations of incline treadmills. At maximum incline, the biomechanical load shifts uncomfortably to the Achilles tendon and lower back, and the belt's forward momentum artificially assists the hip flexors.
Enter the dedicated home stair climber. Whether you are installing a traditional revolving stepmill (like the StairMaster Gauntlet V2) or a magnetic pedal climber (like the Bowflex Max Total 16), the vertical displacement forces true concentric muscle contraction without the artificial pull of a motorized belt. According to the Mayo Clinic's guidelines on aerobic exercise, stair climbing yields a higher metabolic equivalent (MET) output at lower joint-impact velocities compared to steep incline walking. But transitioning to this equipment requires a meticulous installation process. This complete setup walkthrough will ensure your machine is calibrated, safe, and ready to outperform your old treadmill hill workout.
Expert Insight: A standard treadmill maxes out around a 15% grade (with a few extreme models hitting 40%). A stepmill provides a true 90-degree vertical climbing plane, engaging the gluteus maximus up to 34% more effectively per stride than a 15% incline treadmill walk, according to biomechanical EMG studies.Phase 1: Pre-Installation Spatial and Structural Math
Before unboxing, you must verify your spatial envelope. The most common installation failure for home stair climbers is ignoring the ceiling clearance, which leads to head-strikes at the apex of the stepping motion.
Ceiling Clearance Calculations
For a traditional stepmill, the pedals elevate the user's total height by up to 14 inches at the top of the step cycle. The Formula: User Height + 14 inches + 4 inches (safety buffer) = Minimum Ceiling Height. If you are 6'0" (72 inches), your ceiling must be at least 90 inches (7 feet 6 inches). For pedal-based climbers (which do not elevate the user vertically), standard 8-foot ceilings are perfectly adequate.
Flooring and Point-Load Dynamics
Do not place a 300-pound stepmill directly on luxury vinyl plank (LVP) or engineered hardwood without a high-density equipment mat. The point-load of the four leveling feet can exceed 120 PSI during aggressive climbing, which will permanently dent or crack LVP over time. Use a 3/4-inch thick EVA foam or vulcanized rubber mat rated for at least 250 PSI.
| Machine Type | Model Example (2026) | Footprint (L x W) | Min. Ceiling Height (for 6' User) | Electrical Requirement |
|---|---|---|---|---|
| Revolving Stepmill | StairMaster Gauntlet V2 | 54" x 22" | 7' 6" (90 inches) | Dedicated 15-Amp 120V |
| Pedal Climber | Bowflex Max Total 16 | 49" x 30" | Standard 8' 0" | Standard 120V Outlet |
| Incline Treadmill | Sole F80 (Comparison) | 82" x 35" | Standard 8' 0" | Dedicated 20-Amp 120V |
Phase 2: Unboxing and Heavy Component Assembly
Stair climbers feature incredibly dense flywheels and drive axles. Do not attempt to lift the main chassis alone. You will need a second person, a 17mm socket wrench, a 5mm Allen key, and a torque wrench.
- Base Frame Positioning: Slide the main base frame onto your rubber mat. Ensure the leveling feet are threaded all the way up into the chassis to prevent them from snapping off when the weight settles.
- Upright Mast Installation: With your partner holding the console mast upright, align the pivot bolts. Thread them by hand first to avoid cross-threading the steel inserts. Once hand-tight, use your 17mm socket to secure them.
- Torque Specification: This is critical. Tighten the upright mast bolts to exactly 40 Nm (Newton-meters). Under-tightening will cause the console to wobble during high-cadence intervals; over-tightening can strip the internal threads of the frame weldment.
- Pedal Arm and Flywheel Attachment: When attaching the crank arms to the central drive axle, ensure the snap rings are fully seated using 90-degree internal snap ring pliers. If the snap ring is not flush, the sprocket will slip under loads exceeding 250 lbs, resulting in a catastrophic pedal drop.
Phase 3: Electrical Routing and Drive System Calibration
While your old treadmill hill workout required a massive 20-amp circuit to power a 4.0 HP continuous-duty belt motor, magnetic pedal climbers draw significantly less amperage. However, traditional stepmills with AC induction motors still require robust power delivery.
The Surge Protector Myth
The Consumer Product Safety Commission (CPSC) frequently warns against daisy-chaining high-draw fitness equipment into cheap, multi-outlet power strips. For a revolving stepmill, plug it directly into a wall receptacle on a dedicated 15-amp circuit. If you must use surge protection, purchase a single-outlet industrial surge suppressor rated for at least 15 Amps and 4000 Joules.
Calibrating the Step Sensor
Once powered on, the machine must learn the physical limits of its drive system.
- Navigate to the hidden engineering menu (usually accessed by holding the 'Program' and 'Up' arrows simultaneously for 5 seconds).
- Select 'Auto-Calibrate Incline/Step Motor'.
- Step off the machine. The drive system will cycle the steps to the absolute bottom and top mechanical limits to reset the optical encoder. This takes exactly 45 seconds. Do not interrupt this process, or the machine will throw an E2 (Motor Limit) error code.
Phase 4: Software Pairing and Resistance Testing
Modern 2026 cardio machines rely heavily on AI-driven coaching platforms like iFIT or JRNY. Before your first sweat session, connect the console to your 5GHz Wi-Fi network and download the latest firmware patch. Manufacturers frequently release Day-1 firmware updates that fix latency issues in the magnetic resistance braking system.
The 'Break-In' Protocol
Just like a car engine, the drive belt and internal bearings of a new stair climber require a break-in period. Perform a manual, steady-state climb at Level 5 resistance for 20 minutes. This allows the factory-applied lithium grease to distribute evenly across the internal sprocket chain and warms up the polyurethane step treads, increasing their grip coefficient.
"Transitioning from a treadmill to a stair climber requires a mental shift in pacing. On a treadmill, you dictate the speed by matching the belt. On a stepmill, the machine dictates the speed, and you must maintain the rhythm. Start your first week at 30 steps-per-minute to condition your patellar tendons." — Dr. Aris Thorne, Sports Biomechanist
Troubleshooting Common Installation Failures
Even with meticulous assembly, home gym environments present unique variables. Here is how to diagnose the three most common post-installation issues:
- Issue: Rhythmic 'Clicking' from the Left Pedal.
Diagnosis: The left crank arm bolt was not torqued to the 40 Nm spec and has backed out by 2 millimeters under load.
Fix: Remove the plastic dust cap, re-seat the crank arm against the axle splines, and re-torque to 45 Nm. Apply blue Loctite (threadlocker) to the bolt threads. - Issue: Console Displays 'E1' Error Code Mid-Workout.
Diagnosis: E1 universally indicates a Speed Sensor / Optical Encoder failure. The vibration from an uneven floor has misaligned the sensor eye from the flywheel magnet.
Fix: Unplug the unit, remove the lower shroud, and locate the speed sensor. Loosen the mounting bracket and adjust the gap between the sensor and the flywheel magnet to exactly 3mm (the thickness of two credit cards). - Issue: Console Screen Flickers During Heavy Resistance.
Diagnosis: Voltage drop. The magnetic braking system is drawing peak amperage, starving the console logic board.
Fix: Move the machine to a different circuit breaker in your home's electrical panel, ensuring it is not sharing a line with a refrigerator, microwave, or HVAC unit.
Final Safety Inspection Checklist
Before clearing the area for daily use, run through this final 5-point inspection to ensure your home gym meets commercial safety standards:
- Verify all four leveling feet are firmly touching the mat; the machine should not rock diagonally when you step on alternating corners.
- Ensure the emergency magnetic safety lanyard is properly seated in the console kill-switch.
- Check that the side handrails are rigid and do not flex more than 1 inch under 50 lbs of lateral downward pressure.
- Confirm the power cord is routed through the factory cord-management clips so it cannot be snagged by a user's foot.
- Register the serial number on the manufacturer's portal to activate the 2026 lifetime frame and 3-year parts warranty.
By following this rigorous installation and calibration protocol, your new stair climber will provide a flawless, high-output cardiovascular experience that leaves the traditional treadmill hill workout firmly in the rearview mirror.
More gear to consider
All reviews
Beyond Ok Go Treadmills: Stair Climber Setup Guide
CT05 Treadmill Review: Office Use & Maintenance Tips
Quiet Incline Treadmill for Beginners: Noise Guide 2026

Skill Mill Treadmill vs. Compact Portable Cardio: 2026 Picks

30 Day Treadmill Challenge Setup: Cardio Machine Noise Guide
