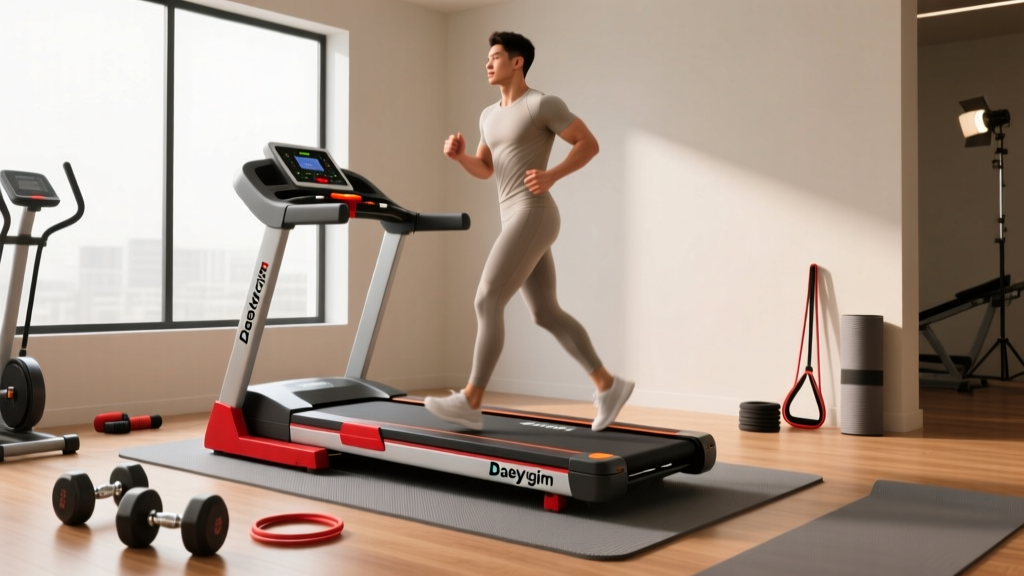
Stair Climber Setup: Outperforming the Treadmill for Belly Fat Loss
Master your home stair climber setup with our step-by-step installation guide, and discover why it beats a treadmill for belly fat loss.

The Visceral Fat Advantage: Why Ditch the Treadmill?
While millions of consumers begin their fitness journey searching for the ultimate treadmill for belly fat loss, exercise physiologists and personal trainers increasingly point to stair climbers as a superior tool for targeting visceral adipose tissue. The biomechanical reality is simple: stair climbing requires continuous vertical displacement of your entire body weight against gravity, engaging the gluteus maximus, quadriceps, and deep core stabilizers simultaneously.
According to Mayo Clinic research on visceral fat, high-intensity, weight-bearing cardiovascular exercises are critical for mobilizing deep abdominal fat stores that wrap around internal organs. Furthermore, data published by Harvard Health indicates that a 155-pound individual burns approximately 216 calories in 30 minutes on a general stair step machine, compared to roughly 133 calories walking at a moderate 3.5 mph pace on a treadmill. When you factor in the Excess Post-exercise Oxygen Consumption (EPOC) effect generated by the intense lower-body muscle recruitment of a stair climber, the metabolic advantage for belly fat reduction becomes undeniable.
However, unlike a folding treadmill that you can simply unbox and plug in, a dedicated home stair climber (such as the popular Sunny Health & Fitness SF-S0978 hydraulic stepper or chain-driven models like the MaxKare Stair Stepper) requires precise mechanical assembly. A poorly assembled climber will squeak, wobble, and ultimately end up as an expensive clothes rack. This complete setup and installation walkthrough will ensure your machine is calibrated for safety, silence, and maximum fat-burning performance.
⚠️ Critical Safety Warning: Ceiling Clearance
Before unboxing, measure your ceiling height. Unlike treadmills, stair climbers require significant vertical headroom. The Formula: User Height + 15 inches (for peak stride clearance) + 4 inches (for machine base height). A 6-foot-tall user requires a minimum ceiling height of 7 feet 7 inches. If you are installing in a basement with drop ceilings, verify the clearance to the actual floor joists, not just the ceiling tiles.
Pre-Installation: Space, Power, and Freight Logistics
Home stair climbers generally fall into two categories: hydraulic mini-steppers (weighing 40–90 lbs) and full-sized chain-driven climbers (weighing 150–300+ lbs). Full-sized models are shipped via LTL (Less Than Truckload) freight on wooden pallets.
Flooring and Stabilization
Do not place a stair climber directly on thick carpet or high-density EVA foam puzzle mats. The dynamic lateral shift generated during a high-cadence climb will cause the machine to wobble, leading to premature wear on the pivot bushings and potential ankle instability.
- The Solution: Purchase a 3/8-inch thick vulcanized rubber mat (often sold as horse stall mats at agricultural supply stores for around $50). This provides an impermeable, non-slip foundation that absorbs acoustic vibration without compressing under the machine's dynamic load.
- Leveling: Use a 24-inch torpedo level on the base frame. Adjust the four threaded leveling feet at the base of the machine until the bubble is perfectly centered. An unlevel base will cause uneven hydraulic cylinder wear.
Tool Checklist
Discard the low-quality, soft-metal tools included in the manufacturer's box. Gather the following professional-grade tools to prevent stripped bolts:
- Metric Allen key set (4mm, 5mm, 6mm)
- 14mm and 17mm socket wrenches with ratchet
- 16 oz. rubber mallet (for seating tight pivot joints)
- Wire fish tape or a straightened wire coat hanger (for console wiring)
- Silicone-based lubricant (e.g., WD-40 Specialist Silicone) and White Lithium Grease
Step-by-Step Stair Climber Assembly Walkthrough
Phase 1: Base and Upright Mast Integration
Begin by laying the main base frame flat on your rubber mat. Attach the rear stabilizer bar first, securing it with the provided M10 x 60mm bolts. Pro-Tip: Do not fully tighten any bolts until all connecting points of a specific sub-assembly are threaded. This allows for micro-adjustments in the metal tolerances. Once all bolts are threaded, use your socket wrench to torque them down in a star pattern, ensuring even pressure distribution.
Next, insert the upright mast into the base receiver. This is the most critical step for full-sized climbers. The mast houses the internal wiring harness that connects the lower drive motor/sensor to the upper console.
Phase 2: The Wiring Harness (Avoiding the #1 Installation Failure)
Approximately 80% of home fitness equipment 'dead-on-arrival' console errors are caused by pinched wires during mast installation. As you slide the upright mast into the base, the internal data cable can easily become trapped between the steel tubing, severing the copper strands.
- Locate the male and female ends of the data cable.
- Use your fish tape to gently guide the cable through the center of the mast tube, ensuring it does not wrap around the exterior.
- Before tightening the mast securing bolts, manually pull 2 inches of slack from the top of the tube to ensure the connector is not bearing the weight of the wire.
- Click the connectors together firmly until you hear an audible snap, then secure the union with a piece of electrical tape to prevent vibration-induced disconnection.
Phase 3: Pedal Arms and Hydraulic Cylinders
For hydraulic stepper models, attaching the pedal arms requires precise alignment of the pivot bushings. Slide the nylon bushings into the pedal arm receivers, then insert the main pivot bolt. If the bolt resists, do not force it with a hammer; instead, use a rubber mallet to gently tap the arm into alignment. Attach the hydraulic cylinders to the lower bracket, ensuring the quick-release pins lock securely into place with a definitive 'click'.
Stair Climber vs. Treadmill: The Belly Fat Matrix
To understand why your newly assembled stair climber is a superior investment for body recomposition compared to a standard treadmill, review the biomechanical and logistical differences below.
| Metric | Home Stair Climber | Standard Motorized Treadmill |
|---|---|---|
| Visceral Fat Targeting | High (Continuous vertical core stabilization) | Moderate (Assisted by motorized belt) |
| Caloric Burn (30 min, 155lb user) | ~216 - 250 kcal | ~133 - 180 kcal (depending on incline) |
| Joint Impact (Knees/Hips) | Low (No repetitive striking force) | Moderate to High (Heel-strike impact) |
| Setup Footprint | Compact (approx. 2' x 3') | Expansive (approx. 3' x 7') |
| Maintenance Requirements | Pivot lubrication, chain tensioning | Belt alignment, deck waxing, motor vacuuming |
Calibration, Tensioning, and First Power-On
Once the physical assembly is complete, you must calibrate the machine before your first fat-burning interval session.
Chain Tension (Full-Sized Climbers)
If your unit utilizes a chain-driven pedal mechanism, locate the tensioner bolts on the rear axle. Using a 14mm wrench, adjust the bolts equally on both sides until the chain exhibits exactly 1/4 inch of vertical deflection when pressed in the center. A chain that is too tight will cause excessive motor draw and premature bearing failure; a chain that is too loose will slip and jerk during high-intensity climbs.
Hydraulic Resistance Calibration (Mini-Steppers)
For hydraulic models, turn the resistance knob to the maximum setting and take ten slow, deliberate steps. This primes the hydraulic fluid and bleeds any microscopic air bubbles trapped in the cylinder lines during shipping. Return the knob to a medium setting (usually level 4 or 5) for your baseline workout.
Troubleshooting Common Installation Errors
Even with meticulous assembly, you may encounter minor issues during the first week of use. Here is how to diagnose and fix them without calling a technician.
Issue 1: Squeaking or Clicking Pedals
The Cause: Metal-on-metal friction at the pivot bolt, or incorrect lubrication.
The Fix: Never use standard WD-40 on fitness equipment; it is a solvent that degrades nylon bushings and attracts dust. Instead, apply a small dab of White Lithium Grease directly to the pivot bolt threads and the interior of the nylon bushing. Wipe away any excess to prevent dust accumulation.
Issue 2: Console Displays 'E1' Error Code
The Cause: Speed sensor misalignment. The console cannot read the flywheel RPM.
The Fix: Unplug the machine. Remove the lower plastic shroud to expose the flywheel. Locate the magnetic reed switch (a small black sensor pointing at the wheel). The gap between the sensor tip and the flywheel magnet must be exactly 3mm to 5mm. If it was bumped during assembly, gently bend the sensor bracket until the gap is correct, then re-test.
Issue 3: Console Displays 'E2' Error Code
The Cause: Communication failure between the lower control board and the upper console.
The Fix: This almost always points to the wiring harness in the upright mast. Unplug the machine, detach the console, and inspect the wire connection. Ensure the pins inside the plastic housing are not bent and that the wire was not pinched against the steel frame during Phase 2 of assembly.
Expert Insight: To maximize belly fat loss on your newly assembled stair climber, avoid the 'handrail lean.' Leaning heavily on the support rails reduces caloric expenditure by up to 20% and disengages the deep transverse abdominis muscles required for core stabilization. Pump your arms or hold light 3lb dumbbells to force your core to manage your vertical balance.
Final Thoughts on Your Home Gym Setup
Investing the time to properly assemble, level, and calibrate your stair climber guarantees a safe, silent, and highly effective workout environment. While the market is saturated with marketing campaigns pushing the latest motorized treadmill for belly fat loss, the biomechanical superiority and space-saving footprint of a properly installed stair climber make it an unmatched asset for long-term body recomposition. Follow this walkthrough, respect the mechanical tolerances, and your machine will be ready to deliver years of high-MET, visceral-fat-burning performance.
More gear to consider
All reviews
Best Folding Treadmill for Stomach Fat & Small Spaces (2026)

Split Belt Treadmill Features: Buying Mistakes & Troubleshooting

Curved vs Motorized: Long Walk Movie Treadmill Screening Mistakes
Bowflex T16 Treadmill vs Under Desk Models: 2026 Office Review

How Many Steps in 1 Hour Walk on Treadmill? 2026 Walking Pad Trends