Rowing Machine Setup & Technique: Tandem Treadmill Alternative?
Master your rowing machine setup, assembly, and technique. Discover if this space-saving cardio staple is the right alternative to a tandem treadmill.

The Home Gym Dilemma: Rowing Machine vs. Tandem Treadmill
When designing a high-performance home cardio zone in 2026, space and electrical constraints often dictate your equipment choices. While a tandem treadmill is an incredible piece of engineering for dual-user rehabilitation, side-by-side coaching, or split-belt gait analysis, its massive footprint (often exceeding 80 by 40 inches) and requirement for a dedicated 20-amp circuit make it impractical for most residential spaces. The rowing machine, conversely, delivers a superior full-body cardiovascular and muscular endurance stimulus in a fraction of the footprint.
This comprehensive guide walks you through the complete setup, installation, and biomechanical technique of modern rowing machines, helping you determine if this low-impact powerhouse is the right alternative to bulkier cardio equipment.
Spatial & Electrical Footprint Comparison
| Feature | Standard Rowing Machine | Dual-Belt / Tandem Treadmill |
|---|---|---|
| In-Use Footprint | ~95" L x 24" W (16 sq ft) | ~80" L x 40" W (22+ sq ft) |
| Storage Footprint | 27" x 24" (Upright/Separated) | Non-foldable / 80" x 40" |
| Electrical Draw | None (Air/Magnetic) or Standard 15A | Dedicated 20A Circuit Required |
| Muscle Engagement | 86% of total muscle mass | Lower-body dominant |
Complete Installation Walkthrough: Assembling Your Rower
Whether you are unboxing the industry-standard Concept2 RowErg (priced around $990 in 2026) or a premium magnetic resistance model like the Hydrow Atlas ($3,495), proper assembly is critical to prevent mechanical wear and ensure accurate performance metrics.
Phase 1: Unboxing and Frame Alignment
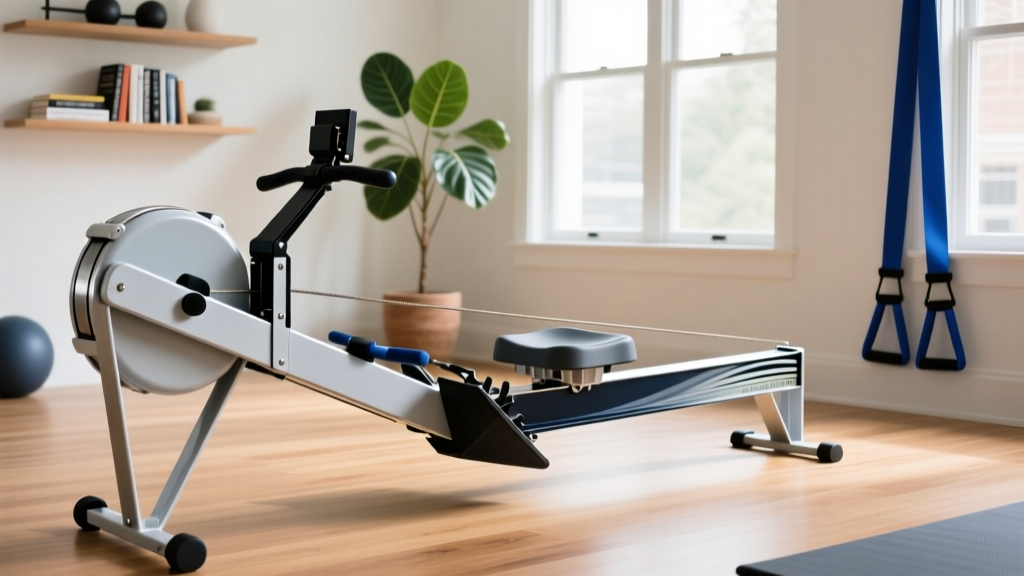
Most rowing machines ship in two primary pieces: the front caster assembly (housing the flywheel and resistance mechanism) and the monorail.
- Inspect the Rail: Before attaching the monorail to the front legs, run your fingers along the stainless steel or aluminum track. Any manufacturing burrs must be smoothed with fine-grit sandpaper to prevent premature wear on the seat rollers.
- Secure the Connection Bolts: Use the provided 10mm hex bolts to join the rail to the front housing. Crucial Step: Do not fully tighten the bolts until the machine is resting on the floor in its operational position. This allows the frame to settle into its natural geometry.
- Leveling the Feet: Place a 24-inch spirit level on the monorail. Adjust the threaded leveling feet on the front caster. If the machine tilts forward, the seat will drift toward the flywheel during the recovery phase, ruining your stroke rhythm and causing lower back strain.
Phase 2: Monitor and Bungee Calibration
For air-resistance models, the internal bungee cord dictates the chain retraction speed. Pull the chain fully out to the catch position and release it. The handle should snap back and seat flush against the chain guard in exactly 1.5 to 2 seconds. If it retracts sluggishly, consult your manual to adjust the bungee tension nut located inside the flywheel cage.
2026 Rowing Machine Buying Guide
Choosing the right rower depends on your noise tolerance, spatial constraints, and desire for interactive programming. Below is a matrix of the top-tier models dominating the 2026 market.
| Model | Resistance Type | 2026 Price Range | Best For |
|---|---|---|---|
| Concept2 RowErg | Air | $990 - $1,095 | Competitive athletes, CrossFit, durability |
| Hydrow Atlas | Electromagnetic | $3,495 | Immersive tech, quiet operation, guided coaching |
| NordicTrack RW900 | Magnetic / Silent | $1,699 | Apartment living, iFIT integration |
| WaterRower Natural | Water | $1,299 | Aesthetics, auditory feedback, smooth catch |
Mastering the Biomechanics: Rowing Technique
According to Harvard Health Publishing, rowing provides a highly efficient, low-impact cardiovascular workout that engages 86% of the body's musculature. However, improper setup and technique can lead to lumbar and rib injuries. The stroke is divided into four distinct phases.
Expert Warning: The most common failure mode among beginners is 'shooting the slide'—initiating the drive with the legs while the arms and back remain relaxed. This transfers the entire load to the lumbar erector spinae, leading to disc compression. The body must act as a rigid lever transferring leg power to the handle.
1. The Catch (Starting Position)
Shins should be perfectly vertical (or as close as ankle mobility allows). The torso is hinged forward at roughly 11 o'clock, with arms fully extended and lats engaged. The drag factor on a Concept2 should be set between 100-130 for aerobic base building, mimicking the water resistance of a real racing shell.
2. The Drive (Power Application)
The sequence is strictly Legs → Back → Arms. Push explosively through the mid-foot. The arms remain straight until the handle passes the knees. Once the legs are nearly fully extended, hinge the hips open to 1 o'clock, and finally, draw the handle to the lower sternum.
3. The Finish
Legs are fully extended, torso leaned back slightly (1 o'clock), and the handle is pulled into the lower ribcage. The core must be braced tightly to protect the lower back at this point of maximum leverage.
4. The Recovery
The exact reverse of the drive: Arms → Body → Legs. Extend the arms fully, hinge the torso forward past the knees, and only then allow the knees to bend as you slide back to the catch. The recovery should take twice as long as the drive (a 2:1 ratio).
For visual learners, the Concept2 Technique Guide offers frame-by-frame video breakdowns of these phases, which remain the gold standard for ergometer coaching.
Troubleshooting Common Setup and Technique Failures
| Issue | Root Cause | Corrective Action |
|---|---|---|
| Seat Drifts Forward at Rest | Monorail is not level; front legs are too high. | Adjust front leveling feet downward until the spirit level is perfectly centered. |
| Chain Slipping / Jerky Feel | Lack of lubrication or worn sprocket teeth. | Apply purified mineral oil every 50 hours of use. Do not use WD-40. |
| Lower Back Pain Post-Workout | Shooting the slide; core disengagement at the catch. | Reduce stroke rate to 18-20 SPM; focus on bracing the core before leg drive. |
| Monitor Losing Power Mid-Row | Failing alternator or corroded battery contacts. | Clean AA battery contacts with isopropyl alcohol; check flywheel alternator wiring. |
Maintenance Protocol for Longevity
To ensure your rowing machine outlasts even the most robust commercial treadmill, adhere to a strict maintenance schedule. Wipe down the monorail with a non-abrasive cleaner after every session to remove seat roller dust. For air rowers, inspect the chain for stretching every 6 months; if the chain rides up over the teeth of the cog, it must be replaced. Water rowers require the addition of a purification tablet every 6-12 months to prevent algae buildup in the polycarbonate tank.
Frequently Asked Questions
Can a rowing machine replace my treadmill for marathon prep?
While rowing builds immense aerobic capacity and VO2 max without the impact forces associated with running, it does not condition the specific tendons and ligaments required for the repetitive impact of a 26.2-mile run. Use the rower for cross-training and active recovery, but maintain specific run mileage for bone and joint adaptation.
Is a rowing machine safer for joint rehab than a tandem treadmill?
Yes. According to the Mayo Clinic, low-impact aerobic exercises like rowing are highly recommended for joint rehabilitation because they elevate the heart rate without subjecting the knees, hips, and ankles to ground reaction forces. A tandem treadmill, while useful for supervised gait retraining, still involves impact loading that may be contraindicated for acute joint injuries.
How much ceiling height do I need for a rowing machine?
Unlike treadmills which require significant overhead clearance for the user's height plus the deck elevation, rowing machines sit close to the floor. You only need enough ceiling height to sit upright at the finish position. A standard 7-foot ceiling is more than adequate for any user under 6'5".
More gear to consider
All reviews
Rowing Machine Troubleshooting & NordicTrack T 6.5 S Treadmill Specs
Air Bike vs Assault Bike Guide: Skip ProForm Treadmill Installation

Is Walking on a Treadmill Good for Weight Loss? Feature Buying Guide

Can a Plane Take Off on a Treadmill? Stair Climber Setup Guide

HealthRider S300i Treadmill: Small Space Value Analysis