
Rowing Machine Buying Guide and Lifespan Treadmill Maintenance
Master your home gym with our beginner rowing machine buying guide and technique steps, plus essential lifespan treadmill maintenance tips for 2026.

The Ultimate Home Cardio Expansion: Adding a Rower to Your Treadmill
Transitioning from a single-machine home gym to a comprehensive dual-cardio setup is one of the smartest fitness investments you can make in 2026. While your treadmill handles lower-body endurance and incline walking, adding a rowing machine introduces a zero-impact, full-body stimulus that engages 86% of your muscle mass. However, expanding your equipment roster means you now have two major machines to care for. This beginner-friendly guide will walk you through choosing and mastering your first rower, while providing a critical checklist for lifespan treadmill maintenance to ensure your original investment survives the long haul.
Step 1: The Beginner's Rowing Machine Buying Matrix
Not all rowers are created equal. The resistance type dictates the noise level, footprint, and feel of the stroke. Below is a comparison of the top three beginner-to-intermediate rowers dominating the 2026 home fitness market.
| Model | Resistance Type | Price Range (2026) | Footprint (L x W) | Best For |
|---|---|---|---|---|
| Concept2 RowErg | Air | $1,100 - $1,250 | 8'0" x 2'0" | Purists, data nerds, and competitive cross-trainers. |
| Hydrow Arc | Electromagnetic | $1,695 - $1,895 | 6'8" x 1'9" | Beginners wanting guided, scenic, and quiet workouts. |
| XTERRA ERG600 | Magnetic | $599 - $699 | 6'5" x 1'8" | Budget-conscious buyers with limited space. |
Expert Insight: If you live in an apartment or share a room, avoid air rowers (like the Concept2) as they can reach 70-80 decibels at high stroke rates. Electromagnetic and magnetic rowers operate at roughly 40-50 decibels, making them ideal for early morning or late-night sessions.
Step 2: Mastering the Rowing Stroke (Step-by-Step)
Rowing is a power-endurance movement, not a frantic pulling exercise. According to Concept2's official technique guide, the stroke is divided into four distinct phases. The power distribution should always be roughly 60% legs, 20% core, and 20% arms.
1. The Catch (The Setup)
- Slide forward until your shins are completely vertical (do not let your heels lift off the footplates).
- Hinge at the hips so your torso is angled forward at roughly 11 o'clock.
- Arms are fully extended, shoulders relaxed, and lats engaged.
2. The Drive (The Power Phase)
- Legs: Push explosively through your heels. Your arms and torso angle must remain frozen during the first half of the drive.
- Core: Once the handle passes your knees, swing your torso from 11 o'clock to 1 o'clock.
- Arms: Finally, draw the handle into your lower ribs (just below the sternum).
3. The Finish
- Legs are fully extended (but not hyperextended or locked out).
- Torso is leaning back slightly at 1 o'clock.
- Handle is resting lightly against your lower ribs, elbows drawn back.
4. The Recovery (The Reset)
- This phase must take twice as long as the drive (a 1:2 ratio).
- Extend your arms fully first.
- Hinge your torso forward from the hips back to 11 o'clock.
- Once your hands clear your knees, bend your knees and slide back into the Catch.
The most common beginner mistake is pushing with the legs before the torso angle changes, causing the hips to shoot forward while the handle stays behind. This transfers all the load to your lower back. Always ensure your handle and seat move backward together during the initial drive.
Step 3: Crucial Lifespan Treadmill Maintenance
While you master the rower, don't neglect your original cardio staple. Proper lifespan treadmill maintenance—whether you own a machine by the brand Lifespan Fitness (like the popular TR3000i or TR7000i) or simply want to maximize the literal lifespan of your NordicTrack or Sole treadmill—is non-negotiable. Failing to maintain the deck and belt is the number one cause of premature motor burnout.
The 3-Step Treadmill Longevity Protocol
- Monthly Motor Hood Vacuuming: Treadmill motors pull in ambient room air for cooling. Pet hair, dust, and carpet fibers accumulate on the motor's cooling fan and lower board. Once a month, unplug the machine, remove the front plastic motor hood (usually 3-4 Phillips head screws), and use a vacuum hose to clear the debris. This prevents the motor from overheating and tripping the thermal breaker.
- Quarterly Silicone Lubrication: Friction between the walking belt and the wooden/MDF deck draws massive amperage. Every 3 months (or every 130 miles), lift the belt and apply exactly 1 oz of 100% pure silicone treadmill lubricant down the center of the deck. Never use WD-40 or petroleum-based products, which will melt the belt backing. Industry data from the Treadmill Doctor confirms that proper lubrication can extend motor life by up to 40%.
- Bi-Annual Belt Tensioning: If your belt slips or stutters when your foot strikes the deck, it needs tensioning. Locate the two rear roller adjustment bolts at the back end caps. Turn both bolts clockwise by exactly one-quarter (1/4) turn. Test the belt. The ideal tension allows you to lift the belt exactly 2 to 3 inches off the deck at the midpoint. Over-tightening will destroy the roller bearings.
Step 4: Structuring Your First Week (Rower + Treadmill Split)
Combining the high-impact, weight-bearing nature of the treadmill with the zero-impact, posterior-chain focus of the rower creates a perfectly balanced cardiovascular profile. The American Heart Association recommends at least 150 minutes of moderate-intensity aerobic activity per week. Here is a beginner-friendly split that utilizes both machines while allowing for adequate recovery.
| Day | Machine | Workout Structure | Focus & Intensity |
|---|---|---|---|
| Monday | Rowing Machine | 15 Min: 1 min hard / 1 min easy intervals | VO2 Max & Anaerobic Threshold (Rate 26-28 SPM) |
| Tuesday | Treadmill | 30 Min: Incline Walking (10% incline, 3.0 mph) | Zone 2 Cardio & Glute Activation |
| Wednesday | Rest | Active Recovery (Light stretching/yoga) | Mobility & CNS Recovery |
| Thursday | Rowing Machine | 20 Min: Steady State (Rate 20-22 SPM) | Aerobic Base Building & Form Refinement |
| Friday | Treadmill | 25 Min: Flat Jog / Run (0% incline) | Endurance & Bone Density Loading |
| Weekend | Either / Both | 45 Min: "Mix & Match" (e.g., 10 min row, 20 min walk, 15 min row) | Caloric Expenditure & Mental Freshness |
Frequently Asked Questions
Q: Do I need a special mat for my rowing machine?
A: Yes. While treadmills usually have built-in rubber feet, rowing machines slide backward with every stroke if placed on hardwood. Invest in a high-density PVC equipment mat (at least 4mm thick) that extends at least 2 feet behind the rower's rail to catch sweat and prevent floor scuffing.
Q: How do I know if my treadmill deck is worn out beyond lubrication?
A: Perform the "burn test." Run the treadmill at 3 mph and walk on it. If you smell a distinct hot rubber or burning wood odor, or if the motor housing is hot to the touch, the deck's factory wax coating has likely worn through to the raw MDF. At this point, lubrication will only offer a temporary fix, and the deck/belt combo must be replaced (typically a $150–$250 repair for most mid-tier 2026 models).
Q: What is a good "Drag Factor" for a beginner on an air rower?
A: Most beginners mistakenly set the damper lever to 10, thinking it equals a "heavier boat." In reality, a damper setting of 3 to 5 (yielding a drag factor between 110 and 130) best simulates the hydrodynamics of a sleek racing shell on water, allowing you to maintain proper form without prematurely exhausting your lower back.
More gear to consider
All reviews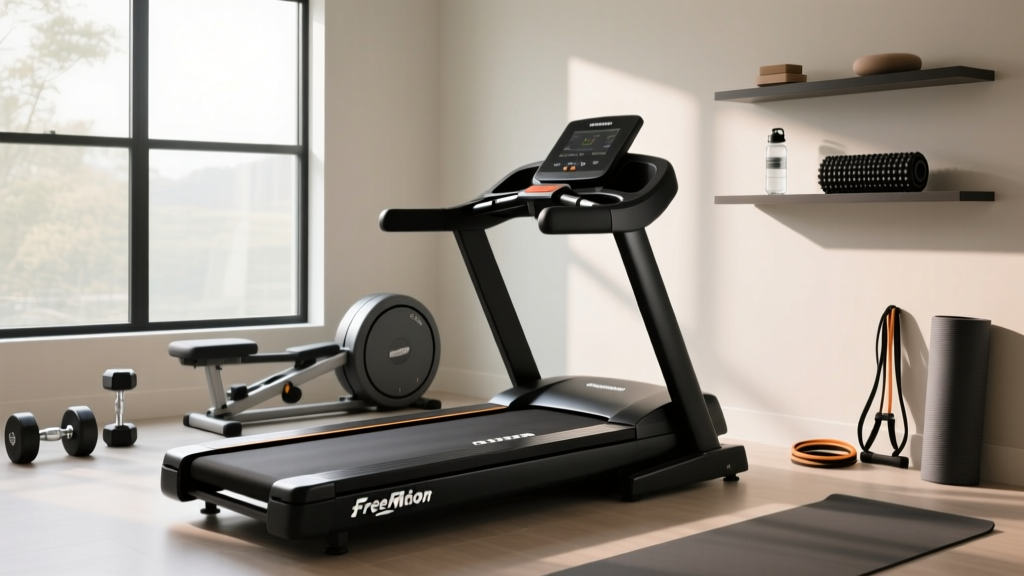
FreeMotion 890 Treadmill Motor Guide & Installation Setup
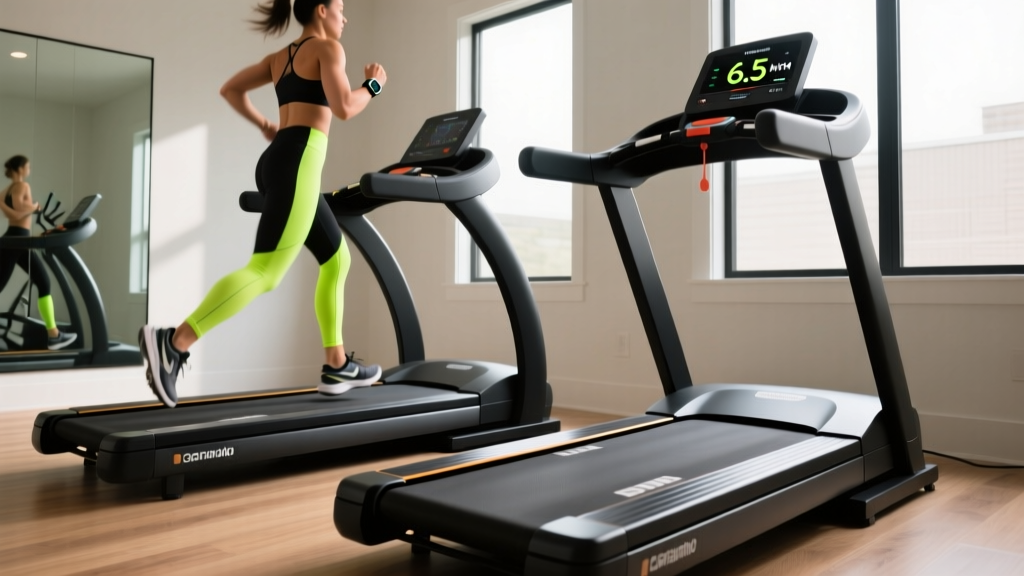
How Fast Is 6.5 On A Treadmill? Curved vs Motorized Guide

Top Density Alternatives to Tracker: Real-World Performance, Fitment, and Value Comparison for Automotive Enthusiasts

Compact Cardio Layouts: Skip Replacing Treadmill Motor Parts

Folding Treadmill Review: Avoiding The Treadmill and the Poor Law
