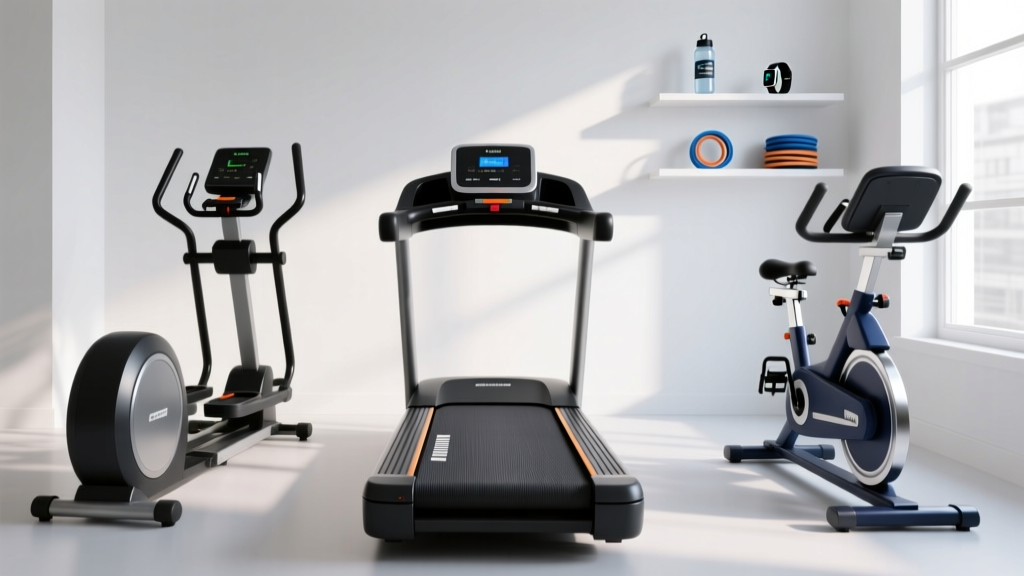
Reebok Jet Series Treadmill Setup: Curved vs Motorized
Master your Reebok Jet Series treadmill setup with our step-by-step installation guide, plus a deep-dive comparison of curved manual vs motorized models.

Curved Manual vs. Motorized Treadmills: The Core Differences
When designing a home gym in 2026, the debate between a curved manual treadmill and a traditional motorized unit like the Reebok Jet series treadmill is a primary consideration for cardio enthusiasts. While curved treadmills (such as the Woodway Curve or AssaultRunner) have surged in popularity for high-intensity interval training (HIIT) and self-paced biomechanics, motorized models remain the gold standard for steady-state endurance, guided programming, and accessible joint-friendly walking.
Before we unbox the hardware, it is critical to understand how your choice impacts your installation environment. Curved manual treadmills require zero electrical infrastructure but demand significant floor load capacity (often exceeding 350 lbs) and specialized bearing maintenance. Conversely, the Reebok Jet series (encompassing models like the Jet 100, Jet 200, and Jet 300) relies on a continuous-duty DC motor, requiring dedicated electrical circuits and precise belt tensioning during setup.
Head-to-Head Comparison Matrix
| Feature | Curved Manual Treadmill | Motorized (Reebok Jet Series) |
|---|---|---|
| Power Requirement | None (Self-powered via user stride) | Standard 110V/120V (US) or 220V/240V (EU/UK) |
| Assembly Time | 30-45 minutes (Pre-assembled deck) | 60-90 minutes (Uprights, console, wiring) |
| Footprint & Clearance | 70' x 33' (No rear clearance needed) | 78' x 32' (Requires 6ft rear safety clearance) |
| Caloric Expenditure | Up to 30% higher (per ACE Fitness studies) | Standard baseline (dependent on incline/speed) |
| Maintenance Focus | Slat bearings and magnetic resistance calibration | Silicone belt lubrication and motor compartment dusting |
Pre-Installation Requirements for the Reebok Jet Series
Proper preparation prevents 90% of post-assembly failures. The Reebok Jet series features a heavy-gauge steel frame and a soft-drop hydraulic folding mechanism, meaning the base unit is exceptionally dense. Do not attempt to move the boxed unit up a flight of stairs without a two-person team and a furniture dolly.
Safety & Clearance Warning:According to the U.S. Consumer Product Safety Commission (CPSC), motorized treadmills require a minimum clearance of 2 feet on each side and at least 6 feet directly behind the machine. This rear clearance is non-negotiable; in the event of a slip, the user must have a safe ejection zone rather than impacting a wall or furniture. Furthermore, ensure your chosen outlet is on a dedicated 15-amp circuit to prevent voltage drops that can damage the Jet series motor control board.
Required Tools Checklist
- Hardware Kit: Included in a blister pack taped under the main deck (Contains M8 x 20mm bolts for uprights, M6 x 15mm for console, and safety key).
- 13mm Socket Wrench: For securing the base stabilizers.
- Phillips #2 Screwdriver: For console faceplate screws.
- Allen Key Set (Metric): 5mm and 6mm keys are required for belt tensioning and handlebar adjustments.
- Zip Ties & Wire Cutters: For internal cable management.
Step-by-Step Reebok Jet Series Assembly Walkthrough
Phase 1: Base and Stabilizer Installation
- Unboxing: Cut the heavy-duty zip ties securing the cardboard box. Carefully slide the box off the treadmill rather than lifting the machine out. Remove all styrofoam end-caps.
- Front Stabilizer: Attach the front T-bar stabilizer using the four M8 x 25mm hex bolts. Use the 13mm socket wrench to tighten them in a star pattern to ensure even pressure on the welding joints.
- Rear Stabilizer: Attach the rear stabilizer bar. Critical Edge Case: Do not overtighten the rear bolts yet. The rear roller requires microscopic lateral adjustments later for belt alignment. Tighten them to 80% torque for now.
- Hydraulic Lift Test: Before standing the machine up, locate the hydraulic soft-drop cylinder near the front motor hood. Ensure the locking latch engages smoothly when you lift the deck slightly.
Phase 2: Upright Routing and Console Mounting
This is the most common point of failure in home treadmill assembly. Pinching the data cable between the steel upright and the plastic housing will result in a blank console and voided warranty.
- Left Upright: Slide the left upright post onto the base mount. Feed the pre-routed console wire through the center of the post. Secure with the provided M8 x 20mm bolts.
- Right Upright: Repeat on the right side. Ensure the pulse-grip heart rate sensor wires (if applicable to your specific Jet model) are plugged into the secondary harness before tightening.
- Console Connection: With a second person holding the console assembly, connect the main data ribbon cable. Push firmly until you hear a definitive 'click'. Secure the console to the uprights using the M6 x 15mm Phillips screws.
Belt Tensioning, Alignment, and First Run
Out of the box, the Reebok Jet series running belt may sit slightly off-center due to shipping vibrations. Do not run the machine at high speeds until you have verified the belt tracking.
Pro-Tip for Belt Alignment: Plug in the machine, insert the red magnetic safety key, and set the speed to exactly 3.0 MPH. Stand on the side rails and observe the rear edge of the belt. If the belt drifts to the left, insert the 6mm Allen key into the left rear end cap bolt and turn it clockwise by exactly one-quarter (1/4) turn. Wait 15 seconds for the belt to self-center. Never turn the bolts more than a half-turn at a time, as this will over-tension the belt and cause premature motor strain.
Entering the Reebok Engineering Calibration Mode
To ensure the speed and incline sensors are reading accurately, you should run the factory calibration sequence upon first boot:
- Remove the safety key from the console.
- Press and hold the STOP and SPEED UP (+) buttons simultaneously for 5 seconds.
- Re-insert the safety key. The display will flash 'CAL' or 'ENG'.
- Press 'START'. The treadmill will automatically cycle through its top speed (usually 10-12 MPH depending on the Jet model) and test the maximum incline (typically 12% to 15%).
- Do not stand on the belt during this process. Once the machine stops and beeps, the calibration is saved to the EEPROM chip.
Long-Term Maintenance: Motorized vs. Curved
Understanding the long-term upkeep of your equipment ensures your investment lasts well into the late 2020s. The maintenance paradigms for motorized and curved treadmills are fundamentally different.
Maintaining the Reebok Jet Series (Motorized)
- Silicone Lubrication: The Jet series uses a low-friction PVC belt over an MDF/phenolic deck. You must apply 100% pure silicone treadmill lubricant (approx. 15ml) under the belt every 150 miles or every 3 months. Failure to do so increases amperage draw on the DC motor, leading to control board burnout.
- Motor Hood Vacuuming: Every 6 months, unplug the unit, remove the three Phillips screws on the front motor hood, and use a soft-brush vacuum attachment to remove carbon dust from the motor brushes and drive belt debris.
Maintaining Curved Manual Treadmills
- Bearing Greasing: Curved treadmills rely on dozens of individual slats attached to a continuous track via ball bearings. Annually, you must inspect the track tension and apply lithium-based grease to the master drive sprockets.
- Slat Replacement: While the motor is non-existent, the rubber slats absorb immense impact. Expect to replace individual worn slats every 3 to 5 years depending on mileage and user weight.
Frequently Asked Questions
Can I assemble the Reebok Jet series treadmill on carpet?
Yes, but it is highly recommended to place a high-density EVA foam or rubber equipment mat underneath. Carpet fibers trap dust, which the treadmill's motor cooling fan will actively suck into the motor housing, drastically reducing the lifespan of the internal components. Furthermore, a mat provides a level surface, preventing the frame from twisting and causing chronic belt-tracking issues.
Why is my console displaying an 'E1' or 'E2' error code after setup?
An 'E1' error typically indicates a communication failure between the console and the lower motor control board. This almost always occurs if the data ribbon cable was not fully seated during Phase 2 of assembly. Unplug the machine from the wall, unscrew the console, and reseat the ribbon cable. An 'E2' error usually points to a speed sensor misalignment; ensure the optical sensor near the front roller is clean and aligned with the slotted disc.
Is a curved manual treadmill better for knee rehabilitation than the Reebok Jet?
It depends on the phase of rehab. Curved treadmills encourage a forefoot strike and require the user to generate all forward momentum, which places higher initial loads on the Achilles and calf complex. The Reebok Jet series, with its cushioned Air Motion deck and forced-pace motor, is generally superior for early-stage, low-impact walking rehabilitation where controlled, consistent pacing is required by a physical therapist.
More gear to consider
All reviews
Beyond Tony Little Treadmill Reviews: Motor Size & Horsepower Guide

LSG Focus M3 Treadmill vs Curved Manual: Step-by-Step Guide

Curved vs Motorized: The Ultimate 15 Minute HIIT Treadmill Guide

Rowing Machine Setup: Avoid Aligning Treadmill Belt Hassles

AlterG Treadmill Cost vs. Assault Air Bike Maintenance Guide