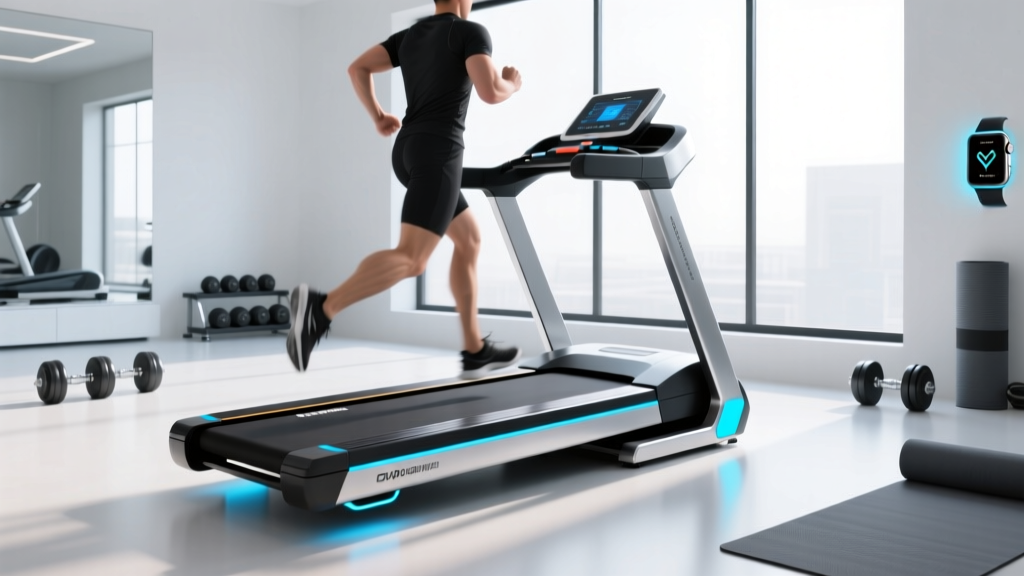
Gravity-Free Treadmill Buying Guide & Setup Walkthrough
Compare top gravity-free treadmill features and follow our complete setup and installation walkthrough for unweighting cardio systems at home or in the clinic.

The concept of a 'gravity-free' running experience has transitioned from elite sports medicine clinics into high-end home gyms and longevity centers. If you are researching a treadmill gravity free system for joint rehabilitation, marathon training, or general low-impact cardio, you are likely looking at unweighting technologies. These systems utilize either Differential Air Pressure (DAP) or overhead bungee harnesses to reduce your effective body weight by up to 80%, drastically decreasing ground reaction forces on the knees, hips, and spine.
However, purchasing and installing an unweighting treadmill is vastly more complex than unboxing a standard motorized treadmill. This comprehensive buying guide and installation walkthrough will compare the leading technologies on the market in 2026 and provide a step-by-step setup protocol to ensure your equipment is safely calibrated and structurally sound.
Buying Guide: Feature Comparison of Unweighting Technologies
Before unboxing, you must select the right unweighting architecture for your space and budget. According to the U.S. Food and Drug Administration (FDA), many of these devices are classified as Class II medical devices, meaning they are held to rigorous safety and manufacturing standards. Below is a comparison of the three primary 'gravity-free' treadmill categories available in 2026.
| Technology Type | Leading Brand (2026) | Max Unweighting | Avg. Price Range | Installation Complexity | Best Use Case |
|---|---|---|---|---|---|
| Differential Air Pressure (DAP) | AlterG (ViaTRAK / AlterG) | 80% (in 1% increments) | $18,500 - $28,000 | High (Freight + 2 Techs) | Clinical rehab, elite athletic recovery |
| Air Capsule Enclosure | Boost Treadmill System | 80% (in 5% increments) | $14,000 - $22,000 | High (Freight + 2 Techs) | Prosumer home gyms, physical therapy |
| Overhead Bungee Harness | LEVER System | ~25% (Up to 45 lbs off) | $2,495 + Treadmill | Medium (Ceiling Mounting) | Budget-conscious runners, home garages |
Key Features to Evaluate Before Purchase
- Unweighting Granularity: AlterG allows 1% body weight adjustments, which is critical for post-operative protocols where exact load-bearing percentages are prescribed by orthopedic surgeons.
- Belt Dimensions: Ensure the running surface is at least 20 inches wide and 55 inches long. DAP enclosures can restrict stride length if the belt is too short.
- Force Plate Integration: Premium 2026 models include embedded force plates that measure left/right stride asymmetry in real-time, a vital metric for injury prevention.
Pre-Installation Site Requirements
Unweighting treadmills, particularly DAP models, are highly sensitive to environmental factors. Do not take delivery until your site meets the following strict criteria:
⚠️ Critical Electrical Warning: DAP treadmills utilize high-draw air compressors to maintain the pressure differential. You must have a dedicated 20-amp circuit with a NEMA 5-20R receptacle. Sharing this circuit with HVAC systems or other heavy appliances will trip the breaker and potentially damage the treadmill's logic board during the pressure-seal boot sequence.- Floor Leveling: The floor must be level within 1/8 inch over a 10-foot span. An unlevel floor will cause the air capsule to warp, leading to catastrophic pressure leaks and compressor burnout.
- Ceiling Clearance: DAP units require a minimum ceiling height of 7'2". Overhead harness systems (like LEVER) require a minimum of 8'4" to allow for full vertical oscillation during running.
- Clearance Zones: Maintain 36 inches of clearance on the sides and rear of the machine to allow the air compressor intake and exhaust to function without overheating.
Step-by-Step Installation Walkthrough (DAP System Focus)
Because Differential Air Pressure systems represent the gold standard for gravity-free cardio, the following walkthrough focuses on the setup of a commercial-grade DAP treadmill. Note: Always defer to the manufacturer's specific manual, as firmware and chassis designs vary.
Step 1: Freight Delivery and Positioning
- Uncrating: DAP treadmills ship via LTL freight on a reinforced pallet, weighing between 800 and 1,100 lbs. Use a pallet jack to move the unit to the installation room. Do not use a standard appliance dolly; the air capsule housing is fragile and prone to cracking under uneven point-loads.
- Placement: Position the treadmill so the user faces into the room (not a wall) to prevent claustrophobia when zipped into the enclosure. Leave the 36-inch rear clearance for the compressor.
Step 2: Power and Pneumatic Boot-Up
- Plug the main power cord into the dedicated 20A NEMA 5-20R outlet.
- Power on the main console. The system will initiate a 3-minute self-diagnostic, testing the air valves and belt motor.
- Listen for the compressor. It should engage smoothly without high-pitched whining, which indicates a restricted intake filter.
Step 3: Enclosure Seal and Calibration
The most critical step in setting up a gravity-free treadmill is calibrating the air seal. The user must wear specialized neoprene shorts with a molded rubber skirt that zips into the treadmill's enclosure.
- Have a test user step onto the belt and zip the skirt into the enclosure ring.
- From the console, select 'Calibration Mode'. The treadmill will inflate the capsule, lifting the user slightly.
- The system will measure the user's exact weight by calculating the air pressure required to achieve neutral buoyancy.
- Verify the seal: Run your hand around the zipper track. You should feel zero air escaping. If you feel a draft, stop the machine, unzip, apply the manufacturer-provided silicone zipper lubricant, and re-seal.
Alternative Walkthrough: Overhead Harness Rigging
If you opted for a harness-based system like the LEVER system, the treadmill itself requires standard assembly, but the overhead rigging demands precise structural engineering.
Pro-Tip: Never mount an overhead unweighting harness to drywall or drop-ceiling grids. The dynamic load of a runner falling into the harness can exceed 600 lbs of downward force.
- Locate Joists: Use a stud finder to locate two adjacent ceiling joists (typically spaced 16 inches on center).
- Drill Pilot Holes: Drill 1/4-inch pilot holes directly into the center of the joists.
- Secure the Mounting Plate: Using 3/8-inch x 3-inch structural lag screws, secure the overhead pulley plate. Torque the screws to 40 ft-lbs using a torque wrench to ensure the wood is not stripped.
- Thread the Bungee: Route the specialized low-stretch bungee cord through the pulleys and attach the carabiner to the running harness.
Troubleshooting Common Setup Edge Cases
Even with meticulous installation, gravity-free treadmills can present unique technical hurdles during the first few weeks of use.
| Issue | Probable Cause | Solution |
|---|---|---|
| Compressor runs continuously but fails to reach target unweighting %. | Micro-tear in the neoprene skirt or dirty zipper track. | Inspect skirt for punctures. Clean zipper track with isopropyl alcohol and reapply silicone lube. |
| Console displays 'Stride Asymmetry Error'. | Treadmill is not perfectly level, causing force plates to misread impact. | Use a machinist level on the belt deck. Adjust the rear leveling feet until the bubble is perfectly centered. |
| Harness system causes shoulder chafing. | Incorrect pulley height or bungee tension. | Adjust the overhead pulley so it sits exactly 12 inches above the user's head when standing tall. Loosen bungee tension by one knot. |
Final Thoughts on Gravity-Free Cardio
Investing in a gravity-free treadmill is a commitment to joint longevity and accelerated recovery. Whether you choose the clinical precision of a $25,000 DAP system or the accessible, garage-friendly setup of an overhead harness, proper installation is non-negotiable. By adhering to strict electrical requirements, ensuring sub-millimeter floor leveling, and executing precise seal calibrations, your unweighting treadmill will provide years of safe, impact-free miles.
More gear to consider
All reviews
Vision Fitness Treadmill T9600 vs Portable Cardio Trends 2026

Compact Layouts: Running Program for Treadmill & Bike Pairings
Home Stair Climber vs Treadmill That Produces Electricity

ProShox 2 Treadmill vs Elliptical: 2026 Home Cardio Trends

T Series 16 Treadmill vs Elliptical: Maintenance & Lifespan
