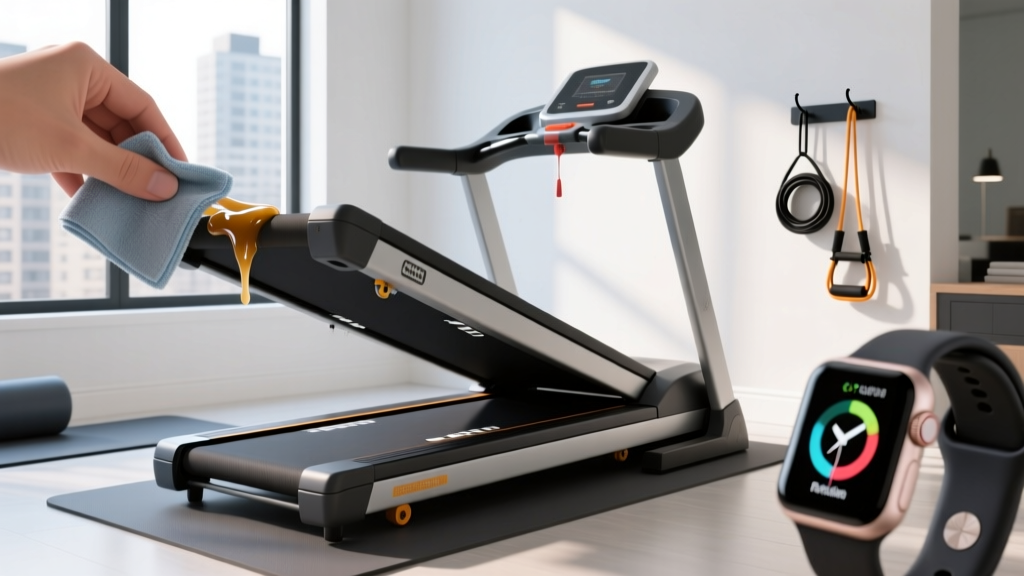
Can You Use FSA for Treadmill Belt Maintenance and Lubrication?
Learn if you can use FSA for treadmill belt maintenance. Plus, expert DIY lubrication steps, silicone types, and tensioning guides to extend motor life.

The FSA Verdict: Navigating IRS Rules for Treadmill Upkeep
When outfitting a home gym for health reasons, a common question arises: can you use fsa for treadmill purchases and their ongoing upkeep? The short answer is nuanced. According to IRS Publication 502, Flexible Spending Account (FSA) and Health Savings Account (HSA) funds can only be used for medical equipment if it is primarily for the 'diagnosis, cure, mitigation, treatment, or prevention of disease.' If a physician prescribes a treadmill for a specific medical condition—such as obesity management or cardiovascular rehabilitation, in alignment with American Heart Association guidelines—you can use FSA funds to buy the machine using a Letter of Medical Necessity (LMN).
However, when it comes to treadmill belt maintenance and lubrication, FSA eligibility drops off sharply. Over-the-counter 100% silicone treadmill lubricants are classified by the IRS as general fitness and wellness supplies, not medical treatments. Therefore, unless your physical therapist explicitly bills the lubricant as part of a prescribed, itemized home-therapy equipment lease, you will likely need to pay for belt maintenance out-of-pocket. Fortunately, mastering DIY treadmill belt lubrication is incredibly cost-effective, saving you the $150 to $250 annual technician fees charged by most in-home fitness repair services in 2026.
Why Belt Lubrication is Non-Negotiable for Motor Longevity
The walking belt on your treadmill is typically made of polyvinyl chloride (PVC) or a polyurethane blend, gliding over a deck made of medium-density fiberboard (MDF) or coated phenolic resin. Without a proper layer of 100% silicone lubricant, the coefficient of friction between the belt and the deck increases exponentially.
This friction directly impacts the drive motor's amp draw. A well-lubricated treadmill, such as the Sole F80 or Horizon 7.4, will draw between 4 to 6 amps under a 175-pound user walking at 3.5 MPH. When the belt dries out, that amp draw can spike to 12 to 15 amps. This excessive electrical current generates severe heat in the motor windings and the lower control board. Over time, this thermal stress degrades the Insulated-Gate Bipolar Transistor (IGBT) on the motor controller board, leading to a catastrophic failure that costs upwards of $350 to replace in today's market.
CRITICAL WARNING: Never use WD-40, silicone spray from a hardware store, or petroleum-based solvents on your treadmill. Hardware store silicone sprays often contain petroleum distillates as propellants, which will chemically dissolve the PVC backing of your walking belt and permanently ruin the MDF deck. Only use 100% pure liquid silicone oil formulated specifically for fitness equipment.Choosing the Right Lubricant: 100% Silicone vs. Alternatives
Not all lubricants are created equal. Using the wrong compound can void your manufacturer warranty and destroy your deck. Below is a breakdown of the lubricant types you will encounter and their viability for modern cardio machines.
| Lubricant Type | Composition | Verdict & Best Use Case |
|---|---|---|
| 100% Liquid Silicone | Pure polydimethylsiloxane | Best Overall. Required by 90% of residential brands (Sole, NordicTrack, Horizon, ProForm). |
| Silicone Gel / Paste | Silicone with thickening agents | Use with Caution. Sometimes used in commercial Life Fitness models, but can cause uneven glide on residential decks. |
| Teflon / PTFE Spray | Polytetrafluoroethylene | Avoid. Dries out quickly and leaves a chalky residue that increases friction over time. |
| Wax-Based Coatings | Paraffin or beeswax blends | Legacy Only. Found on older Precor models. Do not use on modern PVC belts. |
Step-by-Step DIY Belt Lubrication Guide
Most manufacturers recommend lubricating your treadmill every 150 miles or every 3 to 6 months, depending on usage intensity and ambient humidity. Here is the professional-grade procedure for applying liquid silicone without losing your belt tension or alignment.
Step 1: The Lift and Slide Test
Before applying new lubricant, verify that the belt actually needs it. Reach under the center of the walking belt and lift it. You should feel a slight, slick residue on your fingers. If your fingers come away completely dry, or if the belt feels gritty and resistant to lifting, it is time to lubricate.
Step 2: Loosen the Rear Roller
Unplug the treadmill from the wall. Locate the two end caps at the rear of the treadmill. Using the correct Allen wrench (typically a 6mm or 8mm hex key, depending on your brand), turn both the left and right rear roller adjustment bolts exactly three full turns counter-clockwise. This releases the tension on the walking belt, allowing you to slide your hand underneath. Keep track of your turns; you will need to reverse them exactly later.
Step 3: Apply the Silicone
Using an applicator wand or a specialized squeeze bottle, apply exactly 1 ounce (30 ml) of 100% liquid silicone. Spread it in a zig-zag or 'Z' pattern across the width of the deck, reaching as close to the center of the machine as possible. Do not over-apply; excess silicone will seep out the sides, creating a slipping hazard on your floor and attracting dust.
Step 4: Re-Tension and Center
Turn both rear roller bolts exactly three full turns clockwise to restore the original tension. Plug the machine back in, stand on the side rails, and start the treadmill at 3.0 MPH. Walk on the belt for 3 to 5 minutes to allow the silicone to distribute evenly across the deck. If the belt drifts to the left or right, make quarter-turn adjustments to the rear roller bolts until it tracks perfectly in the center.
Expert Tip: If you have to make more than two full turns on the rear roller bolts to get proper tension, your walking belt has likely stretched beyond its usable limit and needs replacement, regardless of lubrication.
Diagnosing Belt Wear: When to Replace vs. Just Lubricate
Lubrication solves friction issues, but it cannot fix physical degradation. As you perform your maintenance, inspect the belt for the following failure modes that require a full replacement (typically costing between $150 and $300 for OEM parts in 2026):
- Delamination: If you see bubbles or separation between the top PVC tread layer and the bottom cotton/polyester glide layer, the belt is structurally compromised.
- Frayed Edges: Minor fuzzing is normal, but if the structural threads on the edges are snapping, the belt will soon tear under the stress of the motor's torque.
- Seam Separation: Run your hand along the underside seam where the belt is joined. If you feel a raised, cracking ridge, the heat from friction has melted the adhesive joint.
- Deck Grooving: If you can feel a distinct 'valley' or dip worn into the center of the wooden deck beneath the belt, the deck itself must be replaced alongside the belt. A new belt on a grooved deck will wear out in less than 30 days.
Advanced Troubleshooting: Drive Belt vs. Walking Belt Slippage
A common mistake home users make is confusing walking belt slippage with drive belt slippage. If you step onto the treadmill, the motor hums, but the belt hesitates before jerking forward, this is walking belt slippage (solved by the tensioning steps above).
However, if you step on the machine and the front roller stops moving entirely while you hear a high-pitched squealing or burning rubber smell from the motor hood, you are experiencing drive belt slippage. The drive belt is the small, ribbed rubber belt connecting the motor shaft to the front roller. This belt cannot be lubricated. If it is glazed or cracked, it must be replaced. Fortunately, drive belts are inexpensive (usually $25 to $45) and only require removing the plastic motor hood and loosening the motor mount bolts to swap out.
By understanding the boundaries of your FSA benefits and taking a hands-on approach to your treadmill's biomechanics, you can easily extend the lifespan of your machine's motor and control board by 5 to 7 years, ensuring your home cardio setup remains a reliable asset for your long-term health.
More gear to consider
All reviews
Rowing Machine Buying Guide: Technique vs Manual Treadmill Curved

Does a Treadmill Make You Faster? Treadmill vs Spin & Upright Bikes

Spin, Upright, Recumbent Care & NordicTrack Treadmill Manual Guide

NordicTrack Treadmill C2400 Review: Small Space Folding Maintenance

Walking Pad Review: How to Lubricate Treadmill Without Lifting Belt
