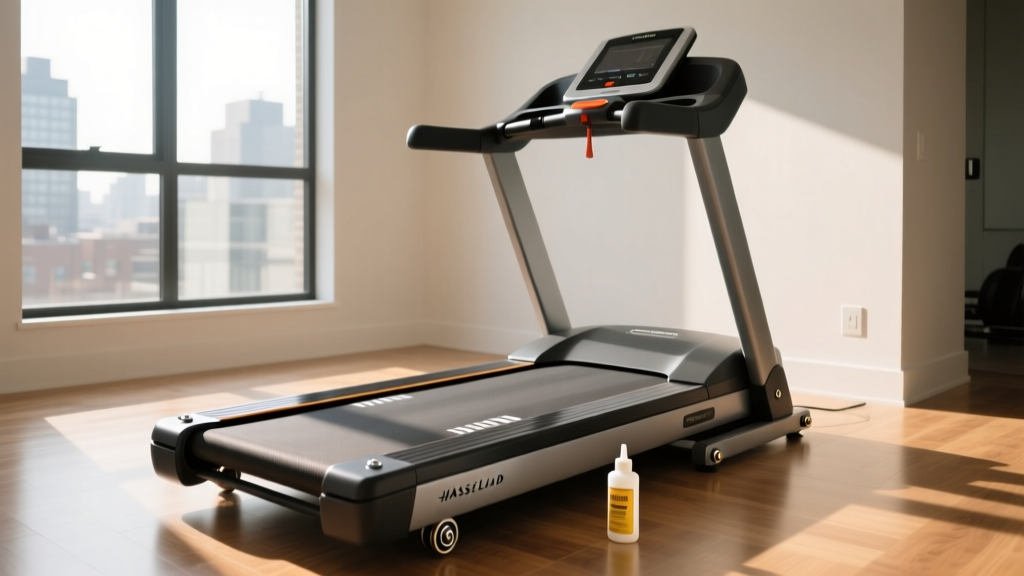
Epic 425 MX Treadmill Setup: Motorized vs Curved Manual Install
Compare the Epic 425 MX treadmill setup with curved manual installation. Expert walkthrough on wiring, spatial needs, and assembly for both cardio machines.

Pre-Installation: Spatial, Electrical, and Structural Requirements
Setting up a home gym in 2026 requires more than just unboxing a machine; it demands a rigorous assessment of your floor joists, electrical circuits, and spatial clearance. When comparing the installation of a traditional motorized unit like the Epic 425 MX treadmill against a modern curved manual treadmill (such as the TrueForm Trainer or AssaultRunner Pro), the pre-installation requirements diverge drastically. According to Consumer Reports, improper electrical setup and inadequate floor support are the leading causes of premature motor the leading causes of premature motor failure and structural damage in home cardio equipment.
Before you cut a single zip-tie, review the comparative requirements below to ensure your space is prepped for either machine.
| Requirement Category | Epic 425 MX (Motorized) | Curved Manual Treadmill |
|---|---|---|
| Machine Weight | ~165 lbs (75 kg) | ~280 to 350 lbs (127 to 158 kg) |
| Footprint (L x W) | 78' x 32' | 70' x 33' |
| Electrical Needs | 120V, 15-Amp Dedicated Circuit | None (Self-powered) |
| Ceiling Clearance | User Height + 12' (for incline) | User Height + 5' (no incline lift) |
| Floor Reinforcement | Standard residential subfloor | Reinforced joists recommended for point-load |
| Rear Clearance | Minimum 6 feet (safety fall zone) | Minimum 4 feet |
Unboxing and Staging: Managing the Physical Load
Handling the Epic 425 MX Motorized Deck
The Epic 425 MX arrives heavily palletized. The deck and motor assembly constitute about 110 lbs of the total weight. Pro Tip: Do not attempt to lift the main deck by the uprights. Use a two-person team to slide the deck off the pallet, keeping the shipping foam on the base until it is in its final position to protect your flooring. Because the motorized deck houses the heavy flywheel and drive motor at the front, the unit is extremely front-heavy. Always stage it with the motor hood facing the front of the room.
Positioning the Curved Manual Frame
Curved manual treadmills are incredibly dense. The steel frame and the 60+ individual vulcanized rubber slats create a center of gravity that is difficult to manage. You will need three adults or a hydraulic pallet jack to move a curved treadmill from the crate to its final destination. Unlike the Epic 425 MX, which has transport wheels that actually function on flat surfaces, curved treadmills are notoriously difficult to pivot on hardwood floors. Lay down a pathway of moving blankets to slide the unit into place without gouging your subfloor.
Step-by-Step Assembly Walkthrough
Phase 1: Epic 425 MX Upright and Console Wiring
The most critical failure point during any motorized treadmill installation is the data cable routing. The Epic 425 MX uses a delicate 8-pin ribbon cable that runs from the lower motor control board, up through the left upright, and into the console.
- Deploy the Uprights: With the deck flat, carefully pivot the left and right uprights into the vertical position. Do not let them snap back; the internal wiring harness can easily pinch against the steel hinge.
- Route the Data Cable: Feed the 8-pin connector through the left upright. Ensure the cable sits inside the designated plastic channel. If it bulges outside the channel, it will be crushed when you tighten the upright bolts.
- Secure the Bolts: Use the provided M10 x 30mm hex bolts. Torque them to exactly 35 ft-lbs. Overtightening will strip the welded nuts inside the deck frame.
- Connect and Zip-Tie: Plug the ribbon cable into the console PCB. Use the included Velcro straps to secure the slack. Never use hard plastic zip-ties near the PCB connectors, as they can sever the micro-wires over time due to console vibration.
Phase 2: Curved Manual Assembly and Slat Inspection
Because curved treadmills lack a motor, console wiring, and incline actuators, their assembly is purely mechanical. However, the tolerances are much tighter.
- Crate Extraction: Curved treadmills are often bolted directly to the shipping crate. Use a 19mm socket to remove the carriage bolts securing the front and rear axles to the wood base.
- Handlebar Attachment: Attach the front and rear stabilizer handles. Apply a drop of medium-strength threadlocker (blue Loctite 242) to the M8 bolts before tightening. The harmonic vibration of a runner on a slatted belt will back out untreated bolts within 50 miles of use.
- Slat Belt Tension Check: Unlike a traditional PVC belt, the slatted belt on a curved treadmill is held under immense tension by the rear axle spring mechanism. Inspect the track alignment. If the slats are rubbing against the side guide rails, use the 6mm Allen key on the rear axle adjustment bolts to center the track. Turn the left and right bolts exactly the same number of quarter-turns to maintain parallel alignment.
Calibration, Testing, and First Run
The biomechanics of running on a motorized versus a curved manual treadmill are vastly different. As noted in research published by the National Institutes of Health (NIH), curved non-motorized treadmills significantly alter stride length and ground reaction forces compared to motorized belts, requiring a distinct calibration and user-acclimation process.
Calibrating the Epic 425 MX
Once assembled, the Epic 425 MX requires software calibration to ensure the console speed matches the actual belt speed.
- Enter the engineering menu (usually by holding the 'Incline Up' and 'Speed Down' buttons simultaneously for 5 seconds).
- Run the automatic speed calibration. The belt will start at 1 MPH and incrementally increase to max speed. Stand on the side rails during this process.
- Perform the incline zero-calibration. The deck will raise to max incline (12%) and lower to 0%. Ensure the floor is perfectly level, or the incline sensor will throw an E1 Error Code upon startup.
Acclimating to the Curved Manual
There is no software to calibrate on a curved manual treadmill; the 'calibration' is entirely user-driven. The first run should be a 10-minute barefoot walk to locate the 'sweet spot' on the curve. Walking too far forward pushes the belt too fast; walking too far back causes the belt to stall. Furthermore, users must adapt to the increased cardiovascular demand. Meeting the CDC Physical Activity Guidelines of 150 minutes of moderate aerobic activity per week is achieved much faster on a curved treadmill, as the self-propelled nature burns approximately 30% more calories per mile than the motorized Epic 425 MX.
Expert Insight: If your curved treadmill emits a high-pitched squeaking during the first run, do not use standard silicone spray. The vulcanized rubber slats require a specialized PTFE (Teflon) dry lubricant applied sparingly to the inner guide rails. Wet silicone will attract dust and create a grinding paste that destroys the bearings.Troubleshooting First-Run Errors
Even with meticulous installation, first-run errors can occur. Here is how to diagnose the most common setup failures for both machine types.
Epic 425 MX Motorized Troubleshooting
- Error E2 (Speed Sensor): The optical sensor near the motor flywheel is misaligned. Unplug the machine, remove the motor hood, and ensure the sensor is exactly 2mm away from the magnet on the flywheel.
- Belt Stuttering: The walking belt is overtightened from the factory. Loosen the rear roller bolts by one full turn on each side. You should be able to lift the center of the belt about 2.5 inches off the deck.
- Console Flickering: This indicates voltage drop. Verify your dedicated 15-amp circuit is not sharing a neutral line with a high-draw appliance on a multi-wire branch circuit.
Curved Manual Troubleshooting
- Dead Spot on the Belt: If the belt hesitates at one specific point in the rotation, a slat bearing is seized. Rotate the belt by hand, mark the stiff slat, and contact the manufacturer for a replacement slat assembly.
- Lateral Drifting: If the belt constantly pulls to the left, the right side of the rear axle is over-tensioned. Loosen the right adjustment bolt by a half-turn and test again.
Long-Term Maintenance Post-Install
The installation is just day one. The long-term viability of your cardio machine depends on adhering to a strict maintenance schedule dictated by its drive type.
For the Epic 425 MX treadmill, you must apply 100% pure silicone treadmill lubricant between the walking belt and the wooden deck every 150 miles or every 3 months. Failure to do so will increase the amp-draw on the motor, eventually frying the lower control board—a $150+ replacement part. Additionally, check the drive belt tension annually; a slipping drive belt will cause the speed.
For a curved manual treadmill, maintenance shifts from the deck to the bearings and slats. Every 6 months, inspect the polyurethane slats for micro-tears and check the 12 primary axle bearings for lateral play. While a curved manual treadmill saves you from electrical failures and motor burnouts, the mechanical wear on the slat bearings requires vigilant, proactive replacement to maintain a whisper-quiet operation in your home gym.
More gear to consider
All reviews
360 Treadmill VR vs Under Desk Treadmills: 2026 Office Review

Orange Theory Treadmill Workout at Home: Bike Types & Budget Breakdown

How to Calibrate Apple Watch to Treadmill & Lube Belt in Small Spaces

Leveling Treadmill Setups: Beginner's Buying & Feature Guide

Walking Pad vs Traditional Treadmill: What to Do With an Old Treadmill