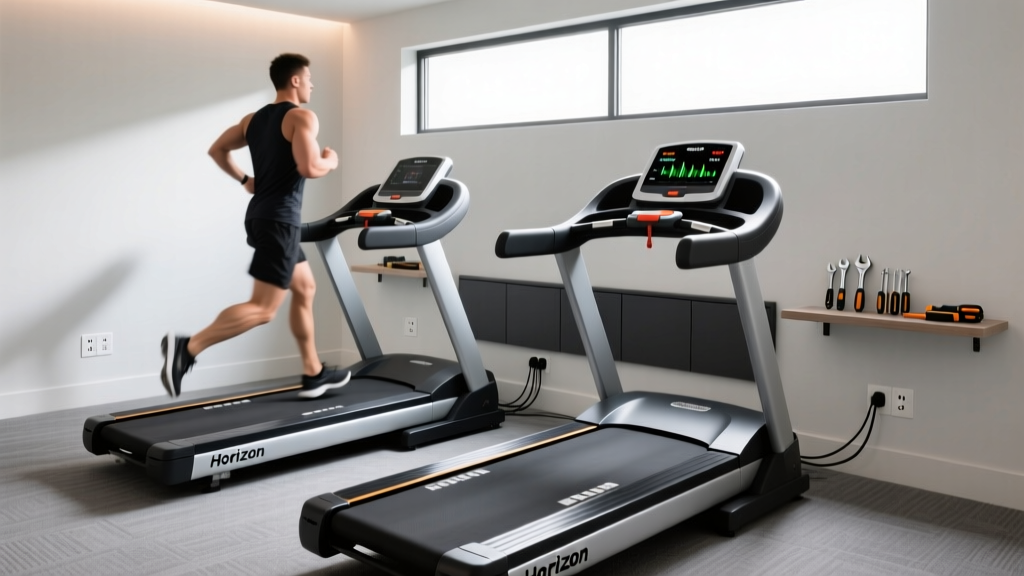
Curved vs Motorized Horizon Treadmill: Full Setup Guide
Compare curved manual and motorized Horizon treadmill setups. Get exact clearance, electrical, and assembly steps for a safe home gym install.

Introduction: The Great Treadmill Installation Debate
When outfitting a home gym in 2026, the choice between a motorized and a curved manual treadmill dictates not just your workout experience, but your entire room layout and electrical infrastructure. If you have been searching for a horizen treadmill setup guide, you are likely referring to the industry-standard Horizon Fitness lineup. Common search typos aside, the engineering principles of setting up a motorized Horizon machine (such as the Horizon 7.4 AT) versus a curved manual treadmill (like the TrueForm Runner) require vastly different installation protocols.
This comprehensive walkthrough covers exact spatial clearances, electrical load requirements, and step-by-step assembly procedures. We will break down the specific failure modes that occur during improper setup and how to avoid them, ensuring your equipment operates safely and maintains its warranty.
Expert Note on Brand Terminology: Horizon Fitness primarily manufactures high-quality motorized folding and non-folding treadmills. Curved manual treadmills are typically produced by specialized brands like TrueForm, Technogym, or Assault Fitness. This guide compares the setup of a flagship motorized Horizon unit against a standard curved manual alternative to give you a complete installation perspective.Pre-Installation: Space, Flooring, and Electrical Requirements
Before unboxing, you must prepare the physical environment. The U.S. Consumer Product Safety Commission (CPSC) mandates strict clearance zones to prevent severe friction-burn injuries in the event of a fall.
Spatial Clearances and Flooring
- Motorized (Horizon 7.4 AT): Requires a minimum footprint of 80 x 37 inches. You must leave 24 inches of clearance on both sides and a critical 78 inches of clear space directly behind the machine. This rear zone is non-negotiable; if a user falls and the safety lanyard detaches, the belt will continue to spin for several seconds, and the rear clearance prevents the user from being pinned against a wall.
- Curved Manual (TrueForm Runner): Footprint is generally more compact (approx. 70 x 33 inches). Because the belt only moves when the user pushes it, the belt stops almost instantly upon a fall. Rear clearance can be reduced to 36 inches, making curved models ideal for tighter urban apartments.
- Flooring: Never place either machine on thick, plush carpet. The vibration dampening is inconsistent, and carpet fibers will clog the motorized roller bearings. Use a 3/4-inch thick vulcanized rubber mat (like standard horse stall mats) to distribute the 300+ lb dynamic load and absorb acoustic shock.
Electrical Edge Cases for Motorized Units
Motorized treadmills draw significant amperage, particularly during the initial startup surge and when supporting heavier users on an incline. The Horizon Fitness Official Support Portal explicitly warns against specific electrical setups that frequently cause machine failure.
WARNING: Do not plug your motorized Horizon treadmill into a GFCI (Ground Fault Circuit Interrupter) protected outlet. The initial capacitor surge when the 3.0 CHP motor engages can mimic a ground fault, tripping the GFCI breaker mid-stride. Furthermore, never use an extension cord or a power strip. You must use a dedicated 120V, 15-amp circuit.Specification & Installation Matrix
| Feature | Motorized (Horizon 7.4 AT) | Curved Manual (TrueForm Runner) |
|---|---|---|
| Total Assembly Weight | ~318 lbs (Requires 2 people) | ~280 lbs (Requires 3 people) |
| Power Requirement | 120V / 15A Dedicated Circuit | None (Self-powered) |
| Belt Maintenance | 100% Silicone Lubricant every 150 miles | Zero lubrication (Slatted design) |
| Leveling Mechanism | Rear stabilizer twist-feet | Precision machined adjustable feet |
Step-by-Step Motorized Horizon Treadmill Assembly
Assembling a motorized Horizon treadmill involves handling heavy structural components and delicate data wiring. The most common point of failure during home assembly is pinching the console data cable inside the upright mast.
Step 1: Base Positioning and Stabilization
Do not attempt to lift the fully assembled base. Use a dolly to move the base to its final location. Once positioned, locate the rear stabilizer bar. Attach the twist-feet and use a torpedo level across the width of the running deck. If your floor is uneven, adjust the feet until the deck is perfectly level. An unlevel deck causes the running belt to track to one side, leading to premature edge fraying and motor strain.
Step 2: Upright Mast and Data Cable Routing
This is the most critical step. When lifting the steel upright mast into place, you will see a bundle of wires (the data cable and heart rate grip wires) dangling from the top. 1. Assign one person to hold the mast at a 45-degree angle. 2. The second person must carefully feed the wire harness through the mast and down into the base hood. 3. Crucial Edge Case: Ensure the wire is routed outside the bolt holes. If the wire gets trapped between the steel mast and the base bracket when you tighten the 4 main hex bolts, the metal will shear the wire casing, causing a dead console upon startup.
Step 3: Console Attachment and Belt Centering
Plug the data cable into the back of the console using a firm push until you hear the plastic retaining clip snap. Secure the console to the mast. Before stepping on the machine, plug it into the wall, insert the magnetic safety key, and start the belt at 1.0 MPH. Observe the belt tracking. If it drifts left, turn the left rear roller adjustment bolt clockwise by exactly one-quarter turn. Wait 30 seconds for the belt to re-center before making further adjustments.
Setting Up a Curved Manual Treadmill
Curved manual treadmills eliminate the motor, incline motor, and complex electronics, but they introduce heavy mechanical mass and precise tensioning requirements. Because they utilize a slatted rubber belt running on ball-bearing pulleys, the setup focuses entirely on mechanical leveling and belt tension.
Unboxing and Frame Leveling
A curved treadmill like the TrueForm Runner features a solid steel frame and ships mostly pre-assembled. The primary challenge is the 280 lb dead weight. Use furniture sliders under the front curve to maneuver it. Once in place, the leveling process is far more sensitive than a motorized unit. Because the user runs on the balls of their feet on a curved track, even a 2-degree lateral tilt will cause the runner to subconsciously alter their gait, leading to hip or knee strain over time. Use a high-precision digital level on the side rails and adjust the four corner feet accordingly.
Slatted Belt Tension Calibration
Unlike a flat motorized belt that relies on friction, a curved slatted belt relies on mechanical tension to engage the magnetic or friction-based resistance brake. 1. Stand on the lowest point of the curve and bounce lightly. 2. The belt should not slip or exhibit more than 1/2 inch of vertical play. 3. If the belt feels loose, locate the rear axle tension bolts (usually requiring a 15mm hex key). 4. Turn both the left and right bolts clockwise by exactly one full rotation. Never adjust one side more than the other, as this will derail the slatted belt from the pulley track, requiring a complete teardown to fix.
Pro-Tip for Curved Treadmills: Never use silicone spray or any chemical lubricant on a curved slatted belt. The slats are designed with a specific coefficient of friction to grip the internal pulleys. Lubricants will cause catastrophic slipping and will void the manufacturer warranty.
Final Calibration and Safety Testing
Regardless of whether you chose a motorized Horizon or a curved manual model, the final installation step is the dynamic load test.
- The Lanyard Test (Motorized Only): Attach the safety clip to your shirt. Start the machine at 3.0 MPH. Step back intentionally to pull the key out. Verify the machine initiates the braking sequence and stops within 3 to 5 seconds.
- The Incline Stress Test (Motorized Only): Set the incline to 15% and the speed to 2.0 MPH. Listen to the drive motor. A high-pitched whining or clicking indicates the deck is not level or the belt tension is too high, forcing the motor to overwork.
- The Curve Transition Test (Manual Only): Sprint at 80% effort for 10 seconds, then immediately move to the rear flat platform. Ensure the belt decelerates smoothly without abrupt mechanical catching, which indicates misaligned pulley bearings.
Frequently Asked Questions (FAQ)
Can I fold a motorized Horizon treadmill to save space?
Yes, models like the Horizon T202 and 7.4 AT feature hydraulic folding mechanisms. However, you must ensure the ceiling height in your storage area is at least 85 inches, and you must engage the manual locking pin before walking away from the folded deck to prevent accidental deployment.
Why does my motorized treadmill trip the breaker when my AC turns on?
This is a classic voltage drop issue. Treadmills require a dedicated 15-amp circuit. If your treadmill shares a circuit with an HVAC system, refrigerator, or space heater, the combined startup amperage will exceed the 15-amp breaker limit. Hire a licensed electrician to run a dedicated line directly from your breaker panel.
How often do I need to replace the deck on a motorized unit?
With proper 100% silicone lubrication every 150 miles, a high-density phenolic deck (standard on premium Horizon models) will last between 8,000 and 10,000 miles. If you neglect lubrication, the friction will burn through the deck coating in under 1,000 miles, requiring a costly deck and belt replacement.
More gear to consider
All reviews
Maintaining a Treadmill for Seniors Walking: Belt Lubrication

Matrix Treadmill Planet Fitness Effect on Upright, Recumbent & Spin Bikes

Spirit Fitness XT685 Treadmill Noise & Cardio Machine Sound Guide

Stair Climber Setup Guide: Better Than a Water Treadmill for Humans?

Vision Fitness Treadmill T9450 Setup & Noise Comparison Guide