Curved vs Motorized Setup: ProForm Treadmill Models by Year
Master your home gym installation. We compare curved manual vs motorized treadmill setup, analyzing ProForm treadmill models by year for a flawless build.

The Great Divide: Curved Manual vs. Motorized Treadmill Installation
Setting up a high-end cardio machine in your home gym is rarely as simple as unboxing and plugging it in. The installation paradigm shifts dramatically depending on whether you are assembling a curved manual treadmill or a traditional motorized unit. While curved treadmills like the AssaultRunner Elite or TrueForm Runner demand rigorous mechanical leveling and physical maneuvering, motorized treadmills require precise electrical provisioning and software calibration.
In this comprehensive setup and installation walkthrough, we break down the exact physical, electrical, and calibration requirements for both machine types. Furthermore, by analyzing ProForm treadmill models by year, we will highlight how motorized installation has evolved from simple mechanical assembly to complex software-hardware integration in 2026.
Pre-Installation Requirements & Space Planning
Before unboxing, you must prepare your space. The U.S. Consumer Product Safety Commission (CPSC) strictly recommends a minimum clearance of 30 inches behind any treadmill to prevent severe friction-burn injuries in the event of a fall. However, the footprint and sub-floor requirements differ vastly between manual and motorized units.
| Specification | Curved Manual (e.g., TrueForm Runner) | Motorized (e.g., ProForm Pro 9000) |
|---|---|---|
| Total Unit Weight | 310 - 350 lbs (Welded Steel Frame) | 160 - 220 lbs (Folding Aluminum/Steel) |
| Power Requirement | None (100% Human-Powered) | Dedicated 120V, 15A or 20A Circuit |
| Floor Leveling Tolerance | Strict: Max 1/4-inch variance per 10 ft | Moderate: Adjustable rear leveling feet |
| Rear Clearance (CPSC) | 30 inches minimum | 30 inches minimum (72" if fully reclined) |
| Matting Requirement | 3/4" thick rubber mat recommended | Standard 1/4" PVC equipment mat |
Step-by-Step Setup: Curved Manual Treadmills
Curved manual treadmills rely on gravity, friction, and the runner's biomechanics to drive a heavy polyurethane slat belt. Because there is no motor to force the belt straight, the physical setup of the frame dictates the machine's performance.
1. Frame Assembly and Torque Specifications
Curved treadmills ship with the main chassis fully welded, but the handlebars and console uprights require assembly. Use a calibrated torque wrench for these steps. The handlebar mounting bolts on an AssaultRunner Elite must be torqued to exactly 25 Nm (18.4 ft-lbs). Under-torquing leads to lateral wobble during sprint intervals; over-torquing can strip the aluminum threading on the uprights.
2. Sub-Floor Leveling and Belt Tracking
This is the most common failure point in curved treadmill installations. If your gym floor has a lateral slope of even 1 degree, the heavy slat belt will continuously drift to the lower side, eventually grinding against the internal guide rails.
- The Laser Level Test: Place a 4-foot spirit level or laser level across the running surface.
- Shimming: If the floor is uneven, do not rely on the machine's rubber feet. You must install a custom-cut 3/4-inch plywood sub-base, shimmed perfectly level, topped with a high-density rubber mat.
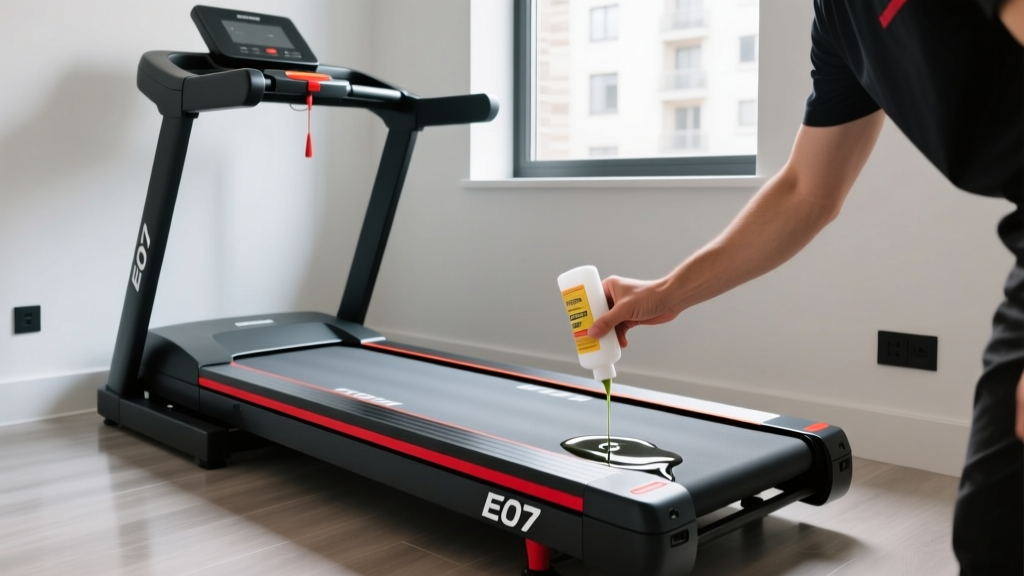
- Lubrication: Unlike motorized belts, curved slat belts require a specialized PTFE (Teflon) dry lubricant applied to the internal guide wheels. Never use silicone spray, which attracts dust and creates a gummy residue that degrades the polyurethane slats.
Step-by-Step Setup: Motorized Treadmills
Motorized treadmill installation is less about heavy lifting and more about electrical safety, belt tensioning, and software provisioning. To understand the modern setup process, it is highly valuable to look at the evolution of the market leader. If you map out ProForm treadmill models by year, the installation narrative shifts from purely mechanical assembly to software-hardware integration.
The Evolution of ProForm Installation (2018 vs. 2026)
When researching ProForm treadmill models by year, you will notice a distinct transition in out-of-the-box calibration requirements. Older models, such as the 2018 ProForm Performance 800i, required the user to manually calibrate the incline motor using a hidden potentiometer dial on the motor control board. If the user skipped this, the treadmill would throw an "Error 1" code upon first use.
According to technical bulletins from ICON Fitness (ProForm's parent company), modern 2025 and 2026 models like the ProForm Pro 9000 and Carbon TLX feature auto-calibrating digital incline/decline motors. However, this introduces a new installation hurdle: mandatory firmware flashing.
Modern Motorized Setup Sequence
- Electrical Provisioning: Plug the treadmill directly into a wall outlet on a dedicated 15A or 20A circuit. Never use an extension cord or a power strip shared with a space heater or air conditioner, as voltage drops will immediately trigger the motor controller's low-voltage protection and blow the internal 15A ceramic fuse.
- Upright & Console Assembly: Route the internal data cables carefully. The most common installation failure on motorized treadmills is pinching the thin console data wire between the steel upright tubes during tightening. Use electrical tape to secure the wire to the inside of the tube before bolting.
- Wi-Fi & Firmware Flashing: Power on the machine. Before stepping on the belt, connect to your home's 2.4GHz Wi-Fi network. The machine will download the latest iFIT firmware. Do not interrupt this process. A power loss during a firmware flash can brick the lower control board, requiring a $150+ replacement part.
- Incline Calibration Override: If the deck does not move to 0% after the software update, enter manual calibration mode. On most 2026 ProForm models, press and hold the 'Speed Up' and 'Incline Up' buttons simultaneously for 5 seconds until the display reads 'CAL'. The deck will cycle from -3% to +15% automatically to set the digital limits.
Belt Tensioning and Real-World Failure Modes
Whether curved or motorized, the running belt is the primary wear item. Proper tensioning during setup extends the life of the belt and the drive motor.
The "Stomp Test" for Motorized Belts
Factory tension on motorized treadmills is often too loose to account for the break-in period of the woven cotton/polyester belt backing. Perform the stomp test:
- Set the treadmill to 2.0 MPH.
- Step onto the side rails, then firmly "stomp" or plant your foot onto the center of the moving belt while holding the handrails.
- Pass: The belt grips the front roller and moves seamlessly.
- Fail (Slippage): The belt hesitates or stops while the front roller continues to spin underneath it. This indicates the rear roller needs to be tightened.
To fix slippage, turn both left and right rear roller adjustment bolts exactly one-quarter turn clockwise. Re-test. Over-tightening the belt increases amp-draw on the drive motor, leading to overheating and premature motor failure.
"The number one cause of drive motor failure in home gym treadmills isn't user weight; it's an over-tensioned walking belt installed by a user trying to eliminate a minor, harmless belt drift." — Senior Fitness Equipment Technician
Curved Belt Drift Troubleshooting
If your curved manual treadmill belt drifts left, it means the right side of the belt is experiencing more friction or tension. Unlike motorized treadmills, you cannot simply turn an adjustment bolt. You must inspect the internal guide wheels on the drifting side for debris, check the floor level again, and apply PTFE dry lube to the specific guide tracks on the side opposite the drift.
Final Walkthrough & Safety Checks
Before declaring your installation complete, run through this final diagnostic checklist to ensure your equipment is safe and optimized for 2026's high-intensity training protocols.
✅ Pre-Run Safety Matrix:- Safety Lanyard: Test the magnetic emergency stop key. Pull it from the console while the motorized belt is moving at 3 MPH; the belt must decelerate to a halt within 2.5 seconds.
- Clearance Verification: Measure exactly 30 inches from the rear roller to the nearest wall or furniture.
- Fastener Audit: Re-check all 6 main frame bolts with a torque wrench after the first 10 hours of use, as factory paint and powder coating will compress and settle, loosening the joints.
- Network Stability: Ensure the motorized treadmill's Wi-Fi connection remains stable, as modern ProForm and NordicTrack models will throttle interactive incline features if the connection drops below 2 Mbps.
By respecting the distinct mechanical realities of curved manual treadmills and the software-driven complexities of modern motorized models, you ensure a safe, durable, and high-performance home gym installation. Always consult your specific model's service manual for exact torque specs and wiring diagrams before attempting advanced calibrations.
More gear to consider
All reviews
Treadmill Blew Fuse? Elliptical vs Treadmill for Home Cardio Review

Treadmill SF-T4400 Setup: Curved Manual vs Motorized

Sunny Health & Fitness P8700 Pink Treadmill vs Walking Pads (2026)
Noise Level Comparison: Is a Portable Moves Treadmill the Quietest?
Air Bike vs Assault Bike Care: Longevity vs Treadmill for Heavy Weight