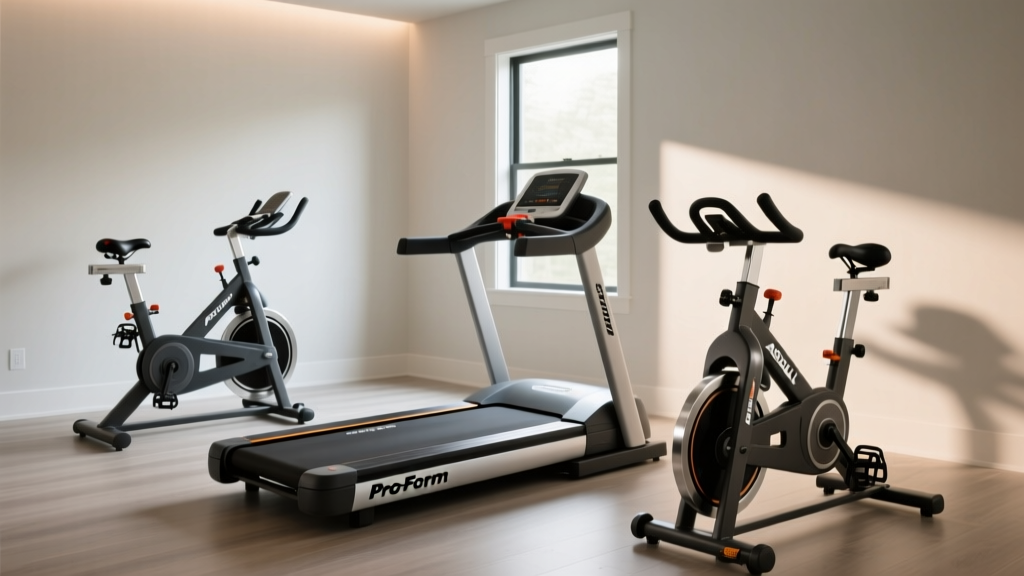
Air Bike vs Assault Bike Space Guide: ProForm 745 CS Treadmill Fit
Optimize your home gym layout with our air bike vs Assault Bike space guide, featuring footprint metrics and ProForm 745 CS treadmill zoning comparisons.

Space Optimization: Air Bike vs. Assault Bike Layouts
When designing a high-performance home gym in 2026, the transition from steady-state cardio to high-intensity interval training (HIIT) often necessitates a complete spatial reimagining. Many legacy home gyms were built around the dimensions of standard mid-size treadmills. If your current layout accommodates the ProForm 745 CS treadmill—which demands a 76-inch length, 30-inch width, plus an additional 24 inches of rear safety clearance—you are working with a roughly 22-square-foot dedicated zone. Transitioning this zone to an air bike frees up linear wall space, but introduces complex radial clearance, verticality, and acoustic challenges.
This guide breaks down the spatial realities of the two market leaders—the Rogue Echo Bike and the AssaultBike Classic/Elite—providing exact measurements, layout configurations, and architectural considerations to maximize your home gym's footprint.
The Footprint Matrix: Raw Dimensions vs. Functional Space
While an air bike's physical footprint is significantly smaller than a treadmill, the functional footprint (the space required to safely mount, dismount, and maintain the machine) is much larger. Below is a comparative matrix of the industry standards, using the ProForm 745 CS treadmill as a baseline spatial anchor.
| Equipment Model | Length | Width | Height | Weight | Functional Zone Required |
|---|---|---|---|---|---|
| ProForm 745 CS Treadmill | 76.0" | 30.0" | 58.0" | 165 lbs | ~38 sq ft (incl. safety zone) |
| AssaultBike Classic | 51.2" | 26.3" | 63.2" | 98 lbs | ~18 sq ft |
| AssaultBike Elite | 52.0" | 27.5" | 64.0" | 115 lbs | ~19 sq ft |
| Rogue Echo Bike (2nd Gen) | 53.3" | 30.3" | 69.5" | 135 lbs | ~22 sq ft |
Spatial Insight: The Width Factor
Notice the width discrepancy. The Rogue Echo Bike requires over 30 inches of width due to its wider stance and larger fan cage. If you are slotting the bike between a power rack and a wall, the Echo requires a minimum 48-inch aisle to allow for safe lateral dismounting during exhausted HIIT sessions, whereas the narrower AssaultBike Classic can function comfortably in a 40-inch aisle.
Vertical Clearance and Ceiling Constraints
One of the most frequently overlooked layout errors in garage and basement gyms is vertical clearance. Air bikes elevate the rider significantly higher than traditional upright bikes or treadmills.
- The Rogue Echo Height Challenge: At 69.5 inches to the top of the handlebars, the Echo is a towering machine. When you add a 6-foot-tall rider (72 inches) and account for the upward reach during standing sprint intervals, you need a minimum ceiling height of 8 feet 6 inches to avoid hand-strikes on low-hanging garage door tracks or exposed HVAC ducting.
- The AssaultBike Profile: The Classic and Elite models sit slightly lower (around 63-64 inches to the console/grips). This makes them the superior choice for basement gyms with drop ceilings or sloped rooflines where 8-foot ceilings are not guaranteed.
According to home gym design guidelines highlighted by Garage Gym Reviews, failing to account for the dynamic vertical envelope of the rider—not just the static machine—is the number one cause of post-purchase layout regret.
Acoustic Zoning and Vibration Isolation
Air bikes are essentially human-powered wind tunnels. The aerodynamic drag generates significant decibel output, which scales exponentially with RPM. Layout design must account for noise pollution, especially in shared living spaces.
Wall Proximity and Sound Reflection
Never place an air bike flush against a drywall partition. The fan cage pulls air from the front and sides, and pushing it into a corner starves the fan, increases mechanical strain, and creates a localized acoustic echo chamber.
The 18-Inch Rule: Maintain a minimum 18-inch clearance behind and to the sides of the fan cage. This not only optimizes airflow but allows sound waves to dissipate rather than reflecting directly off adjacent walls into the center of the room.
Flooring and Harmonic Vibration
Unlike the ProForm 745 CS treadmill, which utilizes a heavy motor and deck to absorb impact, air bikes transfer high-frequency lateral vibration directly into the floor during aggressive arm-push/pull cycles.
Do not use standard 3/8-inch interlocking EVA foam tiles. The lateral torque will cause the tiles to separate, and the bike will "walk" across the room. Instead, layout your cardio zone over a dedicated 3/4-inch vulcanized rubber horse stall mat, weighing approximately 100 lbs per 4x6 sheet. This mass dampens the high-frequency vibrations before they can transfer into the concrete slab or wooden subfloor, drastically reducing structural noise transmission to rooms above or adjacent.
The "Sweat Radius" and Corrosion Prevention
HIIT on an air bike generates a massive volume of sweat, which is highly corrosive to carbon steel and even powder-coated finishes. Your layout must account for the "sweat radius"—the 3-foot to 4-foot blast zone directly in front of and beneath the rider.
"In 2026, the leading cause of warranty voids on home-use air bikes is sweat-induced bottom bracket corrosion. Layout positioning relative to climate control is just as critical as physical footprint." — Home Gym Equipment Maintenance Report
Strategic Placement Rules:
- Avoid the Garage Door Seam: If your gym is in an uninsulated garage, do not place the bike near the garage door tracks. The combination of ambient humidity from the door seal and the corrosive sweat drip will rapidly degrade the bike's chain (on the AssaultBike Classic) and bottom bracket bearings.
- Climate Control Line-of-Sight: Position the bike directly in the line-of-sight of a high-velocity wall-mounted fan or portable AC unit. This isn't just for rider comfort; it accelerates the evaporation of sweat on the machine's frame, mitigating rust.
- The Drip Mat Protocol: Your layout must include a dedicated, easily removable PVC or rubber drip mat beneath the bottom bracket. This protects your epoxy garage floor or rubber mats from the acidic degradation of human sweat.
Maintenance Clearance: The Hidden Layout Requirement
Unlike treadmills where maintenance mostly involves belt lubrication and deck vacuuming, air bikes require periodic mechanical intervention. The chain on the AssaultBike Classic requires tensioning and lubrication every 3 to 6 months depending on usage volume. The Rogue Echo Bike utilizes a belt drive, eliminating chain stretch, but still requires fan cage cleaning and bottom bracket inspections.
Layout Mandate: You must leave enough open floor space to your left or right to completely lay the bike on its side. This requires a clear, flat 6-foot semi-circle adjacent to the bike's footprint. If you wedge the bike tightly between a squat rack and a wall, you will be forced to perform awkward, back-straining maintenance maneuvers or drag the 135-lb Echo out to the driveway every time you need to service the lower drivetrain.
Final Layout Configurations: Which Setup Fits Your Room?
Configuration A: The "Corner Tuck" (Small Bedrooms / Spare Rooms)
Best For: AssaultBike Classic
Strategy: Angle the bike at a 45-degree corner to maximize the room's center. The narrower profile of the Assault allows it to fit into tighter corners without starving the fan cage. Place a heavy-duty corner fan to manage the sweat radius.
Configuration B: The "Garage Bay" (Standard 2-Car Garage)
Best For: Rogue Echo Bike
Strategy: Position the Echo parallel to the garage bay door, facing inward toward the power racks. This provides the 8+ feet of ceiling height needed for standing sprints, utilizes the natural cross-breeze of the garage, and leaves the center floor entirely open for barbell work.
Conclusion: Beyond the Square Footage
Retiring a legacy machine like the ProForm 745 CS treadmill to make way for an air bike is an incredible upgrade for cardiovascular conditioning and spatial efficiency. However, treating an air bike as a simple "plug-and-play" replacement is a critical design error. By respecting the functional footprint, accommodating the vertical envelope, isolating acoustic vibrations, and planning for the inevitable sweat radius, you can create a seamless, high-performance HIIT zone that complements your strength training layout perfectly.
More gear to consider
All reviews
TrueForm Runner Treadmill: Belt Maintenance & Space Layout
Peloton Treadmill Motor Size Guide: HP & CHP Explained

The Treadmill Guide to TweeklyNutrition Machine Care

ProForm Crosswalk 405e Treadmill & Compact Cardio Picks

NordicTrack T 5.5 Treadmill Belt Maintenance & Value Breakdown
