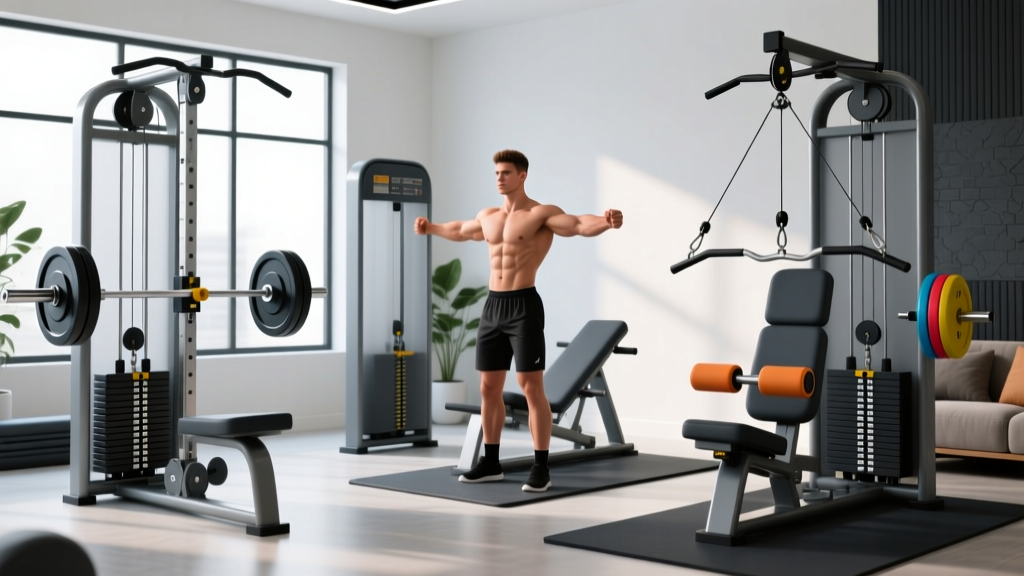
Chest Press Machine Types Compared: Fix Common Mistakes
Compare plate-loaded, selectorized, and cable chest press machines. Learn to troubleshoot form errors, fix joint pain, and optimize your pressing mechanics.

The Biomechanics of the Press: Why Machine Type Dictates Your Form
Many lifters assume that sitting down at a machine eliminates the need for technical precision. This is a dangerous misconception. While a chest press machine removes the balance requirements of free weights, it introduces fixed movement paths and cam profiles that can wreak havoc on your shoulders if your setup is flawed. According to kinesiological data from ExRx, the sternal head of the pectoralis major is most effectively targeted when the humerus moves horizontally across the body. However, the exact execution of this movement varies drastically depending on whether you are using a plate-loaded leverage machine, a selectorized pin-loaded stack, or a cable-based system.
In this guide, we break down the three primary chest press machine types, highlight the specific mistakes lifters make on each, and provide actionable troubleshooting steps to protect your rotator cuffs and maximize hypertrophy.
Plate-Loaded Leverage Machines (Independent Arm Action)
Plate-loaded machines, most notably the Hammer Strength Iso-Lateral Front Chest Press (typically priced between $3,200 and $4,500 for commercial units), utilize a diverging or converging arc based on a fixed pivot point. Because the arms move independently, they are excellent for correcting muscular imbalances, but they demand strict symmetrical setup.
⚠️ Common Mistake: The Clavicular Alignment ErrorThe most frequent error on leverage machines is setting the seat too low. When the handles align with your clavicle (upper chest) rather than your mid-sternum, you inadvertently shift the biomechanical load onto the anterior deltoids and the biceps tendon, increasing the risk of impingement during the lockout phase.
Troubleshooting the Leverage Press
- Seat Calibration: Adjust the seat so the handles sit exactly at the level of your 4th intercostal space (nipple line). This ensures the line of pull is perpendicular to your torso.
- Scapular Retraction: Unlike a barbell bench press where your shoulders can naturally roll forward at the top of the movement, the fixed handles of a leverage machine will pull your shoulders off the pad if you over-reach. Stop the concentric phase one inch before full elbow lockout to maintain constant tension on the pecs and keep the scapulae retracted.
- Foot Placement: Plant your feet directly beneath your knees. Pushing through the heels creates a slight thoracic arch, stabilizing the lower back against the pad.
Selectorized Pin-Loaded Machines (Fixed Path & Cams)
Selectorized machines, such as the Life Fitness Signature Series Chest Press (approx. $3,800), use a weight stack and a mechanical cam to alter the resistance curve. The cam is designed to match the natural strength curve of the pectorals—making the weight feel heavier at the bottom (where you are stronger) and lighter at the top (where you are weaker).
The 'Dead Zone' and Momentum Errors
Because the path is entirely fixed, lifters often develop a false sense of security and use momentum. The most common mistake is 'bouncing' the weight out of the bottom position. When you reverse direction too quickly, you bypass the cam's intended resistance curve, effectively unloading the muscle at the point of maximum stretch.
"A controlled eccentric phase of 2 to 3 seconds on selectorized machines is critical. The fixed track means your stabilizers are disengaged; if you don't control the negative, the machine's weight stack will dictate your tempo, leading to connective tissue strain."
Troubleshooting the Selectorized Press
- Implement a 1-Second Pause: At the bottom of the movement (when the weight stack is just a millimeter from resting), pause for one full second. This eliminates the stretch reflex and forces the pecs to initiate the concentric phase.
- Grip Width Adjustment: If your machine features multiple grip options, avoid the ultra-wide grip unless you have exceptional shoulder mobility. A grip that places your forearms perfectly vertical at the bottom of the press minimizes shear force on the elbow joint.
Cable-Based Chest Press Attachments
Functional trainers and dual-cable crossovers (like the Technogym Personal Line or standard commercial dual-adjustable pulleys) offer infinite vector adjustments. While highly versatile, the lack of a fixed seat or backrest introduces a massive margin for user error.
Vector Drift and Stabilizer Fatigue
When performing a standing or kneeling cable chest press, lifters often step too far forward. This alters the angle of the cable from a horizontal vector to a decline vector, shifting the emphasis to the lower pecs and triceps while compromising lumbar stability.
Troubleshooting the Cable Press
- Pulley Height: Set the pulleys at exactly shoulder height for a standard mid-chest press. If they are too high, you will naturally press downward, altering the targeted muscle fibers.
- Staggered Stance: To prevent lower back hyperextension, adopt a staggered stance (one foot forward, one foot back). This creates a stable base and allows you to brace your core effectively against the forward pull of the cables.
- Wrist Alignment: Use a pronated (overhand) grip and keep your wrists perfectly straight. Bent wrists on cable presses leak kinetic energy and can lead to acute wrist tendinopathy over time.
Machine Type Comparison Matrix
Choosing the right machine depends on your training age, injury history, and specific hypertrophy goals. Review the data table below to determine which equipment type fits your current programming.
| Machine Type | Resistance Profile | Best For... | Primary Risk Factor | Avg. Commercial Cost |
|---|---|---|---|---|
| Plate-Loaded Leverage | Linear / Gravity-dependent | Correcting imbalances, heavy overload | Asymmetrical pressing, shoulder impingement if seat is low | $3,000 - $4,500 |
| Selectorized Pin-Loaded | Variable (Cam-matched) | Drop sets, hypertrophy, rehab | Momentum bouncing, tricep dominance | $3,500 - $5,000 |
| Cable / Functional Trainer | Constant Tension | Core integration, athletic transfer | Vector drift, lumbar hyperextension | $2,500 - $6,000 |
The Troubleshooting Matrix: Pain Points and Equipment Fixes
According to research published in the National Institutes of Health (NIH) regarding pressing kinematics, joint pain during chest exercises is rarely a result of the exercise itself, but rather a mismatch between the lifter's anthropometry (limb lengths) and the equipment's fixed geometry. Use this matrix to diagnose and fix your pressing pain.
| Symptom / Pain Point | Probable Biomechanical Cause | Equipment Adjustment & Fix |
|---|---|---|
| Anterior Deltoid Burning | Seat height too low; handles starting above the nipple line. | Lower the seat 1-2 notches so handles align with the mid-sternum. |
| Sharp Elbow Pain (Medial) | Grip too narrow or elbows tucked excessively close to the lats. | Widen grip by 2-3 inches; allow elbows to flare naturally to 45 degrees. |
| Lower Back Arching / Pain | Foot placement too far forward; lack of thoracic extension. | Pull feet back directly under the knees; squeeze glutes to stabilize the pelvis. |
| Pec Minor / Armpit Strain | Over-stretching at the bottom of the eccentric phase. | Limit the range of motion; stop when elbows are flush with the torso plane. |
Final Calibration Checklist for Every Session
Before you load your first working set on any chest press machine, run through this 30-second calibration checklist to ensure the machine is adapted to your body, not the other way around:
- Step 1: The Seated Reach Test. Sit in the machine without weight. Grab the handles and extend your arms. Your shoulder blades must remain pinned to the back pad. If they peel off the pad, the seat is too far back or too low.
- Step 2: The Forearm Plumb Line. At the bottom of the movement, your forearms should be perfectly vertical relative to the floor (or perpendicular to the line of pull on a cable machine). If your wrists are angled backward, adjust the grip width.
- Step 3: The Thoracic Brace. Take a deep breath, expand your ribcage, and pull your shoulder blades down and together (scapular depression and retraction). Maintain this posture through the entire set.
By understanding the distinct mechanical differences between plate-loaded, selectorized, and cable chest press machines, you can transition from simply moving weight from point A to point B, to precisely engineering your hypertrophy stimulus while keeping your joints bulletproof.
More gear to consider
All reviews
Cheap vs Premium Normatec: What the Data Says About Performance, Durability, and Real-World Recovery Value

Pec Deck Guide: Space Layouts vs the Leg Bench Press Machine

Chest Press Machine Gym Equipment Layouts: Dumbbell vs. Cable Fly

Real Storage Ideas: Practical, Tested Solutions for Every Home Space
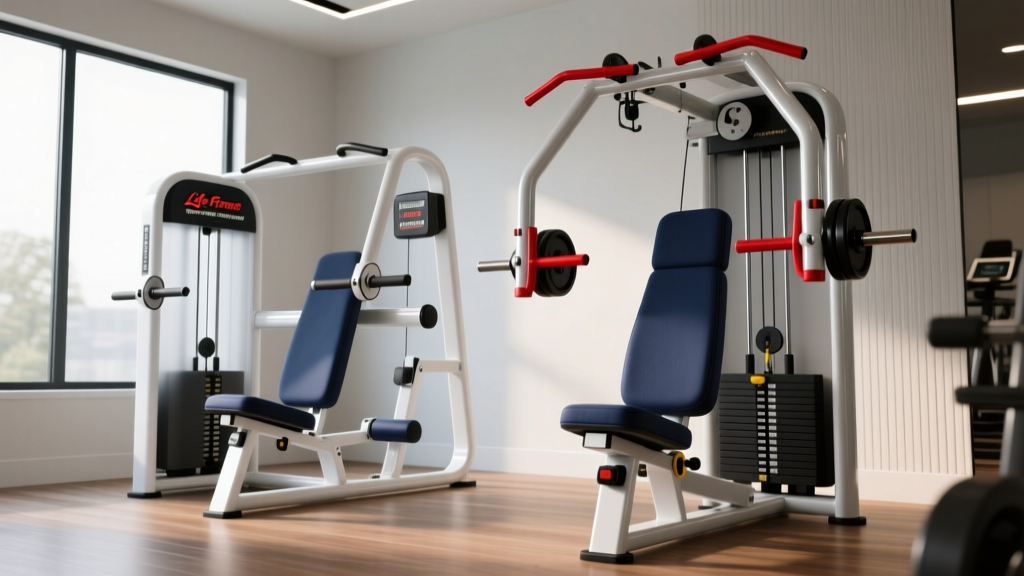
Life Fitness Chest Press Machine Review 2026: Signature vs Hammer
