
Beginner Guide: Yoga Mat Thickness, Grip & Yoga Mat Wall Rack
Master your home studio with our beginner guide to yoga mat thickness, material grip, and installing a space-saving yoga mat wall rack.

Building a dedicated home yoga space in 2026 requires more than just unrolling a piece of foam on the floor. As a beginner, navigating the sea of mat specifications can feel overwhelming. Should you prioritize joint cushioning or studio-style stability? Will a natural rubber mat degrade if stored improperly? This step-by-step guide breaks down the essential triad of mat selection—thickness, material, and grip—and concludes with a crucial, often-overlooked storage solution: the yoga mat wall rack. By the end of this guide, you will know exactly how to match a mat to your biomechanics and preserve its lifespan through proper vertical storage.
Step 1: Decoding Yoga Mat Thickness for Your Joints
Thickness dictates the balance between joint protection and proprioceptive stability. According to the American Council on Exercise (ACE), inadequate impact absorption during kneeling or supine poses can lead to patellar bursitis and spinal discomfort over time. However, too much cushioning compromises your balance in standing postures like Warrior III.
The 3 Standard Thickness Tiers
- Travel / Thin (1.5mm to 2mm): Weighing under 3 lbs, these are ideal for packing in a suitcase. They offer zero joint protection and are strictly meant for use over carpet or as a studio overlay.
- Standard / Versatile (3mm to 4mm): The industry benchmark. Models like the Jade Harmony (4.7mm) or standard Gaiam mats provide a firm connection to the floor, allowing your toes and fingers to grip the surface without sinking. Best for Vinyasa and Ashtanga.
- Thick / Restorative (6mm to 8mm+): The Manduka PRO (6mm, ~$120) is the gold standard here. The dense PVC foam absorbs shock without bottoming out. This tier is mandatory for beginners with sensitive knees, wrists, or those practicing Yin and Restorative yoga.
Step 2: Material Breakdown and Longevity
The material of your mat determines its weight, environmental impact, tactile feel, and lifespan. Healthline's fitness experts note that material choice also heavily influences skin sensitivity and allergy management, particularly for those with latex allergies.
| Material | Average Cost | Lifespan | Best For | Weight |
|---|---|---|---|---|
| PVC | $70 - $130 | 10+ Years | Durability, Heavy use | 5 - 8 lbs |
| Natural Rubber | $80 - $110 | 5 - 7 Years | Maximum Grip, Eco-friendly | 6 - 9 lbs |
| TPE (Thermo-Plastic Elastomer) | $30 - $60 | 3 - 5 Years | Budget, Lightweight, Latex-free | 2 - 4 lbs |
| Cork / Polyurethane | $90 - $140 | 4 - 6 Years | Hot Yoga, Antimicrobial | 6 - 10 lbs |
Step 3: Evaluating Grip and Surface Texture
Grip is the most critical safety factor for beginners learning weight-bearing transitions. Mats generally fall into two structural categories regarding grip:
Closed-Cell vs. Open-Cell Surfaces
Closed-Cell Mats (e.g., standard PVC): The surface is sealed, preventing sweat and bacteria from entering the mat. While highly hygienic and easy to wipe down, they become dangerously slippery when wet. If you sweat heavily, you must pair a closed-cell mat with a microfiber yoga towel.
Open-Cell Mats (e.g., Natural Rubber, Polyurethane): These feature a porous surface that absorbs moisture, actually increasing grip as you sweat. They are ideal for Hot Yoga or vigorous flows. However, they require meticulous cleaning, as the pores can trap dead skin cells and oils, leading to odor degradation over time.
"A beginner's grip strength is still developing. Investing in an open-cell polyurethane mat provides the tactile feedback and friction necessary to build confidence in Downward Dog without the fear of slipping." - FitGearPulse Biomechanics Review, 2025
Step 4: Preserving Your Mat with a Yoga Mat Wall Rack
Once you have invested $80 to $140 in a high-quality mat, proper storage is non-negotiable. Leaving a heavy natural rubber mat rolled up tightly in a closet for weeks will cause permanent edge curling and structural memory damage. Laying it flat under a bed invites dust accumulation and moisture trapping. The optimal solution for home studios in 2026 is a dedicated yoga mat wall rack.
Why a Yoga Mat Wall Rack is Essential
- Prevents Edge Curling: By storing the mat loosely rolled or vertically suspended, the material relaxes, ensuring it lays perfectly flat during your next session.
- Air Circulation: Open-air wall storage allows open-cell mats to fully off-gas and dry out after a sweaty session, preventing mold and mildew.
- Space Optimization: As highlighted in recent home organization trends by Architectural Digest, utilizing vertical wall space keeps bulky fitness gear out of the way while turning your equipment into an aesthetic studio display.
Step-by-Step Installation Guide for Your Rack
Most heavy-duty steel or solid-wood yoga mat wall racks cost between $45 and $85 and can hold 4 to 8 rolled mats. Because a collection of thick rubber mats can easily exceed 40 lbs, secure installation is vital.
- Step A: Locate the Studs. Use a magnetic or electronic stud finder to locate the wooden wall studs (typically spaced 16 inches apart). Do not rely solely on drywall anchors for heavy PVC or rubber mats.
- Step B: Mark and Level. Hold the rack against the wall at chest height (approx. 48 inches from the floor). Use a torpedo level to ensure the bracket is perfectly horizontal, then mark the drill holes with a pencil.
- Step C: Drill and Mount. Pre-drill pilot holes using a 3/32-inch bit. Secure the rack using 2.5-inch wood screws directly into the studs. If you must hit drywall, use 100-lb rated toggle bolts, not standard plastic expansion anchors.
- Step D: Load Correctly. Place your heaviest mats (like the 8lb Manduka PRO) on the bottom or center prongs to maintain the rack's center of gravity. Store lighter TPE or travel mats on the outer edges.
Frequently Asked Questions (FAQ)
Can I use a yoga mat wall rack for foam rollers and massage guns?
Yes, most multi-pronged yoga mat wall racks feature spacing wide enough to accommodate standard 12-inch foam rollers, massage balls, and even rolled-up resistance bands, making it a versatile storage hub for your entire recovery kit.
How do I clean an open-cell natural rubber mat before storing it?
Mix a solution of 3 parts water to 1 part white vinegar with a drop of tea tree essential oil. Lightly mist the mat (do not soak it), wipe with a microfiber cloth, and let it dry completely before placing it on your yoga mat wall rack. Never use harsh chemical disinfectants, as they break down the vulcanized rubber.
Is a 6mm mat too thick for beginners?
Not necessarily. While advanced practitioners prefer 3mm for maximum floor connection, beginners often lack the joint conditioning required for hard surfaces. A 6mm mat provides the necessary shock absorption to prevent wrist and knee pain during foundational classes, allowing you to focus on alignment rather than discomfort.
More gear to consider
All reviews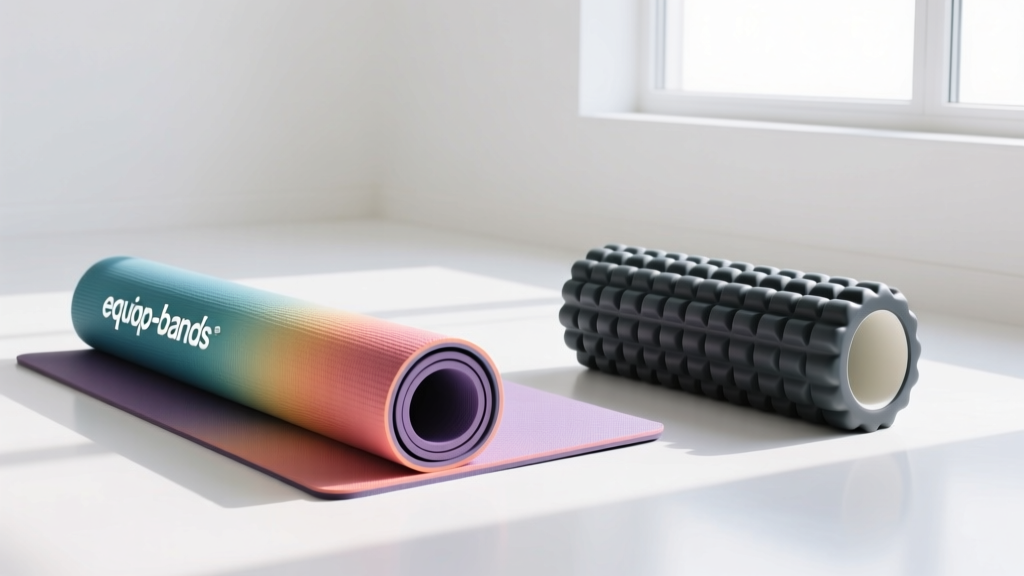
Why Are Yoga Mats So Expensive? Head-to-Head Mat vs Foam Roller Guide

Stakt Foldable Yoga Mat Trends: 2026 Block & Strap Buying Guide

Speed vs Weighted Jump Ropes & Backpack Yoga Mat Holder Guide

How to Carry Yoga Mat and Jump Rope Gear: Troubleshooting

The 2026 Pilates Equipment Accessories Guide: Yoga Mat Bulk Trends
