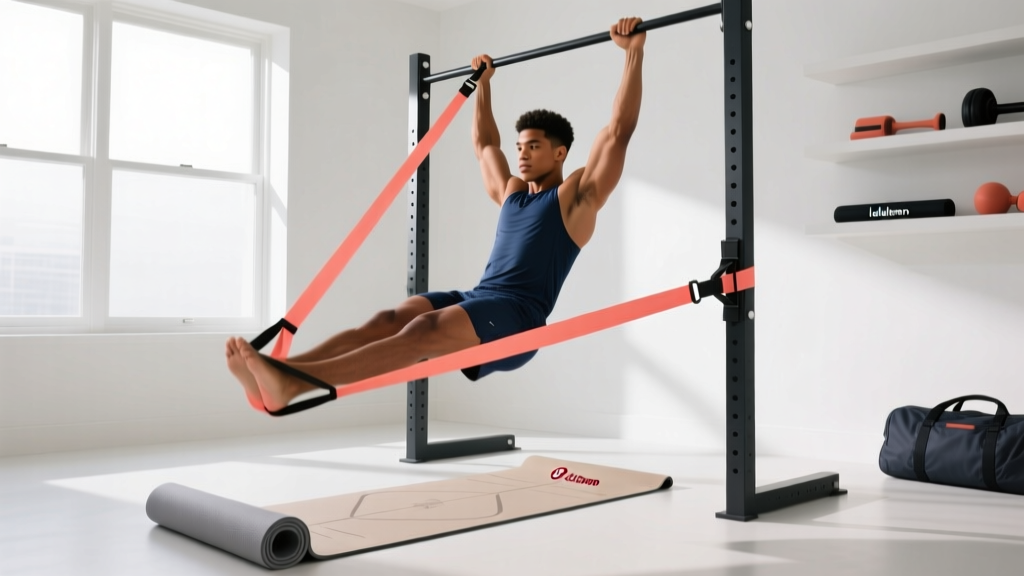
Smart Yoga Mats Setup: Matching Resistance Band Types and Levels
Master your home gym with our complete setup walkthrough for smart yoga mats, including a detailed buying guide on resistance band types and tension levels.

Phase 1: Unboxing and Sensor Calibration for Smart Yoga Mats
Integrating smart yoga mats into your home gym requires more than just rolling them out. In 2026, leading sensor-embedded mats utilize piezoelectric pressure mapping and Bluetooth 5.3 LE to track your center of gravity, joint alignment, and weight distribution in real-time. Before introducing external tension from resistance bands, you must properly calibrate the mat's baseline to ensure the app can accurately measure the kinetic shifts caused by elastic pull.
- Surface Preparation: Place the mat on a hard, level surface like hardwood or laminate. Avoid plush carpets, which can dampen the conductive ink layer's sensitivity and cause inaccurate pressure readings.
- Power and Pairing: Press and hold the capacitive power node (usually located at the top-right corner) for 3 seconds. Open your companion app and pair via BLE (Bluetooth Low Energy).
- Zero-Point Calibration: Stand in Tadasana (Mountain Pose) at the exact center of the mat for 10 seconds. This establishes your baseline weight distribution before any external band tension is applied.
Phase 2: Decoding Resistance Band Types for Mat Integration
When building your ecosystem, selecting the correct resistance band set is critical. Not all bands interact safely or effectively with the tracking zones of smart yoga mats. Here is a breakdown of the primary types and their compatibility profiles to guide your purchase.
| Band Type | Best Use Case | Smart Mat Compatibility | Top 2026 Models |
|---|---|---|---|
| Continuous Loop (Power) | Heavy compound lifts, pull-up assists | Low (High snap-risk damages sensors) | Rogue Monster Bands, Serious Steel |
| Tube Bands (Handles) | Isolation, upper body hypertrophy | High (Controlled tension, safe anchors) | Bodylastics Set, TheraBand CLX |
| Flat Therapy Bands | Rehab, Pilates, mobility flow | Very High (Low velocity, mat-safe) | TheraBand Latex-Free, Fit Simplify |
Material Matrix: Latex vs. TPE vs. Fabric Bands
When purchasing a resistance band set to complement your smart yoga mats, the material dictates the stretch profile, durability, and sensor interaction. Choosing the wrong material can lead to sensor degradation or dangerous slipping.
| Material | Stretch Ratio | Durability | Mat Interaction |
|---|---|---|---|
| Natural Latex | Up to 600% | High (if UV protected) | Can leave residue; requires mat wiping |
| TPE (Thermoplastic Elastomer) | Up to 300% | Medium | Clean, non-marking, ideal for smart mats |
| Woven Fabric (Cotton/Elastane) | Up to 150% | Very High | High friction; grips mat surface perfectly |
For modern smart mat ecosystems, TPE tube bands and woven fabric loop bands are highly recommended. Fabric loops (like the Peach Bands or Arena Strength sets) provide exceptional grip on the polyurethane surface of smart mats during glute bridges and lateral walks, preventing the dangerous slips associated with bare rubber.
Phase 3: The Resistance Level Buying Guide (Tension Mapping)
According to the American Council on Exercise (ACE), elastic resistance provides variable tension that increases as the band stretches, mimicking natural strength curves. To properly program your smart mat's app for tension-tracking, you must buy a set with clearly defined poundage levels.
Standard Color-Coded Tension Chart
- Yellow (Thin / 5-15 lbs): Ideal for rotator cuff rehab and delicate mobility work. Minimal sensor interference.
- Red (Medium / 15-30 lbs): Best for high-rep endurance sets and Pilates-style leg presses on the mat.
- Green (Heavy / 30-50 lbs): The workhorse for general hypertrophy. Requires secure door anchoring away from the mat's footprint.
- Blue (X-Heavy / 50-80 lbs): Used for lower-body glute bridges and heavy rows. Ensure your smart mat app is set to 'High Tension' mode to prevent sensor clipping.
- Black (XX-Heavy / 80-120+ lbs): Reserved for advanced powerlifting movements. Not recommended for direct smart mat integration due to extreme kinetic snap-back potential.
Research published in the National Center for Biotechnology Information (NCBI) confirms that combining elastic bands with stable surface training (like sensor-mapped yoga poses) significantly improves neuromuscular activation without overloading the joints. By matching the correct color level to your app's profile, you ensure the digital feedback matches your physical exertion.
Phase 4: Physical Installation and Anchor Point Safety
The physical setup of your resistance bands dictates both your safety and the longevity of your smart yoga mats. Follow this installation sequence to protect your equipment:
- Door Anchor Placement: Install the foam door anchor at the top hinge of a solid-core door. Pull the door toward you so the anchor is on the side where the door closes against the frame, preventing it from slipping under heavy load.
- Mat Positioning: Position your smart yoga mat exactly 3 to 4 feet from the anchor point. This distance ensures the band reaches 150% to 200% of its resting length—the optimal zone for linear tension output and accurate app tracking.
- Buffer Zones: Place a microfiber towel between your bare feet and the mat when doing heavy banded rows. Sweat combined with high-tension shifting can cause micro-abrasions on the mat's polyurethane top layer, potentially exposing the conductive mesh to moisture.
Phase 5: App Syncing and Tension Profiling
Once your hardware is installed, open your smart mat's companion application to finalize the setup and sync the band's physical properties with the digital tracker.
- Navigate to Settings > External Equipment.
- Select Add Resistance Profile and input the exact brand and color of the band you are using (e.g., 'TheraBand Green - 40 lbs').
- Perform a 5-second test pull. The mat's app will measure the shift in your center of mass and calculate the exact vector force you are applying, calibrating the digital resistance curve to match the physical latex or TPE.
Troubleshooting Common Setup Failures
Sensor Drift During Banded Holds
If your app shows erratic weight distribution during a static banded squat, the issue is usually asymmetric anchor height. Ensure the door anchor is perfectly aligned with your sternum. An angled pull creates lateral force vectors that confuse the mat's piezoelectric grid, resulting in false balance alerts.
Latex Degradation and Mat Staining
Natural latex bands shed microscopic particles that can embed into the mat's texture, creating dead zones on the sensors over time. Wipe down your bands with a damp cloth and mild dish soap after every session, and never store them in direct UV light, which accelerates oxidation and increases the risk of snapping.
Frequently Asked Questions
Can I use heavy powerlifting bands on a smart yoga mat?
It is not recommended. Heavy continuous loop bands (100+ lbs of tension) carry a high kinetic snap-back risk. If a heavy band slips off your foot or barbell, the impact can shatter the internal piezoelectric sensors of the smart yoga mat, causing permanent dead zones that cannot be repaired.
How often should I recalibrate the mat when switching band levels?
You should perform a quick 10-second zero-point recalibration every time you switch between band colors or tension levels. This ensures the app's algorithm accounts for the new baseline postural shift caused by the different resistance load, maintaining the accuracy of your biomechanical feedback.
More gear to consider
All reviews
Loop Band vs Tube Band: Longevity, Care & How to Wash a Yoga Mat

Loop Band vs Tube Band: Plus a Crochet Yoga Mat Bag Pattern

Pilates Equipment Accessories Guide: Budget Breakdown & Storing Yoga Mats

Jump Rope Types: Speed, Beaded & Yoloha Unity Cork Yoga Mat Guide

Speed, Weighted, Beaded Jump Ropes & Cream Yoga Mat Pairings