
Pull Up Assist Band Sizing, Setup & Hotworx Yoga Mat Price
Master pull up assist band sizing and installation. We cover anchor setups, band selection, and compare flooring costs like the Hotworx yoga mat price.

The Complete Guide to Pull-Up Assist Band Sizing and Rig Installation
Building a dedicated home calisthenics station in 2026 requires far more than simply bolting a steel bar to a wall. To achieve a truly functional and safe setup, you must understand the biomechanics of elastic resistance, the structural engineering of your anchor points, and the critical role of floor protection. Whether you are a beginner working toward your first unassisted pull-up or an advanced gymnast using bands for targeted muscle-ups, proper pull up assist band sizing and selection is the foundation of your progress.
However, many home gym builders overlook the environment immediately beneath their rig. When heavy steel plates drop or high-tension bands snap back, your flooring takes the brunt of the impact. In this comprehensive setup and installation walkthrough, we will cover everything from the non-linear physics of latex bands to structural ceiling mounts, while also addressing common flooring budget mistakes—including why premium studio options might not be the right fit for your drop zone.
The Science of Pull Up Assist Band Sizing and Selection
Resistance bands do not provide a static load like iron plates. According to principles outlined by the National Strength and Conditioning Association (NSCA), elastic resistance follows a variable tension curve. The further the band is stretched, the more resistance it provides. This means a band rated for 50 pounds of resistance only provides that exact load at its maximum safe elongation point (usually around 150% to 200% of its resting length).
Selecting the correct size requires understanding the standard industry color-coding and thickness measurements. Below is the definitive sizing chart for standard 41-inch loop bands used in pull-up assistance.
| Band Color | Width / Thickness | Resistance Range | Best Use Case |
|---|---|---|---|
| Red | 1/4 inch (6mm) | 15 - 35 lbs | Warm-ups, shoulder mobility, light tricep pushdowns |
| Black | 1/2 inch (13mm) | 25 - 65 lbs | Assisted pull-ups for near-beginners, bicep curls |
| Purple | 3/4 inch (19mm) | 50 - 125 lbs | Standard assisted pull-ups, squats, deadlifts |
| Green | 1-1/4 inch (32mm) | 65 - 175 lbs | Heavy assistance for strict pull-ups, powerlifting bench press |
| Blue | 1-3/4 inch (45mm) | 100 - 200+ lbs | Maximum assistance for heavy athletes, mobility stretching |
Band Stacking vs. Single Thick Bands
A common edge case in band selection is whether to use one massive blue band or stack two smaller bands (e.g., a purple and a black). Stacking bands provides a smoother tension curve and significantly reduces the risk of catastrophic failure. If a single thick band develops a micro-tear and snaps, the kinetic energy release is violent. If one of two stacked bands fails, the secondary band acts as a safety catch, dampening the snapback effect.
SA WARNING: Never anchor elastic bands to drywall, standard door hinges, or hollow-core frames. The dynamic lateral force of a 200lb athlete dropping into a band can exceed 400lbs of peak tension, ripping standard anchors from the wall and causing severe snapback injuries. Always anchor to structural wood or steel.Complete Installation Walkthrough: Anchoring Your Station
For a permanent, safe pull-up assist band setup, a ceiling-mounted or structural wall-mounted anchor is vastly superior to portable door anchors. Here is the step-by-step installation walkthrough for a ceiling-mounted eye bolt system, ideal for garage gyms with exposed joists.
- Locate the Structural Joist: Use a magnetic stud finder to locate the center of a solid wood joist or steel beam. Do not rely on acoustic stud finders for ceiling mounts, as they can be thrown off by drywall texture.
- Drill the Pilot Hole: Using a 5/16-inch wood bit, drill a pilot hole exactly 3 inches deep into the center of the joist. This prevents the wood from splitting when the lag bolt is driven in.
- Install the Hardware: Thread a 316 stainless steel eye bolt (minimum 1/2-inch diameter, 4-inch length) into the pilot hole. Use a wrench to drive it until the shoulder of the eye bolt is flush against the wood. 316 stainless steel is critical here; it resists rust and has a higher shear strength than standard zinc-plated hardware store bolts.
- Attach the Carabiner: Connect a climbing-rated, locking carabiner to the eye bolt. Ensure the carabiner is rated for at least 25kN (kilonewtons), which translates to roughly 5,600 pounds of force. The American Council on Exercise (ACE) frequently highlights the importance of using certified climbing gear rather than cheap, unrated hardware store clips for dynamic bodyweight exercises.
- Thread the Band: Loop your 41-inch pull-up assist band through the carabiner, pull it through its own loop to create a girth hitch, and ensure the latex is seated flat without any twists that could cause premature tearing.
Floor Protection and Equipment Cost Analysis
When outfitting your home gym, the floor beneath your pull-up rig requires serious consideration. Dropped kettlebells, slipping steel pull-up bar bases, and the occasional heavy band snapback will destroy standard household flooring. This leads many buyers to research premium fitness flooring options, where they often encounter the Hotworx yoga mat price and wonder if high-end studio mats are worth the investment for their calisthenics drop zone.
Hotworx mats, renowned for their use in infrared heated yoga studios, typically cost between $120 and $180 for their premium antimicrobial studio mats, with full infrared home setups reaching well into the thousands. While these mats offer exceptional grip, heat retention, and joint cushioning for yoga and Pilates, placing a premium Hotworx mat directly under a heavy steel pull-up rig is a critical misallocation of funds.
Why Premium Yoga Mats Fail in the Drop Zone
- Compression Set: Yoga mats are designed for static body weight. When a 300lb loaded pull-up station base sits on a premium yoga mat, it will permanently compress the foam or TPE material, leaving deep, irreversible divots.
- Puncture Vulnerability: The knurled steel ends of a pull-up bar or the sharp edges of a dropped dumbbell will easily slice through the surface of a $150 studio mat.
- Cost Inefficiency: Covering a standard 8x8 foot pull-up station footprint with premium yoga mats would cost upwards of $600 to $900.
The Expert Recommendation: Vulcanized Rubber
Instead of worrying about the Hotworx yoga mat price for your rig zone, invest in 3/4-inch thick vulcanized rubber horse stall mats. Priced at roughly $45 to $65 per 4x6 foot sheet, these mats feature a Shore A durometer rating of 70-80, providing the exact density needed to absorb high-impact drops without permanently compressing. Reserve your premium yoga mats for the dedicated stretching and mobility zone adjacent to your rig.
Step-by-Step Band Assisted Pull-Up Execution
Once your rig and flooring are installed, proper execution is vital to prevent injury. The most common failure mode in assisted pull-ups is the band slipping off the foot during the descent, resulting in a violent snapback to the face or groin.
To prevent band slip, always use the 'Trap and Step' method. Place the ball of your foot into the band, then immediately cross your opposite ankle over the top of the banded foot. This locks the band securely between your shoes, making it physically impossible for the latex to slip out during the eccentric lowering phase.
Furthermore, focus on the eccentric (lowering) portion of the movement. Because the band provides the most assistance at the bottom of the movement (where it is stretched the most) and the least assistance at the top (where it is contracted), you must actively fight the band on the way down to build true connective tissue strength. The Mayo Clinic notes that controlled eccentric loading is one of the most effective ways to strengthen tendons and prevent joint inflammation in the elbows and shoulders.
Maintenance, Edge Cases, and Lifespan
Pull-up assist bands are not lifetime purchases; they are consumable fitness equipment. Latex degrades over time due to oxidation, UV exposure, and ozone. To maximize the lifespan of your bands, follow these strict maintenance protocols:
- Storage: Never leave bands draped over a pull-up bar in direct sunlight or in a garage that experiences extreme temperature fluctuations. Store them in a cool, dark drawer or a sealed opaque bin.
- Cleaning: Do not use chemical solvents, alcohol, or bleach-based wipes on latex bands. These chemicals break down the molecular bonds of the rubber, leading to dry rot and sudden snapping. Wipe them down with a damp cloth and a mild, pH-neutral soap if necessary.
- Inspection: Before every heavy session, run your fingers along the entire edge of the band. If you feel any micro-tears, nicks, or notice a chalky white residue (a sign of advanced oxidation), retire the band immediately. A snapping 175lb green band can cause severe lacerations or blunt force trauma.
By mastering pull up assist band sizing, executing a structurally sound ceiling installation, and making smart, data-driven decisions about your gym flooring, you will build a home calisthenics station that is safe, durable, and optimized for long-term athletic progress.
More gear to consider
All reviews
Troubleshooting Yoga Mats for Grip: Thickness & Material Mistakes
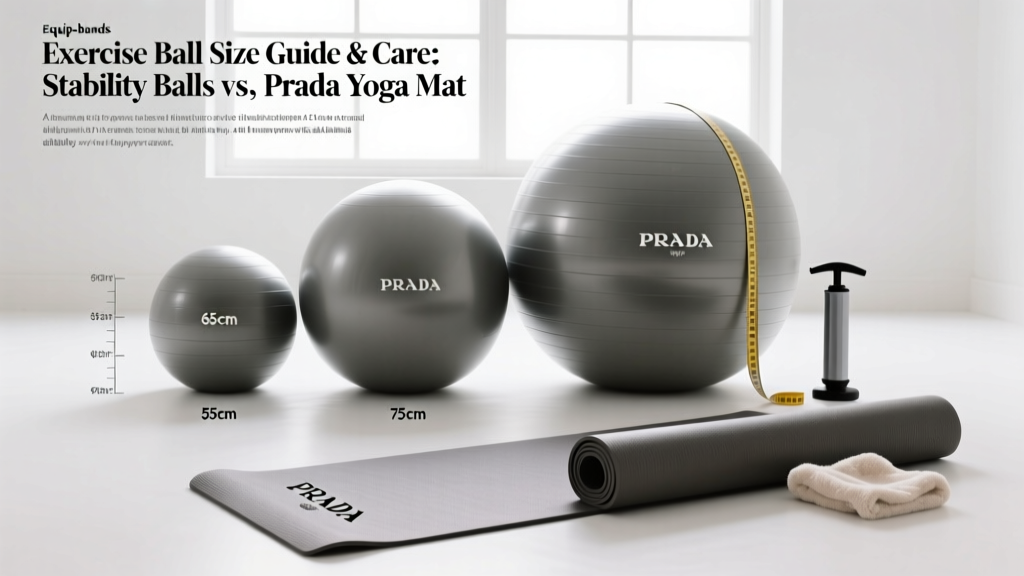
Exercise Ball Size Guide & Care: Stability Balls vs. Prada Yoga Mat
Beyond Buying Yoga Mats at Whole Foods: Block & Strap Care Guide

Pilates Accessories: How to Make Yoga Mat Less Slippery
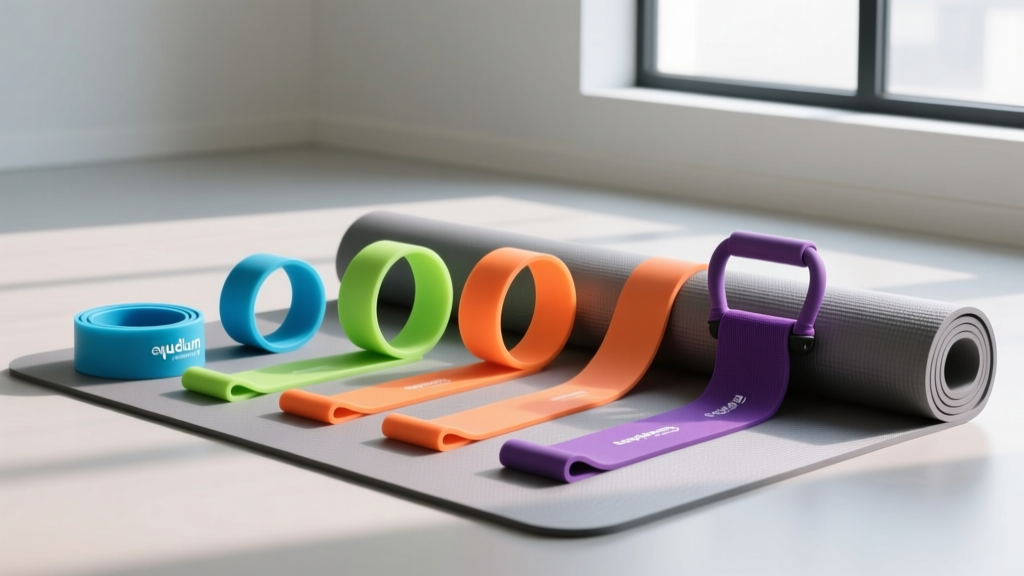
2026 Resistance Band Guide: Levels, Types & Yoga Mat Images
