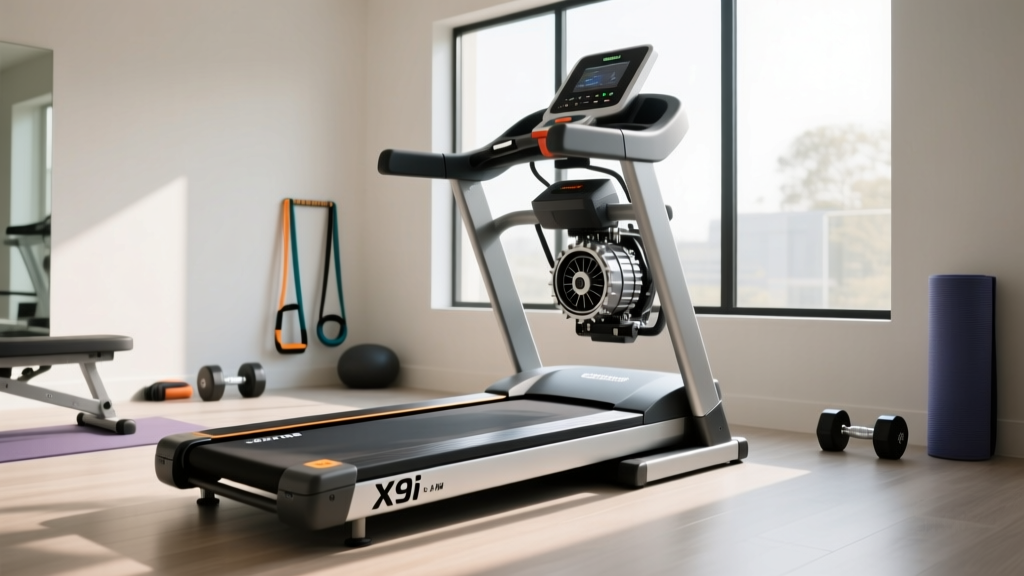
x9i Treadmill Setup: Motor Horsepower & Installation Guide
Master your x9i treadmill setup with our complete installation walkthrough. Learn how motor horsepower dictates electrical needs and assembly.

The Heart of the Machine: Why Motor Specs Dictate Your Setup
Unboxing and assembling a premium incline trainer is a major undertaking, but treating the process as mere 'furniture assembly' is a critical mistake. When setting up the flagship x9i treadmill, you are essentially installing a heavy-duty piece of industrial fitness equipment into a residential environment. As of 2026, the latest x9i models are powered by high-torque, 4.0 Continuous Horsepower (CHP) brushless DC motors. Understanding this specific motor size and horsepower profile is not just an exercise in reading a spec sheet; it fundamentally dictates your electrical prerequisites, floor reinforcement needs, and the physical mechanics of the assembly process itself.
Quick X9i Pre-Flight Checklist
- Motor Rating: 4.0 CHP (Peak output up to 6.5 HP during incline surges)
- Electrical Requirement: Dedicated 20-Amp, 120V circuit (NEMA 5-20R outlet)
- Deck Weight: 145 lbs (Motor housing accounts for ~55 lbs of asymmetrical front-left weight)
- Footprint: 70" L x 35" W (Requires 36" clearance on all sides for thermal ventilation)
Decoding the X9i Treadmill Motor: CHP vs. Peak HP
Before you tighten a single M8 hex bolt, you must understand the power plant you are installing. The fitness industry frequently uses misleading 'Peak Horsepower' metrics to market machines. However, according to the equipment teardown experts at Treadmill Doctor, Peak HP only measures the maximum output the motor can hit for a fraction of a second before the thermal limiter trips. What actually matters for your setup and long-term reliability is Continuous Duty Horsepower (CHP).
The x9i treadmill features a 4.0 CHP motor. This means it can sustain 4.0 horsepower continuously throughout a 2-hour marathon training session, even at a 40% incline, without overheating. Because a 4.0 CHP motor utilizes heavier copper windings and a larger flywheel, it drastically shifts the center of gravity of the treadmill deck, which we will address in the physical assembly steps below.
| Motor Class | CHP Rating | Target User Weight | X9i Application & Setup Note |
|---|---|---|---|
| Light Duty | 2.0 - 2.5 CHP | Under 160 lbs | Not applicable to X9i; standard 15-amp circuit usually sufficient. |
| Medium Duty | 2.75 - 3.25 CHP | 160 - 220 lbs | Found in standard folding treadmills; requires standard belt tensioning. |
| Heavy Duty (X9i) | 4.0+ CHP | 220 - 300+ lbs | Requires dedicated 20-amp circuit and reinforced subflooring for incline loads. |
Pre-Installation: Electrical and Structural Prerequisites
Installing a 4.0 CHP treadmill on a shared residential circuit is the number one cause of premature motor controller failure. When the x9i motor initiates a startup sequence or transitions to a 40% incline, the amperage draw can momentarily spike to 18-20 amps. If your treadmill shares a 15-amp circuit with a space heater, air conditioner, or even a high-draw television, the voltage drop will force the treadmill's Pulse Width Modulation (PWM) motor controller to work harder, generating excess heat and eventually frying the IGBT (Insulated-Gate Bipolar Transistor) on the board.
Expert Warning: The National Fire Protection Association (NFPA) guidelines on residential electrical loads strongly advise against daisy-chaining high-draw appliances on standard 15-amp breakers. Hire a licensed electrician to install a dedicated 20-amp line with a NEMA 5-20R receptacle before unboxing your x9i. This $150-$250 investment protects your $3,000+ machine.
Structurally, the x9i's incline mechanism generates up to 1,200 lbs of downward force at the rear stabilizer when fully elevated. Ensure your installation site is on a concrete slab or reinforced joists, not a suspended laminate floor over a crawlspace, to prevent structural deflection that can misalign the motor drive belt.
Step-by-Step X9i Treadmill Physical Assembly
Because the 4.0 CHP motor and its accompanying steel flywheel add roughly 55 pounds of asymmetrical weight to the front-left quadrant of the deck, standard two-person assembly instructions often lead to dropped decks or bent uprights. Follow this modified, motor-aware assembly protocol.
- Stage the Deck and Orient the Motor Side: With the shipping box laid flat, remove the top cardboard. Identify the front-left side (where the motor housing bulges). Have your heavier lifting partner stand on the motor side. When pivoting the deck out of the box, the motor-side partner must bear 60% of the load to prevent the deck from twisting and cracking the plastic motor shroud.
- Route the Data Cable Before Upright Placement: The most common x9i setup failure is pinching the console-to-motor data cable. Before bolting the left upright (which houses the PWM controller access panel), feed the ribbon cable through the upright using the provided fish tape. Ensure the cable sits in the designated rubber grommet; if it rests against the steel frame, the vibration from the 4.0 CHP motor will fray the insulation within three months.
- Torque the Upright Bolts Sequentially: Insert the four M8 x 40mm hex bolts on each upright. Do not tighten them fully until all four are threaded. Using a torque wrench, tighten them to exactly 35 Nm (Newton-meters). Over-torquing can warp the internal wiring channel; under-torquing will cause the console to wobble during high-speed sprints.
- Mount the Console and Connect the Harness: Snap the quick-release wire harnesses together. You should hear a distinct 'click'. Secure the console with the provided T30 Torx screws.
Post-Setup: Belt Tensioning and Motor Strain Calibration
According to Consumer Reports, improper belt tension is a leading cause of treadmill motor burnout. A belt that is too tight creates immense friction, forcing the 4.0 CHP motor to draw higher continuous amperage just to maintain speed. A belt that is too loose will slip, causing the motor to rev unpredictably and damaging the drive roller.
The 'Lift Test' Calibration Method
Once the x9i is fully assembled and plugged into your dedicated 20-amp circuit, perform the lift test. Stand on the side rails and start the belt at 2.0 MPH. Reach down to the center of the running belt (on the side) and lift it. You should be able to lift the belt exactly 2 to 3 inches off the walking board. If it lifts less than 2 inches, the motor is over-straining; use the included Allen wrench to loosen the rear roller bolts by a quarter-turn counter-clockwise. If it lifts more than 3 inches, tighten them clockwise.
Frequently Asked Questions (FAQ)
Can I use a heavy-duty extension cord for my x9i treadmill setup?
No. Even a 12-gauge heavy-duty extension cord introduces electrical resistance. This resistance causes a voltage drop before the power reaches the motor controller, which can trigger the x9i's internal thermal protection shutoffs and void your warranty. Always plug directly into the wall receptacle.
Does the 4.0 CHP motor require manual lubrication?
The x9i features a pre-lubricated, commercial-grade walking board. However, the motor drive belt (the ribbed belt connecting the motor shaft to the front roller) should be inspected annually. Unlike the walking belt, the drive belt must remain completely dry and free of any silicone lubricants to prevent slipping under high-torque incline loads.
Why does the motor hum loudly during the first few uses?
Brushless DC motors and their associated PWM controllers undergo a 'break-in' period where the carbon brushes (if applicable to the secondary lift motor) and the main drive belt seat themselves. A low-frequency hum is normal for the first 10-15 hours of use. If the hum is accompanied by a high-pitched whine or a burning smell, immediately stop the machine and check your belt tension.
More gear to consider
All reviews
Treadmill Electricity & Motor HP: Troubleshooting Power Mistakes

Elliptical vs Treadmill: Testing the Sole F63 Treadmill

Can an Under Desk Treadmill Hit an 8.0 Treadmill Pace? 2026 Review
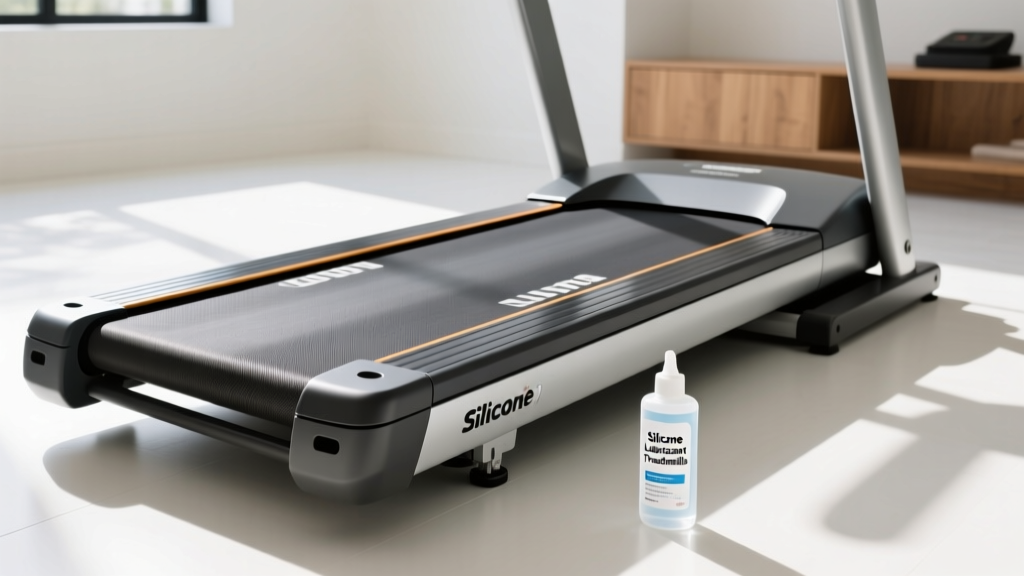
Before Watching a Video on Treadmills Care: Belt Lubrication Guide

Matrix Treadmill TF30 vs. Rowing Machines: 2026 Buying Guide
