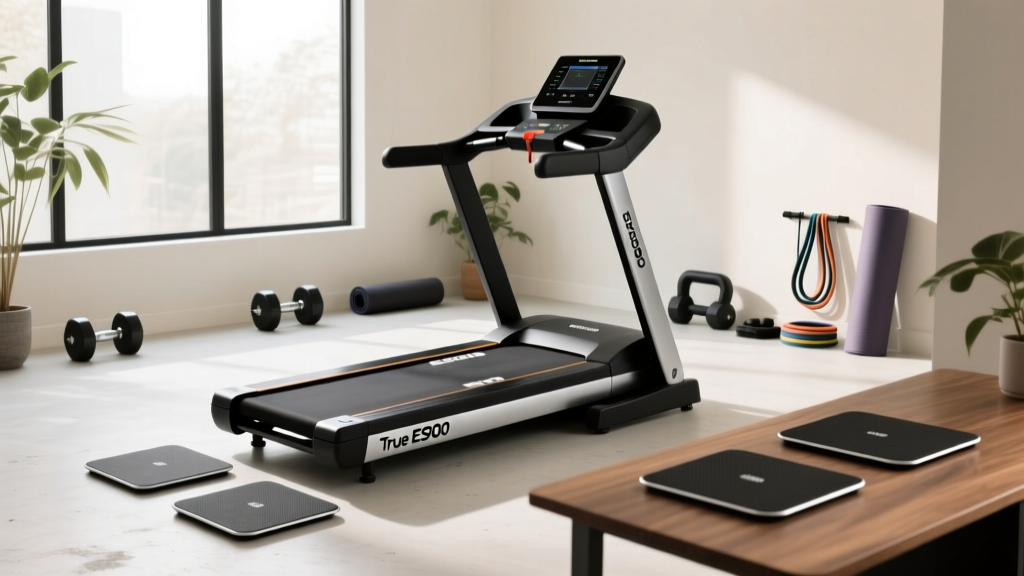
Walking Pad vs Treadmill: Belt Maintenance & Lubrication Guide
Discover the critical differences in walking pad vs treadmill belt maintenance. Learn exact lubrication steps, tension adjustments, and longevity tips.

The Hidden Cost of Cardio: Walking Pad vs Treadmill Maintenance
When consumers weigh the pros and cons of a walking pad vs treadmill, the conversation almost exclusively revolves around footprint, motor horsepower, and upfront pricing. However, as fitness equipment specialists, we know that the true cost of ownership is dictated by long-term maintenance. The friction interface between the belt and the deck is the single most critical failure point on any motorized cardio machine. Neglecting this interface doesn't just result in a squeaky workout; it causes catastrophic motor burnout, warped decks, and snapped drive belts.
While the fundamental physics of belt lubrication remain the same, the architectural differences between a full-size treadmill (like the Sole F80 or NordicTrack Commercial 1750) and a low-profile walking pad (like the KingSmith WalkingPad X21 or UREVO Strol 2E) demand entirely different maintenance approaches. This guide provides exact, technician-level protocols for maintaining, lubricating, and diagnosing belt wear across both machine categories in 2026.
Quick Diagnostic Summary
Full-Size Treadmills: Require 0.5 to 1.0 oz of 100% liquid silicone every 130–150 miles. Easier to access, but heavier belts require precise tensioning.
Walking Pads: Require 0.3 to 0.5 oz of silicone every 100 miles. Low-clearance decks make application difficult, and thin 1-ply belts are highly susceptible to heat warping if over-lubricated or over-tightened.
Belt Architecture: Why Walking Pads and Treadmills Differ
Understanding the hardware is the first step to proper maintenance. According to equipment teardown data from Fitness Repair Parts, the belt composition directly dictates the lubrication schedule and failure modes.
Full-Size Treadmill Deck Dynamics
Premium full-size treadmills utilize a 2-ply belt (typically 4.0mm to 4.5mm thick) featuring a woven polyester core for tensile strength and a textured rubber top layer. The underside is coated with a low-friction polymer. These belts run over high-density phenolic resin or urethane-coated decks designed to dissipate heat. Because the belt is thick and heavy, it requires higher motor torque to turn, making a dry belt a primary culprit for blown motor control boards (MCBs).
The Low-Profile Walking Pad Challenge
Walking pads prioritize a slim profile, meaning they use 1-ply belts (1.2mm to 1.8mm thick) made of a thinner PVC/rubber blend. The deck is often a composite MDF or thin aluminum honeycomb. Because the belt is thinner, it generates heat much faster under user weight. Furthermore, the folding mechanisms inherent to walking pads mean the deck is rarely perfectly flat, creating localized high-friction zones near the hinges that require targeted lubrication.
The Ultimate Belt Lubrication Protocol
Whether you own a walking pad or a commercial treadmill, you must use 100% pure liquid silicone. Never use silicone sprays (which contain petroleum propellants), gels, or household oils.
⚠️ CRITICAL WARNING: Applying WD-40, 3-in-One oil, or any petroleum-based product will instantly degrade the chemical bonds of the PVC/rubber belt and strip the factory wax coating off the deck. This will void your warranty and require a full belt and deck replacement within weeks.Step-by-Step Application for Full-Size Treadmills
- Power Down: Unplug the machine from the wall. Never work on a live motor.
- Clear Debris: Use a microfiber cloth wrapped around a ruler to wipe the underside of the belt and the top of the deck. Dust and pet hair act as abrasives.
- Lift and Apply: Lift the center of the belt approximately 2 to 3 inches from the deck. Squeeze exactly 0.5 ounces (15ml) of 100% liquid silicone in a zig-zag pattern across the center third of the deck width.
- Distribute: Lower the belt. Plug the machine in and run it at 2.0 mph to 3.0 mph for 5 minutes. Walk on the edges of the belt to help press the silicone outward toward the rails.
Step-by-Step Application for Walking Pads
Because walking pads lack the clearance to easily lift the belt, you must use the applicator wand included with most silicone kits. Slide the wand under the belt from the side edge, pushing it toward the center. Squeeze 0.3 ounces (10ml) of silicone as you slowly withdraw the wand. Repeat on the opposite side. Run the pad at 1.5 mph for 5 minutes to distribute.
Maintenance Matrix: Usage vs. Lubrication Frequency
As highlighted in the Consumer Reports treadmill buying guide, maintenance schedules should be dictated by actual usage hours and user weight, not just arbitrary calendar months. Heavier users generate exponentially more friction.
| Weekly Usage | Lubrication Interval | Tension Check | Primary Risk Factor |
|---|---|---|---|
| Under 3 hrs/week | Every 6 months | Annually | Dust accumulation under belt |
| 3 - 5 hrs/week | Every 3 months (90 days) | Every 6 months | Edge fraying and minor drift |
| Over 5 hrs/week | Every 30 days / 130 miles | Quarterly | Deck heat warping, MCB failure |
Diagnosing Friction: The Smart Plug Amp-Draw Test
How do you know if your belt actually needs lubrication before it fails? The most reliable, non-invasive diagnostic tool used by fitness technicians is the Amp-Draw test. You can perform this at home using an inexpensive electricity usage monitor (like the Kill A Watt P3 P4400) or a smart plug with energy monitoring capabilities.
"Biomechanical efficiency isn't just about the runner; it's about the machine. A high-friction deck forces the user to compensate for belt hesitation, subtly altering gait and increasing joint impact," notes research on equipment mechanics from the American Council on Exercise (ACE).
How to Perform the Test:
- Plug the treadmill or walking pad into the energy monitor, and the monitor into the wall.
- Turn the machine on and set the speed to 3.0 mph with zero incline.
- Observe the No-Load Amp Draw (the machine running empty). A healthy, well-lubricated full-size treadmill should draw between 2.0 and 4.0 amps. A walking pad should draw between 1.0 and 2.5 amps.
- Step onto the machine and walk at a normal pace. Observe the Load Amp Draw.
The Diagnosis: If your no-load amp draw exceeds 6.0 amps, or your load amp draw spikes above 12.0 amps (on a full-size treadmill), the friction coefficient is dangerously high. The belt is either bone dry, the deck is warped, or the belt is over-tensioned. Immediate lubrication or mechanical adjustment is required to prevent the motor control board from tripping its thermal breaker.
Fixing Belt Drift and Slippage (Without Over-Tightening)
A common mistake owners make when a belt slips underfoot is to aggressively tighten the rear roller bolts. Over-tightening is the leading cause of snapped drive belts and ruined roller bearings. When comparing a walking pad vs treadmill, walking pads are significantly more sensitive to over-tensioning due to their smaller roller diameters (often 30mm vs 50mm on treadmills).
The Quarter-Turn Rule
Locate the two adjustment bolts at the very back of the machine (usually requiring a 6mm or 8mm Allen wrench).
- If the belt drifts to the LEFT: Turn the LEFT bolt clockwise by exactly one-quarter (1/4) turn. Turn the RIGHT bolt counter-clockwise by one-quarter turn.
- If the belt slips underfoot: Turn BOTH bolts clockwise by exactly one-quarter (1/4) turn.
Run the machine at 4.0 mph for two minutes to allow the belt to center itself. Never turn the bolts more than a half-turn at a time. If the belt still slips after a full turn of tension, the belt has stretched beyond its elastic limit and must be replaced.
When to Replace: Cost and Failure Thresholds
Lubrication cannot fix physical degradation. You must replace the belt if you observe deep grooves worn into the underside, frayed edges exposing the polyester weave, or if the seam begins to separate.
- Walking Pad Replacement Costs: Typically $35 to $75 for OEM 1-ply replacement belts. Installation requires removing the side rails and sliding the old belt off the rollers.
- Full-Size Treadmill Replacement Costs: Typically $80 to $160 for premium 2-ply belts. If the deck is also scored or warped (common if the machine was run dry for months), expect to add $100 to $200 for a replacement phenolic deck.
Ultimately, mastering the maintenance nuances of your specific machine is what separates a $500 piece of junk from a decade-long fitness investment. Whether you are dealing with the heavy-duty deck of a commercial treadmill or the compact, folding mechanics of a walking pad, strict adherence to silicone lubrication schedules and precise tensioning will ensure your equipment survives the miles ahead.
More gear to consider
All reviews
Folding Treadmill for Small Spaces Review & Lubing a Treadmill Belt

How Fast Is 3 Speed On A Treadmill? Air Bike Vs Assault Bike
Noise Comparison & Setup for Treadmill Sprints to Lose Weight

Troubleshooting the 715t Plus Treadmill Motor & Horsepower Guide
Skillmill Treadmill vs Under Desk Treadmills: Office Review