Home Gym Setup: Upper Chest Dumbbell Exercises Using Neoprene Weights
Master your home gym setup for upper chest dumbbell exercises. Learn optimal bench angles, neoprene weight selection, and biomechanical positioning.

The Architecture of the Upper Chest: Why Setup Matters
Targeting the clavicular head of the pectoralis major—the anatomical term for the upper chest—requires precise biomechanical alignment. When performing upper chest dumbbell exercises in a home gym, the margin for error is remarkably small. A deviation of just 15 degrees in your bench incline can shift the primary load from the upper pectorals to the anterior deltoids. Furthermore, the physical properties of your equipment dictate your setup. Neoprene-coated dumbbells, the undisputed kings of home gym flooring protection, introduce unique variables regarding handle diameter, spatial footprint, and grip friction that demand a specialized installation and execution walkthrough.
This guide provides a complete, step-by-step setup protocol for calibrating your home gym space, selecting the right neoprene weights, and installing the proper biomechanical movement patterns to maximize upper chest hypertrophy in 2026.
Phase 1: Physical Equipment Installation & Calibration
Before picking up a weight, you must 'install' the correct physical environment. The most common failure point in home gym upper chest training is improper bench calibration.
Calibrating the Incline Angle
According to kinesiology data synthesized by ExRx.net's exercise directory, the clavicular head is most effectively isolated at an incline between 30 and 45 degrees. However, most commercial FID (Flat/Incline/Decline) benches sold for home use feature ladder notches set at 45° and 60°. A 60-degree incline turns the movement into a shoulder press, while 45 degrees often recruits too much front deltoid.
- The 30-Degree Hack: If your FID bench lacks a 30-degree notch, set the bench to the lowest incline (usually 15° or flat) and place a standard 10lb or 25lb cast-iron bumper plate under the head-end upright base. This physically elevates the fulcrum, creating a perfect, stable 30-degree angle.
- Seat Pan Angle: Elevate the seat pan by one notch (approx. 15 degrees). This prevents lumbar hyperextension and locks the pelvis in place, ensuring the upper chest remains the primary mover.
Spatial Footprint & Flooring Setup
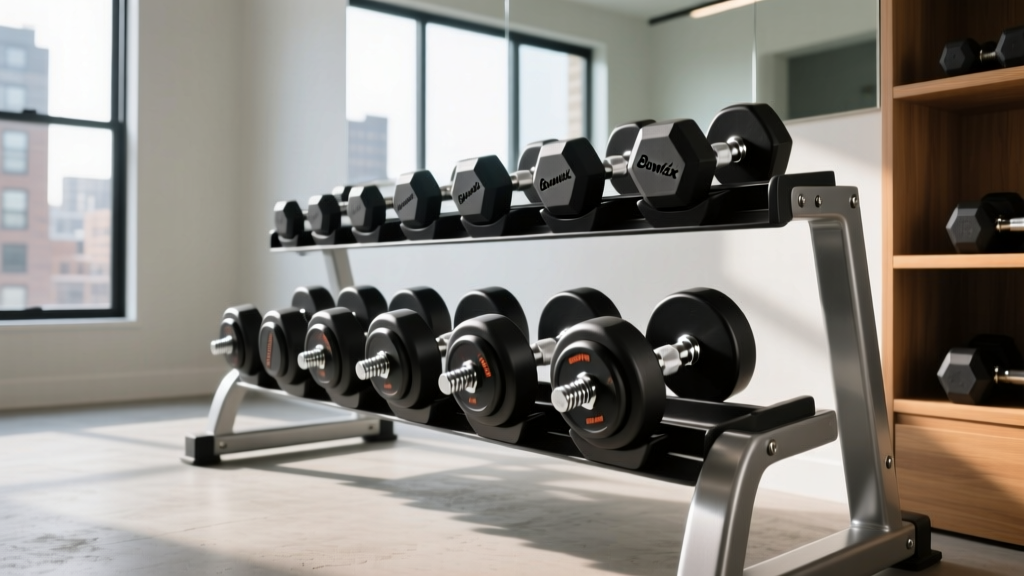
Neoprene dumbbells (such as those from CAP Barbell or Yes4All) are significantly bulkier than bare iron or urethane. A 40lb neoprene hex dumbbell can measure up to 14 inches in length. When setting up your workout zone, ensure you have a minimum clearance of 36 inches on either side of the bench to accommodate the wider wingspan required for incline flyes and the lateral kick-up for heavy presses. Always install these over 3/4-inch horse stall mats; while neoprene protects the floor, dropping a 50lb dumbbell from a failed incline press can still crack standard home laminate.
Phase 2: Neoprene Dumbbell Selection & Grip Setup
Not all neoprene is created equal, and the coating directly impacts your grip setup. As of 2026, premium neoprene dumbbells cost between $1.80 and $2.60 per pound. When selecting your set for upper chest work, pay attention to the handle diameter.
Expert Insight: The Neoprene Handle Variable
Neoprene coating adds roughly 2mm to 4mm of thickness to the steel handle core. A standard 35mm Olympic-style handle becomes a 39mm to 43mm handle once coated. This increased diameter drastically increases grip fatigue during high-rep upper chest flyes. If you have smaller hands, prioritize brands that use contoured ergonomic handles rather than straight cylindrical shafts to maintain wrist stability under load.
Phase 3: The Biomechanical Setup Walkthrough
With the bench calibrated and the weights selected, we move to the physical setup of the lifter. The National Strength and Conditioning Association (NSCA) emphasizes that scapular positioning is the foundation of all pressing movements.
Step-by-Step: The Incline Neoprene Press Setup
- The Kick-Up: Because neoprene dumbbells are bulky, resting them on your thighs requires a wider knee stance. Sit on the edge of the bench, rest the dumbbell heads on your lower quadriceps, and use a sequential knee-flick to drive them to your shoulders as you lean back.
- Scapular Anchoring: Once your back hits the 30-degree pad, actively pinch your shoulder blades together and pull them down toward your hips. This 'installs' a stable base and pushes the sternum upward, pre-stretching the upper pecs.
- Wrist Stacking: Neoprene can become slippery when exposed to sweat. Ensure your wrists are perfectly stacked over your elbows. Do not let the heavy, bulky heads of the neoprene dumbbells pull your wrists into extension.
- The Press Path: Unlike a barbell, dumbbells allow for convergence. Press the weights up and slightly inward, stopping when the dumbbells are shoulder-width apart to maintain continuous tension on the clavicular head.
Phase 4: Exercise Selection & Execution Matrix
To build a complete upper chest, you must vary the resistance profile. The following matrix outlines how to set up three distinct movements using neoprene dumbbells.
| Exercise | Setup & Angle | Neoprene-Specific Adjustments | Target Rep Range |
|---|---|---|---|
| Incline Press | 30° Bench, Neutral Grip | Chalk hands if sweating; neoprene loses grip when wet. | 6-10 |
| Incline Hex Press | 30° Bench, Palms Facing | Press the flat hex sides together to create constant inward tension. | 10-15 |
| Incline Flye | 30° Bench, Slight Elbow Bend | Use lighter weights; the bulky heads alter the center of gravity. | 12-20 |
Phase 5: Neoprene Maintenance & Failure Mode Prevention
A critical part of any home gym installation is ongoing maintenance. Neoprene is a synthetic rubber that is highly susceptible to chemical degradation. According to equipment maintenance guidelines referenced by the American Council on Exercise (ACE), keeping your equipment clean is vital for safety and longevity.
WARNING: Never use isopropyl alcohol, bleach, or harsh antibacterial wipes on neoprene dumbbells. These chemicals break down the rubber polymers, causing the coating to peel, crack, and expose the rust-prone iron core underneath. Instead, use a microfiber cloth dampened with warm water and a drop of mild dish soap after every session to remove sweat salts and skin oils.
Edge Case Troubleshooting: The 'Slip' Factor
The most common failure mode during upper chest dumbbell exercises with neoprene weights is grip slip during the eccentric (lowering) phase of an incline flye. As the neoprene warms up from body heat and ambient room temperature, its coefficient of friction drops. The Fix: Keep a block of gymnastic chalk or a liquid chalk dispenser in your home gym. Apply a thin layer to your palms before heavy sets. Additionally, store your neoprene dumbbells on a rack away from direct sunlight or HVAC vents, as UV exposure and extreme temperature fluctuations will prematurely dry out and crack the rubber coating.
Final Thoughts on Your Home Gym Installation
Mastering upper chest dumbbell exercises is not just about effort; it is about precision. By correctly calibrating your bench to a true 30-degree angle, accounting for the increased handle diameter and spatial footprint of neoprene weights, and strictly maintaining the rubber coating, you transform a basic home gym corner into a highly optimized hypertrophy station. Consistency in your setup guarantees consistency in your muscular development.
More gear to consider
All reviews
EZ Curl Bar vs Straight Bar: Trends Beyond the 1000 lb Dumbbell Myth

EZ vs Straight Bar Longevity: Curls & Dumbbell Shoulder Shrugs

Barbell Collar Types Compared for the Alternative Dumbbell Curl
Bumper vs Iron Plates & Standing Abs Workout with Dumbbells

Mastering the Back Fly with Dumbbells & Barbell Knurling Guide