Treadmill Motor Setup for a 20 Minute HIIT Treadmill Workout
Learn how to choose, wire, and install the right treadmill motor size, then stress-test it with a 20 minute HIIT treadmill workout.

Decoding Treadmill Motor Specs: The Pre-Installation Phase
When unboxing a premium cardio machine, most users focus on the console or the running surface. However, the true heart of the machine—and the primary dictator of your electrical and spatial setup requirements—is the motor. If your goal is to regularly perform a 20 minute HIIT treadmill workout, selecting and properly installing the correct motor size is non-negotiable. High-Intensity Interval Training (HIIT) demands rapid acceleration, extreme deceleration, and sustained high-torque output that will quickly expose an underpowered or poorly installed drive system.
According to Consumer Reports, the most critical metric to look for is Continuous Horsepower (CHP), not Peak HP. Peak HP only measures the motor's maximum output in short bursts, whereas CHP measures the power the motor can sustain indefinitely. For the rapid speed transitions required in interval training, a high CHP rating ensures the motor controller doesn't overheat or trigger a thermal shutoff mid-sprint.
Motor Sizing Matrix for HIIT and Heavy Users
| User Weight | Primary Use Case | Minimum CHP Required | Ideal CHP for HIIT | Electrical Circuit Needed |
|---|---|---|---|---|
| Under 150 lbs | Walking / Light Jogging | 2.5 CHP | 3.0 CHP | 15-Amp Dedicated |
| 150 - 200 lbs | Running / Tempo Runs | 3.0 CHP | 3.5 CHP | 15-Amp or 20-Amp |
| 200 - 250+ lbs | Sprinting / Incline HIIT | 3.5 CHP | 4.0+ CHP | 20-Amp Dedicated |
Pre-Installation Electrical & Spatial Requirements
Before you even cut the zip ties on the motor hood, you must verify your room's electrical infrastructure. A 20 minute HIIT treadmill workout forces the motor to draw maximum amperage repeatedly. If your treadmill shares a circuit with a space heater, air conditioner, or even a high-draw television, the voltage drop will cause the treadmill's Pulse Width Modulation (PWM) controller to starve, leading to belt stuttering or error codes.
- The 20-Amp Rule: For any treadmill rated 3.5 CHP or higher, hire an electrician to install a dedicated 20-amp circuit using 12 AWG (American Wire Gauge) copper wire. This ensures the wiring can handle the 1,800 to 2,400-watt surge during rapid acceleration.
- Surge Protection: Do not use cheap power strips. Invest in a UL-listed surge suppressor rated for at least 4000 Joules to protect the motor's logic board from micro-surges.
- Spatial Clearance: The motor hood requires adequate airflow to dissipate heat. Leave at least 24 inches of clearance on all sides of the base, and 6 inches specifically behind the motor cowling where the cooling fan exhausts.
Step-by-Step Motor Housing & Assembly Walkthrough
Proper physical assembly directly impacts motor longevity. An misaligned drive belt will create parasitic drag, forcing the motor to work 20% harder and drastically reducing its lifespan.
- Base Placement & Leveling: Position the main deck. Before attaching uprights, use a machinist's level on the running surface. Adjust the rear leveling feet until the deck is perfectly horizontal. An uneven deck causes the running belt to track to one side, creating friction that the motor must overcome.
- Upright & Console Wiring: When routing the data cables through the steel uprights, ensure the motor control wires are not pinched against the frame. Use the provided foam sleeves. A pinched PWM wire will cause communication errors (commonly Error E01 or E02) once the machine is powered on.
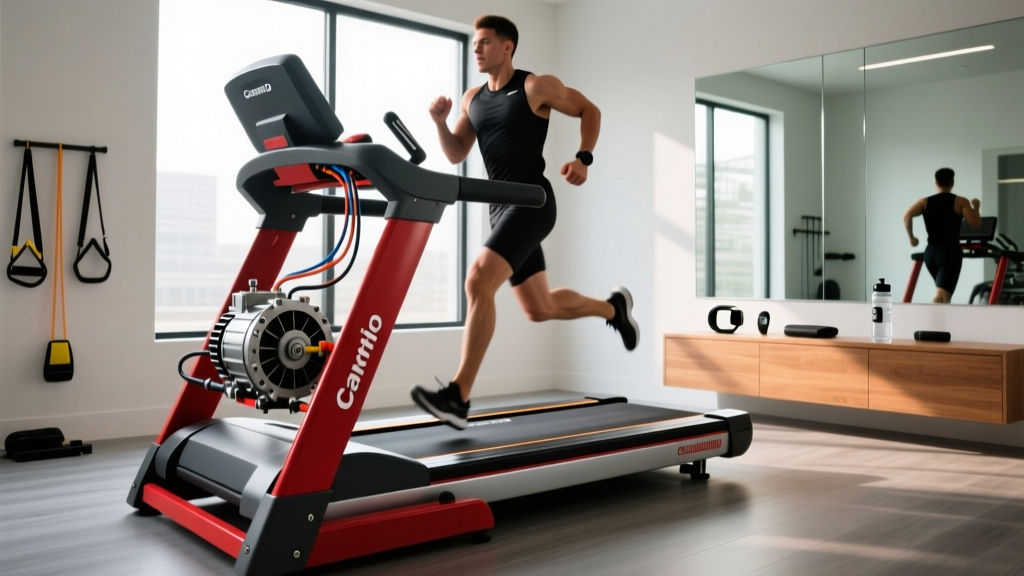
- Motor Hood Alignment: When securing the plastic motor hood, do not overtighten the screws. Overtightening can warp the plastic, causing it to rub against the heavy steel flywheel, creating a high-pitched whine and unnecessary mechanical resistance.
- Drive Belt Tension Check: The ribbed drive belt connecting the motor pulley to the front roller must be tensioned correctly. Press down on the belt midway between the pulleys. It should have exactly 1/4 inch to 3/8 inch of deflection. If it's too tight, you will prematurely destroy the motor's front bearing; too loose, and the belt will slip during HIIT sprints.
The Stress Test: Calibrating with a 20 Minute HIIT Treadmill Workout
Once assembled, lubricated, and plugged into your dedicated circuit, you must stress-test the motor's thermal limits and the controller's dynamic braking system. The best way to do this is by executing a structured 20 minute HIIT treadmill workout. This specific protocol tests rapid acceleration (motor torque) and rapid deceleration (eddy current or dynamic braking).
Safety Warning: Always use the magnetic safety key clipped to your clothing during this stress test. If the motor controller fails or the belt stutters during a 12 MPH sprint, the safety key will instantly cut power to the drive system.
The 20-Minute Motor Stress Protocol
- Minutes 0:00 - 3:00 (Warm-up): Start at 3.0 MPH, 0% incline. Gradually increase to 5.0 MPH. Listen to the motor. A healthy brushless DC motor should emit a low, consistent hum. Any clicking or grinding indicates a misaligned drive belt or debris in the motor housing.
- Minutes 3:00 - 15:00 (The HIIT Intervals - 8 Rounds):
- Sprint Phase (30 Seconds): Hit the quick-speed button to jump to 10.0 - 12.0 MPH (depending on your fitness level) and max incline (10-15%). The motor will draw peak amperage here. Watch the console for flickering, which indicates voltage starvation.
- Recovery Phase (60 Seconds): Drop speed to 3.0 MPH and incline to 0%. The motor controller must actively brake the flywheel. If the belt takes more than 4 seconds to slow down, the dynamic braking resistors on the lower control board may be faulty.
- Minutes 15:00 - 20:00 (Cool Down): Walk at 2.5 MPH. Carefully place your hand near the motor hood exhaust. It should be warm, but not hot enough to burn. If the plastic is blistering hot or you smell ozone/burning dust, the motor is undersized for your weight or the belt tension is too tight.
Post-Install Troubleshooting & Maintenance
Even with a perfect setup, high-intensity training takes a toll on cardio equipment. Here is how to troubleshoot common motor-related issues that arise after heavy HIIT usage:
Common Error Codes & Fixes
| Error Code | Meaning | Troubleshooting Step |
|---|---|---|
| E01 / E02 | Communication Loss | Check the harness connection between the console and the lower motor control board. Reseat the ribbon cable. |
| E05 | Motor Overcurrent / Thermal | The motor is drawing too many amps. Loosen the running belt tension, vacuum under the motor hood, and ensure the circuit isn't shared. |
| E07 | Incline Motor Fault | Often triggered during HIIT incline shifts. Recalibrate the incline motor by entering the machine's hidden engineering menu (consult your specific brand's manual). |
By understanding the critical relationship between continuous horsepower, electrical infrastructure, and mechanical tension, you ensure your machine is primed for the most grueling intervals. A properly sized and meticulously installed motor won't just survive your daily sprints—it will deliver the seamless, responsive performance required to push your cardiovascular limits safely.
More gear to consider
All reviews
Horizon Treadmill Manual: Setup and Feature Comparison

Nautilus Treadmill vs Air Bike: The Assault Bike Guide
Air Bike vs Assault Bike Maintenance & Duke Treadmill Longevity
Life Fitness Home Treadmill Belt Maintenance: 2026 Trend Analysis

Understanding the 8 Speed on Treadmill Pace & Cardio Noise