
Redefining the Treadmill Meaning: Expert Belt Maintenance Guide
Explore the true treadmill meaning for home gyms. Learn expert belt maintenance, tensioning, and 100% silicone lubrication protocols to extend machine life.

The True Treadmill Meaning: Beyond the Dictionary Definition
When most people look up the treadmill meaning in a dictionary, they find two definitions: a mill powered by animals treading on a wheel, or a metaphor for a monotonous, repetitive, and exhausting cycle. Ironically, if you neglect the mechanical heart of your home gym equipment, your fitness routine will quickly devolve into that exact metaphor—a frustrating, repetitive cycle of breakdowns, error codes, and costly repairs.
In the context of modern cardiovascular training, redefining the treadmill meaning requires shifting your focus from the digital console to the physical deck. The belt and deck interface is the highest-friction zone on the machine. According to 2026 industry service data, over 65% of all treadmill motor and controller failures are not caused by electronic defects, but by severe friction stemming from neglected belt maintenance and improper lubrication. Understanding the precise mechanics of belt tension, alignment, and chemical lubrication is the difference between a $2,500 investment lasting three years or fifteen.
Amp-Draw Diagnostics: The Hidden Metric of Belt Health
Before you reach for a bottle of silicone or a hex wrench, you must understand how to diagnose belt health objectively. Professional technicians do not rely on the 'touch test'; they use a clamp multimeter to measure the motor's amp draw. This is the ultimate source of truth for your machine's mechanical efficiency.
Understanding the Amp-Draw Baselines
When a treadmill belt is properly lubricated and tensioned, the drive motor operates within a highly efficient electrical envelope. Here are the standard benchmarks for a typical 3.0 to 4.0 Continuous Horsepower (CHP) residential motor (such as those found in the Sole F80 or Horizon 7.4 series):
- No-Load (Empty Belt at 3 MPH): 2.5 to 4.0 Amps
- Loaded (180 lb User at 3 MPH): 6.0 to 10.0 Amps
- Danger Zone (Dry/Misaligned Belt): 14.0+ Amps
When the belt dries out, the coefficient of friction between the PVC belt and the MDF or phenolic deck spikes. The motor must draw significantly more current to overcome this resistance. If the amp draw consistently exceeds 15 Amps under load, the motor controller's thermal protection will eventually trip, resulting in the dreaded E01 or E05 error codes, and ultimately, a fried controller board costing upwards of $250 to replace.
⚠️ CRITICAL WARNING: The Petroleum TrapNever use WD-40, 3-in-One oil, or any petroleum-based lubricant on a treadmill belt. Petroleum distillates will chemically break down the PVC and rubber compounds of the belt, causing it to stretch, warp, and disintegrate from the inside out. This will also melt the adhesive binding the belt layers, leading to catastrophic delamination. Always use 100% pure silicone formulated specifically for fitness equipment.
Step-by-Step Belt Tension and Alignment Protocol
Lubrication cannot fix a mechanically misaligned or over-tensioned belt. In fact, applying silicone to an over-tightened belt will simply result in the lubricant being squeezed out the sides, leaving the center of the deck dry. Follow this exact procedure to reset your belt geometry.
- The Two-Finger Lift Test: Turn off and unplug the machine. Reach under the center of the belt (midway between the front and rear rollers). You should be able to lift the belt exactly 2 to 3 inches off the deck. If it lifts higher than 3 inches, it is too loose and will slip under heavy footfalls. If you cannot lift it at least 2 inches, it is over-tensioned and is actively crushing your motor bearings.
- Adjusting the Rear Roller: Locate the two adjustment bolts at the very back of the treadmill (left and right). Using the correct size hex wrench (usually 6mm or 1/4 inch), make adjustments in strict quarter-turn (90-degree) increments. Turn both bolts clockwise to tighten, or counter-clockwise to loosen. Never adjust one side more than the other, or you will force the belt off-track.
- The Tracking Test: Plug the machine in, stand on the side rails, and start the belt at 3 MPH. Watch the rear edge of the belt. It should run dead-center. If it drifts to the left, turn the left rear bolt clockwise by one quarter-turn. Allow the belt to rotate for 30 seconds to settle before making further adjustments.
The 2026 Silicone Lubrication Standard
The fitness equipment industry has largely standardized around 100% silicone liquid lubricants, though application methods vary. While older models required messy spray applications, modern maintenance relies on squeeze bottles with extended applicator wands or specialized spreader cards.
Application Procedure for Optimal Coverage
To properly lubricate a standard 20-inch by 55-inch running surface (like the NordicTrack Commercial series), you need exactly 0.5 to 1.0 ounces of 100% silicone per side. Over-lubricating will cause the silicone to migrate onto the deck edges, creating a slipping hazard for your shoes and attracting dust that turns into an abrasive paste.
- Loosen the belt tension slightly (about two full turns on each rear bolt) to create a gap.
- Lift the edge of the belt and insert the applicator wand as close to the center of the deck as possible.
- Squeeze the bottle while slowly withdrawing the wand, laying down a zig-zag pattern of silicone across the width of the deck.
- Repeat on the opposite side.
- Re-tension the belt to the 2-3 inch lift specification.
- Run the treadmill at 2 MPH for three minutes without walking on it. This allows the belt's natural rotation to distribute the silicone evenly across the phenolic or MDF deck surface.
Deck Material and Maintenance Frequency Matrix
Not all treadmill decks are created equal. The frequency of your lubrication schedule depends entirely on the substrate material used by the manufacturer. Refer to the table below to establish your long-term maintenance calendar.
| Deck Material / Type | Common Brands (2026 Models) | Lubrication Requirement | Service Interval |
|---|---|---|---|
| Standard MDF (Medium-Density Fiberboard) | ProForm, XTERRA, Entry-level Sole | 100% Liquid Silicone | Every 130 miles or 3 months |
| Phenolic / Urethane Coated | Horizon Fitness, Matrix, High-end Sole | 100% Liquid Silicone | Every 300 miles or 6 months |
| Pre-Waxed / Maintenance-Free | Peloton Tread, Technogym, Life Fitness | None (Do Not Lubricate) | N/A (Replace belt when worn) |
Expert Insight: If you own a 'maintenance-free' pre-waxed treadmill, adding aftermarket silicone will actually degrade the factory-embedded wax coating, causing the belt to become gummy and attract debris. Always verify your specific model's manual or consult resources like Treadmill Doctor before applying any chemicals to a new machine.
Diagnosing Terminal Wear: When to Replace the Belt
Maintenance can only delay the inevitable. Treadmill belts are wearable consumables, much like tires on a car. A high-quality replacement belt and deck kit typically costs between $80 and $160, a fraction of the cost of replacing a burnt-out drive motor ($350 to $600+). According to equipment repair specialists at Fitness Repair Parts, ignoring the physical signs of belt degradation is the leading cause of secondary mechanical damage.
The 3 Point Visual Inspection
- Edge Fraying: If the woven edges of the belt are unraveling or showing white structural threads, the belt is tracking poorly or rubbing against the side rails. This requires immediate realignment or replacement.
- Underside Glazing: Flip the edge of the belt and inspect the underside. It should have a matte, slightly textured fabric finish. If it appears glossy, smooth, or blackened, the friction layer has been burned away. No amount of silicone will restore grip; the belt must be replaced.
- Seam Delamination: Run your hand along the seam where the belt was fused into a loop. If you feel a raised ridge, bubbling, or separation, the structural integrity is compromised. A blown seam at 8 MPH can result in severe user injury.
Final Thoughts on Equipment Longevity
Redefining the treadmill meaning in your home gym requires treating the machine as a precision mechanical system rather than a simple piece of furniture. By monitoring amp draw, adhering to strict quarter-turn alignment protocols, and utilizing only 100% pure silicone lubricants, you effectively eliminate the primary causes of premature motor failure. For further reading on establishing a comprehensive home gym maintenance schedule, refer to the equipment care guidelines provided by Sole Fitness Support. A well-maintained belt ensures that your cardiovascular training remains a positive, empowering routine—rather than a frustrating cycle of repairs.
More gear to consider
All reviews
Horizon Fitness T101 Treadmill vs. 2026 Compact Portable Cardio Trends

Motor Setup for Good Interval Training on Treadmill: Install Guide
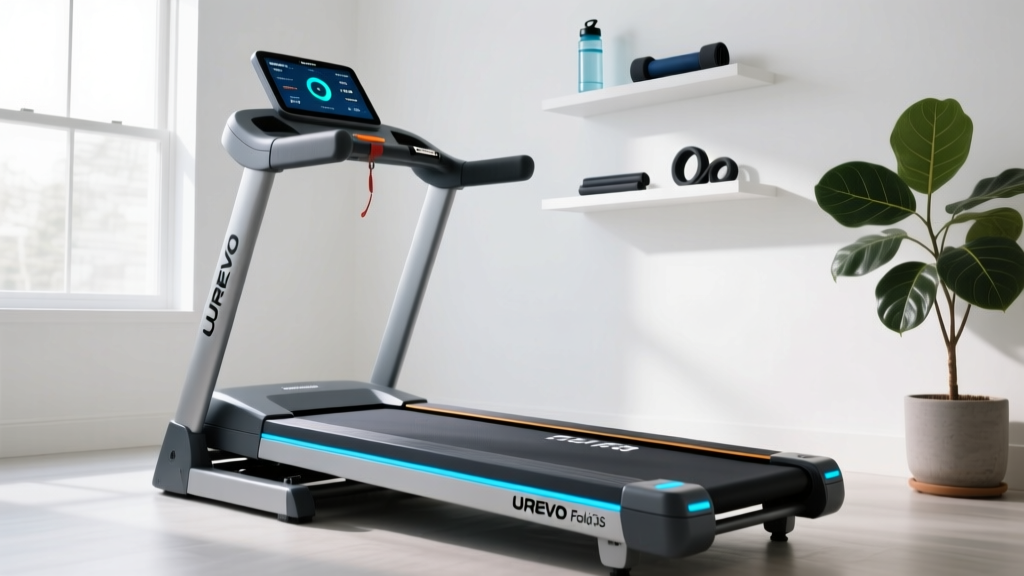
UREVO Foldi 3S Smart Treadmill Review: Best Compact Cardio in 2026?

Bike Types Maintenance: Why Avoid Treadmill 100 Silicone Lubricant?

Walking Pad Setup & Review: What Does METs Mean on a Treadmill?
