
Strength Setup: Every Must Have for Home Gym Longevity Guide
Discover essential maintenance routines and configuration tips to protect strength equipment. Learn the ultimate must have for home gym care and longevity.

Configuring for the Long Haul: Beyond the Initial Purchase
Building a dedicated strength training space in 2026 requires a significant financial commitment. A commercial-grade power rack, a calibrated barbell, and a full set of urethane plates can easily push your initial investment past $3,500. However, many lifters make a critical error: they treat their home gym configuration as a 'set it and forget it' project. Unlike commercial facilities that employ dedicated maintenance staff, the home gym owner is solely responsible for equipment longevity.
Proper configuration isn't just about aesthetics or workout flow; it is the first line of defense against premature wear, metal oxidation, and mechanical failure. From managing concrete moisture to calibrating cable tension, this guide breaks down the exact maintenance protocols and environmental controls required to protect your heavy iron investments.
The Foundation: Flooring Configuration and Moisture Management
The most overlooked threat to strength equipment isn't dropped weights—it's trapped moisture. If you are configuring your gym in a garage or basement with a concrete slab, you are dealing with a porous surface that continuously emits moisture vapor. When you lay rubber flooring directly over bare concrete, you create a microclimate that accelerates rust on any metal left on the floor, particularly cast-iron plates and bare-steel dumbbells.
⚠️ The Concrete Sweat Trap
According to flooring experts at Garage Gym Reviews, trapping moisture under non-vulcanized rubber tiles can lead to mold growth on the subfloor and severe oxidation on iron plates within just a few months. Always test your concrete's Moisture Vapor Transmission Rate (MVTR) before laying down flooring.
Configuration Solution: The Vapor Barrier Protocol
Before installing 3/4-inch vulcanized horse stall mats or interlocking rubber tiles, lay down a 6-mil polyethylene vapor barrier. Overlap the seams by at least 8 inches and seal them with moisture-resistant construction tape. This single configuration step, costing roughly $40 for a standard two-car garage, will add years of life to your iron plates by preventing ground-level humidity from settling on the metal.
Barbell and Plate Care: Combating the Invisible Destroyers
Your barbell is the most interactive piece of equipment in your strength configuration. Whether you are using a bare steel powerlifting bar or a Cerakote-coated multi-purpose bar (like the highly popular Rogue Cerakote Ohio Power Bar, retailing around $295 in 2026), environmental exposure and skin oils are constant threats.
The 3-Minute Weekly Barbell Protocol
Human sweat is highly acidic and contains salts that rapidly degrade knurling. To maintain optimal grip and prevent rust, implement this strict weekly routine:
- Dry Brush: Use a stiff nylon brush (never a wire brush, which damages the knurl peaks) to aggressively scrub the knurling. This removes dead skin, chalk, and debris trapped in the grooves.
- Wipe Down: Use a microfiber cloth lightly dampened with a 50/50 mix of distilled water and isopropyl alcohol to wipe the entire shaft and sleeves.
- Lubricate: Apply 3-in-One oil or a synthetic 0W-20 motor oil to the sleeve bushings. Never use WD-40, as it is a solvent that strips existing lubricants and attracts dust.
'Proper barbell maintenance isn't just about preventing rust; it's about preserving the mechanical tolerance of the bushings or bearings. A dry bushing will score the inner sleeve, leading to a permanent loss of spin and sleeve wobble.' — BarBend's Equipment Maintenance Guide
Rack and Rig Configurations: Bolt Torque and Structural Integrity
Modern home gym power racks, such as the REP PR-5000 V3 or the Bells of Steel Residence, utilize heavy-duty 11-gauge or 7-gauge steel. However, the dynamic loading of strength training—specifically re-racking heavy barbells and the vibration from drop sets—causes micro-movements in the hardware. Over time, this leads to bolt loosening, rack sway, and misaligned J-cups.
Hardware Torque and Inspection Matrix
To maintain structural rigidity, you must adhere to specific torque specifications and re-torque intervals. Below is the maintenance matrix for standard 5/8-inch and 1-inch rack hardware:
| Component | Hardware Type | Target Torque (ft-lbs) | Maintenance Interval | Failure Mode if Ignored |
|---|---|---|---|---|
| Upright Base Bolts | Grade 8, 5/8" Hex | 90 - 110 ft-lbs | Every 6 Months | Base plate warping, upright lean |
| Crossmember Braces | Grade 5, 1/2" Hex | 45 - 60 ft-lbs | Every 6 Months | Lateral rack sway during squats |
| Pull-Up Bar Mounts | Carriage Bolts, 5/8" | 80 - 100 ft-lbs | Every 3 Months | Bar slippage, hole elongation |
| Safety Strap Pins | Quick-Attach Pins | Hand Tight + Pin Lock | Before Every Session | Catastrophic drop failure |
💡 Pro-Tip: UHMW Plastic Upgrades
If your rack configuration uses standard metal J-cups, upgrade to UHMW (Ultra-High Molecular Weight) plastic-lined cups. Not only do they dampen the noise of re-racking, but they also prevent the hard steel of the J-cup from grinding away the knurling and protective coating on your barbell shaft.
Cable and Pulley Systems: Tension and Track Alignment
Functional trainers and cable crossovers are exceptional for hypertrophy and accessory work, but their mechanical complexity requires rigorous oversight. The lifeblood of these machines is the aircraft cable—typically a 7x19 strand configuration rated for 2,000+ lbs of tensile strength.
Inspecting for 'Fish Hooks' and Pulley Drag
Every 90 days, run a cotton cloth along the entire length of the exposed cable. If the cloth snags, you have a broken strand (often called a 'fish hook'), and the cable must be replaced immediately to prevent catastrophic snapping under load. Additionally, inspect the pulley wheels. High-end configurations use CNC-machined aluminum or nylon pulleys with sealed bearings. If you notice black dust accumulating beneath the pulley, the bearing seal has failed, and the wheel needs replacement to prevent track misalignment.
Environmental Controls: The Ultimate Must Have for Home Gym Longevity
When configuring a dedicated strength space, a high-capacity dehumidifier is a must have for home gym longevity, particularly in humid climates or unsealed garages. Bare steel, black oxide, and even some zinc coatings will begin to flash-rust when ambient relative humidity (RH) consistently exceeds 60%.
Climate Configuration Targets
- Ideal Humidity Range: 45% - 55% RH. This is the sweet spot that protects bare steel without drying out the rubber on your bumper plates or flooring.
- Temperature Stability: Avoid rapid temperature swings that cause condensation on cold iron plates. If your garage drops to 40°F at night and heats up to 65°F during the day, the plates will 'sweat' as the air warms.
- Airflow Configuration: Position an oscillating floor fan to ensure air circulates around the plate storage tree and dumbbell rack. Stagnant air pockets are where localized rust colonies begin.
For a standard 400-square-foot garage gym, a 50-pint Energy Star-certified dehumidifier with a continuous drain hose routed to a floor drain or sump pump is the most cost-effective insurance policy you can buy. Priced between $250 and $350, it pays for itself by saving a single set of calibrated steel plates from irreversible pitting.
Summary: Building a Sustainable Strength Sanctuary
A true strength training configuration is a living ecosystem. By implementing a 6-mil vapor barrier under your flooring, adhering to a strict 3-minute weekly barbell cleaning protocol, torque-testing your rack hardware bi-annually, and controlling your ambient humidity, you ensure that your equipment will easily outlast your lifting career. Treat your maintenance schedule with the same discipline you apply to your progressive overload, and your home gym will remain a pristine, high-performance sanctuary for decades.
More gear to consider
All reviews
Expert Home Gym Floor Ideas & Complete Layout Plans

Foldable Home Gym Cost: Compact Setup Pricing Guide
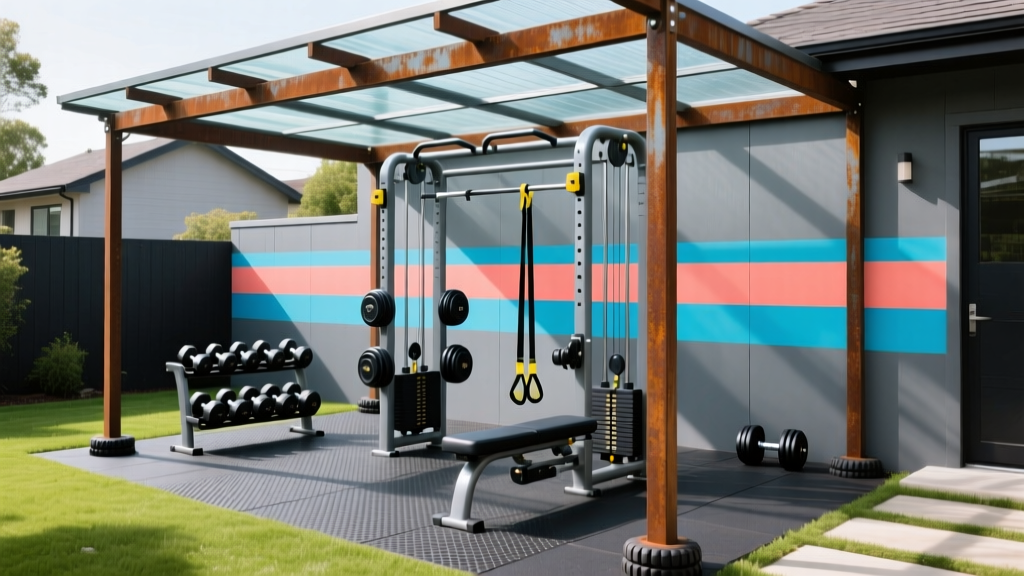
Outdoor Setup: Weatherproofing & Home Gym Paint Schemes

Great Home Gym Ideas: Complete Setup & Floor Plans

Equipment for Home Gym: The Ultimate Weight Selection Guide
