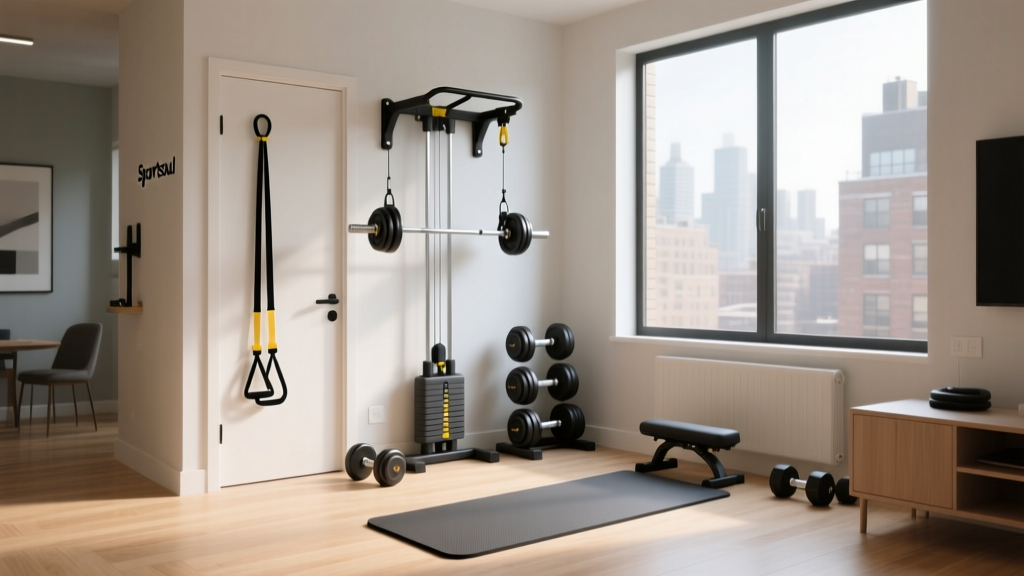
Sportsoul Home Gym: No-Damage Rental Apartment Setup Mistakes
Avoid costly deposit deductions. Learn the top no-damage setup mistakes for a Sportsoul home gym in rental apartments and how to troubleshoot them.

The Sportsoul Philosophy: High Performance, Zero Destruction
The "Sportsoul home gym" philosophy centers on creating a deeply personal, high-performance training sanctuary that respects both the athlete’s mindset and the physical boundaries of the living space. When you are renting an apartment, building this sanctuary requires a delicate balancing act. You need commercial-grade functionality without triggering lease violations, noise complaints, or catastrophic security deposit deductions.
In the 2026 rental market, landlords are increasingly utilizing high-resolution move-in/move-out digital scanning to document property conditions. According to Nolo's legal guide on security deposits, disputes over structural damage and floor warping remain the top reasons tenants lose thousands of dollars. This troubleshooting guide breaks down the most common mistakes renters make when setting up an apartment-friendly gym and provides exact, actionable solutions to protect your deposit and your sanity.
Mistake #1: The Subfloor Moisture Trap (Flooring Failures)
The most common point of failure in a rental home gym is improper flooring installation. Many lifters buy interlocking EVA foam tiles or lay rubber mats directly onto hardwood or carpet, assuming the padding is enough. It isn't.
The Failure Mode
Rubber is non-permeable. When laid directly over hardwood or carpet, it traps ambient moisture and sweat runoff. Over 6 to 12 months, this trapped humidity breeds black mold and warps the subfloor. When you move out, the landlord will pull up the mats, discover the damage, and charge you for a full floor refinishing—a bill that frequently exceeds $2,500.
The Troubleshooting Fix
- The Vapor Barrier: Before laying down any rubber, install a 6-mil polyethylene vapor barrier (available at any hardware store for ~$35 per 100 sq ft roll). Tape the seams with moisture-resistant HVAC tape.
- The Right Matting: Skip the cheap foam tiles. Invest in 3/4-inch vulcanized rubber horse stall mats (typically 4x6 feet, costing ~$55-$65 each from agricultural suppliers). They provide the necessary density for heavy lifting while resting safely on top of your vapor barrier.
- Airflow Gap: Leave a 1/2-inch gap between the mats and the baseboards to allow for lateral expansion and air circulation.
Mistake #2: Structural Anchoring and Wall Damage
A true Sportsoul home gym requires a squat rack or pull-up station. The critical mistake is assuming you can bolt a rig into the apartment's drywall or wall studs without consequences.
The Failure Mode
Landlords classify bolting heavy steel rigs into wall studs as a "structural alteration." Even if you patch the holes later, the compromised fire-rating of the drywall and the sheer size of the lag bolt holes (often 3/8" to 1/2" wide) will flag a lease violation. Furthermore, toggle bolts used on standard 1/2" drywall will rip out under the dynamic load of a kipping pull-up, leaving massive craters in the wall.
The Troubleshooting Fix
- Freestanding Flat-Foot Rigs: Opt for a freestanding power rack with a flat-foot base (e.g., the Titan Fitness T3 Short Power Rack, ~$449). These do not require bolting to the floor. To prevent walking during heavy barbell racking, load the rear uprights with sandbags or use specialized rubber wedge chocks.
- Tension-Based Pull-Up Bars: Avoid over-the-doorframe bars that crack the wooden trim. Instead, use a heavy-duty telescopic tension bar mounted in a reinforced hallway or doorframe, ensuring it has anti-slip silicone padding to protect the paint and trim.
- Freestanding Wall-Ball Targets: If you do CrossFit-style wall balls, do not use the actual apartment wall. Buy or build a freestanding wooden target backed by high-density foam, positioned 3 feet away from the drywall.
⚠ Warning: The "Fold-Away" Rack Trap
Many apartment dwellers buy fold-away wall-mounted racks to save space. Unless you have explicit, written permission from your property manager to drill into structural studs, avoid these. The dynamic torque of a 200lb barbell being re-racked can easily rip the mounting brackets out of the drywall, causing severe injury and massive property damage.
Mistake #3: Ignoring Structure-Borne Vibration
There are two types of noise: airborne (music, grunting) and structure-borne (impact vibration). Airborne noise is easily solved with headphones. Structure-borne noise is what gets you evicted.
The Failure Mode
When you drop a 225lb deadlift, the kinetic energy travels through the rubber mat, into the subfloor, and down the floor joists to your downstairs neighbor's ceiling. This low-frequency thud is incredibly difficult to block and is the #1 cause of noise-related lease terminations in multi-family dwellings. The International Code Council (ICC) sets strict Impact Insulation Class (IIC) ratings for multi-family buildings, and dropping weights routinely violates these acoustic thresholds.
The Troubleshooting Fix
You must decouple the impact zone. Create a "floating platform" specifically for your deadlift and drop zone:
- Layer 1 (Base): 1/2-inch high-density acoustic underlayment (like Regupol or similar recycled rubber acoustic mats).
- Layer 2 (Core): 3/4-inch OSB or plywood board to distribute the point-load of the barbell.
- Layer 3 (Top): Your 3/4-inch rubber horse stall mat.
- Equipment Modification: Use "silent" crash bumpers or urethane-coated bumper plates, which reduce high-frequency clatter by up to 40% compared to standard crumb-rubber bumpers.
Mistake #4: Neglecting Micro-Climate Control
A spare bedroom or enclosed den is not designed for the metabolic output of a human being pushing their VO2 max.
The Failure Mode
A vigorous 45-minute HIIT or indoor cycling session can spike the humidity in a 150-square-foot room to over 80%. The Environmental Protection Agency (EPA) warns that indoor humidity levels consistently above 60% create an ideal environment for toxic mold growth inside drywall cavities and HVAC vents. Landlords will deduct heavily for mold remediation, which can cost upwards of $3,000.
The Troubleshooting Fix
- Active Dehumidification: Do not rely on the apartment's central AC. Place a 35-pint EnergyStar-rated portable dehumidifier (e.g., Midea or Vremic models, ~$180-$220) directly in the gym space. Set the auto-humidistat to 45%.
- Airflow Management: Use a Vornado air circulator to keep air moving across the walls, preventing stagnant, moisture-heavy air from settling in corners and behind equipment.
Apartment Gym Troubleshooting & Equipment Matrix
Use this matrix to audit your current setup and identify potential deposit-destroying flaws before your next lease renewal or move-out inspection.
| Equipment / Zone | Common Rental Mistake | Sportsoul Troubleshooting Fix | Estimated Fix Cost |
|---|---|---|---|
| Heavy Lifting Zone | Rubber mats directly on hardwood | Install 6-mil poly vapor barrier underneath | $35 - $50 |
| Squat Rack | Lag-bolting into wall studs | Switch to flat-foot freestanding rig + sandbags | $400 - $600 (Rig) |
| Deadlift Drop Zone | Single layer of foam tiles | Build 3-layer decoupled floating platform | $120 - $180 |
| Cardio / HIIT Zone | Relying on central HVAC for sweat | Add 35-pint portable dehumidifier | $180 - $220 |
| Wall Balls / Plyo | Throwing against painted drywall | Use freestanding foam-backed wooden target | $90 - $150 |
The Move-Out Day Security Deposit Checklist
When it is time to dismantle your Sportsoul home gym, follow this exact sequence to ensure you recover your full security deposit:
- Tear down in reverse order: Remove equipment, then mats, then the vapor barrier.
- Inspect the subfloor: Use a flashlight held at a 45-degree angle to the floor to check for any moisture staining or scratches. If scratches exist on hardwood, use a tinted wood marker and a blend of beeswax filler to repair them before the landlord's walkthrough.
- Check the baseboards: Ensure no scuff marks from kettlebell swings or plate loading are present. Clean with a magic eraser and touch up with matching semi-gloss paint if necessary.
- Deep clean the air: Run a HEPA air purifier for 24 hours before the final inspection to eliminate any lingering "gym odor" (stale sweat and rubber), which can subconsciously bias a landlord's assessment of the room's condition.
Expert Insight: "The goal of a rental home gym isn't just to survive the lease; it's to leave the space exactly as you found it while achieving elite-level training. By treating your apartment's physical shell with the same respect you treat your own body, you eliminate the stress of property damage and keep your focus entirely on your performance."
Building a no-damage rental apartment gym requires upfront planning and a slight premium on specialized, freestanding equipment. However, the return on investment—measured in saved security deposits, zero noise complaints, and uninterrupted training consistency—makes the Sportsoul approach the only viable strategy for the serious renting athlete.
More gear to consider
All reviews
Sharing the Centr 1 Home Gym Functional Trainer: A Couple's Guide

Weider 2980x Home Gym Maintenance for Small Apartments
Home Basement Gym Electrical Safety: Top Mistakes and Fixes

Where to Donate Fitness Equipment: A Research-Backed Channel Guide

Weatherproofing Your Outdoor Home Gym Layout for Longevity
