
Single Arm Dumbbell Clean and Press Setup & Barbell Knurl Guide
Master your single arm dumbbell clean and press setup. This walkthrough covers platform installation, rack placement, and Olympic barbell knurling.

Introduction: Engineering the Ultimate Free Weight Zone
Building a home gym capable of handling explosive, dynamic movements requires more than just buying equipment and dropping it on a concrete floor. When your programming includes high-velocity unilateral exercises like the single arm dumbbell clean and press, alongside heavy Olympic barbell variations, your spatial geometry, flooring, and equipment specifications must be meticulously calibrated. A poorly planned setup restricts your range of motion, increases the risk of joint injury from repetitive impact, and accelerates equipment degradation.
This complete setup and installation walkthrough will guide you through constructing a professional-grade lifting platform, calculating the precise rack clearances needed for unilateral dumbbell work, and diving deep into the often-misunderstood world of Olympic barbell weight tolerances and knurling profiles. Whether you are upgrading a garage gym or outfitting a boutique studio in 2026, these exact measurements and equipment selections will future-proof your training space.
Phase 1: Constructing the Drop Zone (Platform Installation)
Explosive lifts generate massive kinetic energy. Dropping a 50-pound dumbbell or a loaded Olympic barbell directly onto concrete transfers that shockwave into your joints and shatters the equipment's internal bearings. A dedicated lifting platform is non-negotiable.
Materials and 2026 Pricing Estimates
- Base Layer: Two 4x8-foot sheets of 3/4-inch CDX plywood (approx. $130 total).
- Top Layer: Two 4x6-foot, 3/4-inch thick rubber horse stall mats (approx. $100-$120 per mat).
- Hardware: 2-inch wood screws and heavy-duty construction adhesive.
Step-by-Step Assembly
- Subfloor Preparation: Ensure your concrete slab is swept and completely dry. Lay down a 6-mil polyethylene vapor barrier to prevent moisture from warping the plywood over time.
- Plywood Base: Stagger the seams of your two plywood sheets. Screw them together every 12 inches along the seams and into the concrete below using masonry anchors if possible, or rely on the sheer weight and adhesive for a semi-portable setup.
- Rubber Matting: Cut the horse stall mats to create an 8x8-foot square. The center 4-foot strip should be bare plywood (or covered with a thin carpet square) for your foot traction, while the left and right 2-foot wings are covered by the thick rubber mats to absorb barbell and dumbbell drops.
Phase 2: Rack Placement and Spatial Geometry
When performing the single arm dumbbell clean and press, the dumbbell travels in a wide, lateral arc during the initial pull and the transition under the weight. If your squat rack or storage rack is positioned too closely, you risk striking the uprights with your elbow or the dumbbell head.
Calculating Clearance
Measure your wingspan and add 12 inches. For an average male with a 72-inch wingspan, the swing path of a single arm clean requires a minimum of 30 inches of lateral clearance on the working side of the rack. Position your power rack so that the center of the barbell sleeves aligns with the center of your platform. Keep your dumbbell storage rack at least 48 inches behind the platform's edge to ensure you have a clear, unobstructed path for stepping back after unracking.
Phase 3: Olympic Barbell Selection – Weight Tolerances and Knurling
While dumbbells are excellent for unilateral work, your setup must also accommodate heavy bilateral barbell lifts. Transitioning between the two requires understanding how barbell shaft diameter and knurling affect your central nervous system's grip adaptation. As detailed in the comprehensive BarBend Barbell Buying Guide, the knurl pattern dictates grip security without tearing calluses during high-rep cleans.
Understanding Weight Tolerances
Not all 20kg barbells are created equal. In 2026, commercial-grade bars still fluctuate in manufacturing precision:
- IWF Competition Standard: +/- 15 grams (e.g., Eleiko Olympic Weightlifting Bar, approx. $1,150).
- IPF Powerlifting Standard: +/- 50 grams (e.g., Rogue Ohio Power Bar, approx. $295).
- Standard Commercial: +/- 100 to 200 grams. Avoid these for Olympic lifts, as the imbalance can cause severe wrist torque during the catch phase of a clean.
Knurling Profiles: The Grip Matrix
The knurl is the machined pattern on the steel shaft. Choosing the wrong profile will ruin your hands during high-volume dumbbell and barbell clean variations.
| Knurl Profile | Visual Shape | Aggressiveness | Best Application | Example Model |
|---|---|---|---|---|
| Hill | Rounded peaks | Low | High-rep Olympic lifting, bare hands | Eleiko Sport Training |
| Mountain | Flat, broad peaks | Medium | Mixed use, powerbuilding | Rep Fitness Excalibur |
| Volcano | Sharp peaks with micro-craters | High | Heavy singles, chalk-dependent | Rogue B&R 2.0 |
'If you are alternating between heavy barbell deadlifts and high-rep single arm dumbbell clean and press sets, a Mountain knurl with a 28.5mm shaft diameter offers the best compromise. It provides enough bite for the barbell without shredding your palms during the dumbbell catch.' — FitGearPulse Biomechanics Team
Phase 4: Executing the Single Arm Dumbbell Clean and Press
With your platform built and your equipment selected, executing the single arm dumbbell clean and press safely requires specific setup parameters. According to kinesiology data from the ExRx Exercise Directory, this movement heavily recruits the anterior deltoid, triceps, and upper trapezius, while demanding immense core stabilization to resist rotational forces.
Equipment Selection: Hex vs. Round Dumbbells
For floor-start cleans, always use urethane hex dumbbells. Round dumbbells will roll unpredictably when you release them after a failed rep or at the end of a set, posing a severe ankle-rolling hazard on the platform edge. Urethane hex heads (like those from Iron Grip or Rogue) sit flat and feature a reinforced steel handle that can withstand the torque of a heavy clean.
Stance and Setup Mechanics
- The Staggered Stance: Unlike bilateral barbell cleans, the single arm variation benefits from a slight stagger. Place the foot on the working side slightly behind the non-working foot. This opens the hip and creates a clear vertical path for the dumbbell to travel, preventing it from colliding with your chest.
- The Grip: Hook grip is rarely used with dumbbells due to the thick handle diameter (often 35mm+ compared to a barbell's 28mm). Instead, use a deep diagonal grip across the callus line, wrapping the thumb securely. Use chalk sparingly to maintain friction without slipping.
- The Catch: As you pull the dumbbell upward, actively pull your elbow high and outside. Drop into a partial quarter-squat to catch the weight on your front deltoid. The wrist must remain neutral; if it bends backward (extension), the power transfer to the press phase is compromised.
Phase 5: Maintenance and Equipment Longevity
A high-end setup requires rigorous maintenance to remain safe and functional through years of heavy use.
Barbell Care
Olympic barbells with aggressive volcano knurling accumulate dead skin, chalk, and moisture, leading to rust and a loss of grip bite. Every two weeks, use a stiff nylon brush (never wire, which damages the zinc or chrome coating) to scrub the knurl. Apply a light coat of 3-in-One oil or mineral oil to the shaft and sleeves to displace moisture. For the sleeve bearings, drop a single drop of synthetic lubricant into the seam where the sleeve meets the shaft to maintain silent, high-speed rotation during cleans.
Platform and Rack Calibration
Check the torque on your squat rack's hardware every six months. The vibration from dropping heavy dumbbells and barbells on the platform can slowly back out bolts on uprights and crossmembers. Use a calibrated torque wrench to tighten them to the manufacturer's specifications (usually between 60-80 ft-lbs for heavy-duty 3x3 steel uprights). Inspect the rubber mats for deep gouges; if the matting compresses more than 1/4-inch in the primary drop zones, rotate the mats 180 degrees to distribute the wear evenly.
Conclusion
Mastering the single arm dumbbell clean and press and integrating heavy Olympic barbell work into your routine is entirely dependent on the environment you build. By investing the time to construct a proper 8x8 shock-absorbing platform, calculating precise lateral clearances, and selecting an Olympic barbell with the correct weight tolerance and knurl profile, you create a training space that maximizes power output while minimizing injury risk. Your setup is the foundation of your strength—build it with precision.
More gear to consider
All reviews
EZ Bar vs Straight Bar Care for Your Dumbbell Functional Workout

Heavy-Duty Dumbbell Racks for 100lb Dumbbell Curl & Press Training
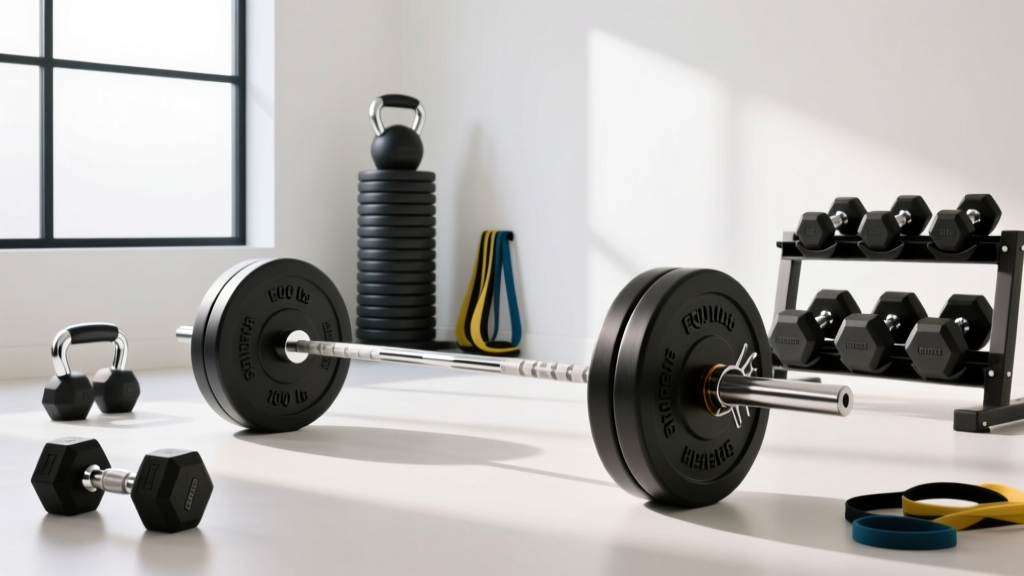
Beyond 100 lb Dumbbells: Olympic Barbell Knurling & Weight Guide
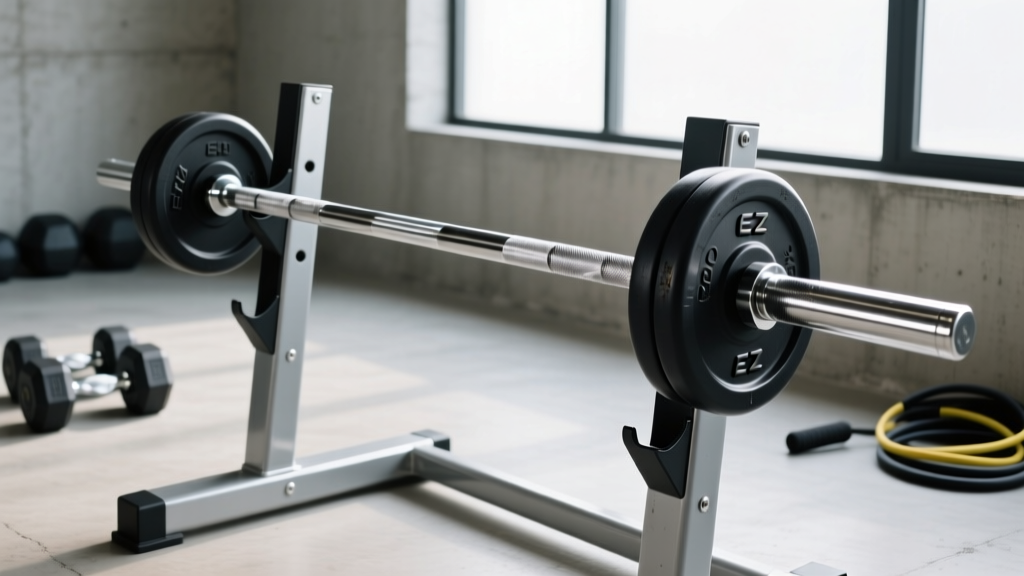
Home Barbell Gym Maintenance: EZ Curl Bar vs Straight Bar Care

EZ Curl Bar vs Straight Bar: Budget & Dumbbell Training PDF Guide
