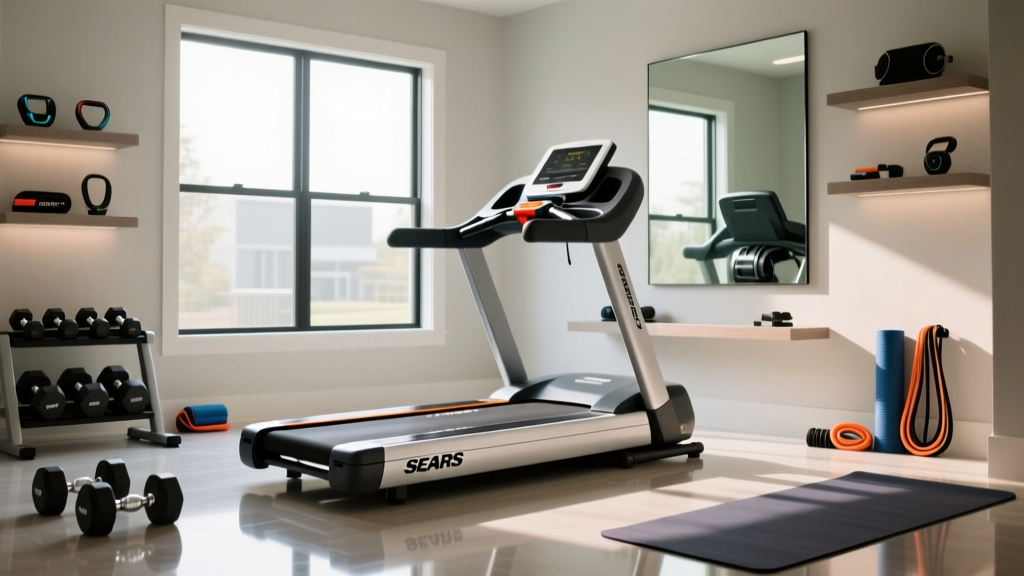
Sears Treadmills Motor Guide: Horsepower Sizing & Setup Walkthrough
Master your Sears treadmills motor replacement. This guide covers CHP sizing, legacy Icon compatibility, and a step-by-step installation walkthrough.

The Legacy of Sears Treadmills: Understanding Your Motor
Even in 2026, thousands of homes and garage gyms still rely on legacy Sears treadmills. While the Sears retail footprint has drastically changed over the last decade, the treadmills sold under the Sears banner—often manufactured by industry giants like Icon Health & Fitness (ProForm, NordicTrack)—were built with heavy-duty steel frames and replaceable components. The most critical component of these machines is the drive motor. When a motor fails, or when you are refurbishing a vintage Sears model, understanding motor sizing, horsepower ratings, and the exact installation walkthrough is the difference between a successful repair and a fried control board.
Expert Note on Legacy Parts: Most Sears-branded treadmills from the 2000s and 2010s are essentially rebranded Icon Health & Fitness models. When sourcing replacement motors, you will frequently need to cross-reference the Sears model number with the manufacturer's part number found on the original motor's decal.Decoding Motor Specs: CHP vs. Peak HP
The most common mistake DIYers make when upgrading or replacing motors on Sears treadmills is confusing Peak Horsepower (PHP) with Continuous Horsepower (CHP). Peak HP measures the maximum output the motor can achieve for a fraction of a second under no load. Continuous Horsepower (CHP) measures the motor's ability to sustain power output during an actual workout, under the load of a human body. According to testing standards highlighted by Consumer Reports, CHP is the only metric that matters for long-term treadmill longevity.
Sizing Chart: User Weight vs. Required CHP
Undersizing your motor will cause the treadmill to stutter, overheat the lower control board, and eventually trip your home's circuit breaker. Use the matrix below to determine the minimum CHP required for your specific usage profile.
| Activity Level | User Weight < 180 lbs | User Weight 180-250 lbs | User Weight > 250 lbs |
|---|---|---|---|
| Walking (2.0 - 4.0 MPH) | 1.5 CHP | 2.0 CHP | 2.5 CHP |
| Jogging (4.0 - 6.0 MPH) | 2.0 CHP | 2.5 CHP | 3.0 CHP |
| Running (6.0+ MPH) | 2.5 CHP | 3.0 CHP | 3.5+ CHP |
Pre-Installation: Sourcing and Testing
Before you unbolt a single screw on your Sears treadmill, you must verify the electrical compatibility of the replacement motor. Legacy Sears models typically utilize 90V DC or 130V DC Permanent Magnet (PM) motors. Installing a 130V motor on a 90V Pulse Width Modulation (PWM) controller board will result in sluggish performance and stalling. Conversely, putting a 90V motor on a 130V board will cause the motor to overheat and the internal windings to melt within minutes.
CRITICAL WARNING: Never install a new motor without testing the lower control board first. According to repair experts at Treadmill Doctor, a shorted MOSFET on the control board is the #1 cause of treadmill motor failure. If your board is shorted, it will instantly destroy your brand-new replacement motor the second you turn the machine on.How to Test the Old Motor and Board
- The Spin Test: Disconnect the red and black motor wires from the control board. Connect them to a fully charged 18V cordless drill battery. If the motor spins smoothly and the battery doesn't instantly drain, the motor's armature and brushes are likely intact.
- The Short Test: Set your multimeter to continuity. Touch one probe to the motor's ground wire (or metal casing) and the other to the red/black leads. If you get a reading of continuity (a beep), the motor is shorted to ground and must be replaced.
- Board Inspection: Look at the lower control board for bulging capacitors or blackened MOSFET chips. If present, replace the board alongside the motor. Databases like Fitness Repair Parts allow you to search by your Sears model number to find matched motor-and-board kits.
Complete Sears Treadmill Motor Installation Walkthrough
Once you have verified your components, follow this precise setup and installation walkthrough. You will need a Phillips #2 screwdriver, a 5mm and 6mm hex key set, a socket wrench, and a multimeter.
Phase 1: Teardown and Extraction
- Power Isolation: Unplug the treadmill from the wall and remove the safety key from the console. Wait 5 minutes for the capacitors on the lower control board to discharge.
- Hood Removal: Remove the 4 to 6 screws securing the front motor hood. Carefully lift the hood, noting any ground wires attached to the chassis.
- Drive Belt Release: Locate the motor mount tension bolt (usually a long hex bolt at the front or rear of the motor carriage). Loosen this bolt to slide the motor forward, creating slack in the multi-ribbed drive belt. Slip the belt off the motor pulley.
- Wiring Disconnect: Take a photo of the wiring harness. Disconnect the red and black DC leads from the lower board. Disconnect the ground wire from the chassis. Unplug the optical speed sensor or reed switch cable.
- Motor Extraction: Remove the two or four M6 mounting bolts securing the motor to the carriage plate. Lift the heavy motor out of the chassis.
Phase 2: Mounting and Drive Belt Tensioning
This is the phase where most DIY installations fail. Improper drive belt tension is a silent killer of treadmill motors.
- Alignment: Place the new motor onto the carriage plate. Hand-thread the M6 mounting bolts. Before tightening, ensure the motor pulley is perfectly aligned with the front roller flywheel. Use a metal straight-edge against the side of both pulleys; they must be flush. Misalignment will cause the belt to shred and walk off the pulley within 10 miles of use.
- Deflection Testing: Slide the motor back to apply tension to the drive belt. The golden rule of treadmill setup is the 1/2-inch deflection test. Press your thumb firmly into the center of the drive belt (midway between the motor and the roller). It should deflect exactly 1/2 inch.
- Too tight: Puts massive lateral load on the motor's front bearing and the roller bearing, causing a whining noise and premature mechanical failure.
- Too loose: Causes the belt to slip under heavy foot strikes, resulting in a stuttering running belt and friction burns on the pulley.
- Final Tightening: Once the 1/2-inch deflection is achieved, torque down the motor mount bolts and the tension bolt securely.
Phase 3: Wiring and Sensor Calibration
- Route the red and black motor wires away from any moving parts or sharp metal edges. Use zip-ties to secure them to the existing wire loom.
- Connect the leads to the lower control board, ensuring positive (red) and negative (black) match the board's silk-screen labels.
- Speed Sensor Gap: If your Sears treadmill uses a magnetic reed switch, the gap between the magnet on the flywheel and the sensor must be exactly 1/8 inch (3mm). If it is too far, the console will read 0.0 MPH and throw an Error 1 (E1) code, shutting the machine down to protect the user.
Post-Installation Calibration & Testing
Do not immediately jump onto the treadmill for a run. You must perform a no-load calibration sequence.
Pro Tip: Stand on the side rails, insert the safety key, and press the Quick Start button. Let the treadmill run at 3.0 MPH for 5 minutes. Listen for high-pitched squealing (belt too tight) or rhythmic slapping (pulley misalignment). Gradually increase the speed to 10.0 MPH, monitoring the console for speed drops.After the no-load test, step onto the belt. Walk at 3.0 MPH and pay attention to the motor strain. If the belt hesitates when your foot strikes the deck, the running belt itself may need lubrication with 100% silicone treadmill lube, or the deck may be warped, creating friction that the new motor cannot overcome.
Troubleshooting Common Motor Setup Failures
| Symptom | Likely Cause | Solution |
|---|---|---|
| Console displays E1 / Error 1 | Speed sensor is out of range or disconnected. | Adjust reed switch gap to 1/8 inch; check optical sensor alignment. |
| Burning smell after 2 minutes | Excessive deck friction or drive belt tensioned too tightly. | Loosen drive belt to 1/2-inch deflection; lubricate walking belt. |
| Motor hums but belt doesn't move | Shorted control board MOSFET or seized roller bearing. | Test board output with multimeter; check front roller for free spin. |
Frequently Asked Questions
Can I upgrade my 1.5 HP Sears treadmill motor to a 3.0 HP?
Generally, no. The physical dimensions of the motor carriage, the flywheel pulley ratio, and the lower control board's voltage/amperage limits are engineered for a specific motor class. Upgrading from a 1.5 CHP to a 3.0 CHP requires replacing the motor, the lower PWM board, and potentially the wiring harness to handle the increased amperage draw without melting the insulation.
How long should a replacement motor last on a refurbished Sears treadmill?
When installed correctly with proper drive belt tension and a well-lubricated deck, a high-quality replacement DC motor should last between 7,000 and 10,000 hours of use. For the average user exercising 4 hours a week, this translates to roughly 30 to 40 years of operational life, far exceeding the lifespan of the console electronics or the running belt.
More gear to consider
All reviews
Matrix T3xi Treadmill vs Elliptical: Home Cardio Maintenance

Spirit XT185 Treadmill Reviews: Office Layouts vs Under-Desk Pads

T22 9 Reflex Treadmill Review: 2026 Small Space Market Trends

Bowflex Treadmill Series: Expert Belt Maintenance Guide
Walking Pad vs Treadmill: Fixing the Treadmill Tail (Kelsey Kane)
