
Rowing Machine Buying Guide: Technique & Treadmill Recycling
Master rowing machine technique and compare top 2026 models. Plus, learn eco-friendly treadmill recycling tips to reclaim your home gym space.

The Home Gym Evolution: Why Rowers Are Replacing Treadmills
In 2026, the home fitness landscape has shifted dramatically. While treadmills once dominated the garage and spare bedroom, modern athletes and casual fitness enthusiasts alike are recognizing the biomechanical limitations of single-plane, high-impact cardio. Enter the indoor rowing machine. Rowing engages approximately 86% of the body's musculature per stroke, offering a zero-impact, high-yield cardiovascular and strength stimulus that treadmills simply cannot match.
However, upgrading your home gym presents a unique logistical and environmental challenge. Before you can unbox a sleek new water or magnetic rower, you must deal with the 200-pound motorized elephant in the room. This comprehensive guide will walk you through the best rowing machines on the market, break down elite-level rowing technique, and provide an actionable framework for treadmill recycling and eco-friendly disposal so you can reclaim your space responsibly.
2026 Rowing Machine Market: Comparison Matrix
The indoor rower market is currently segmented by resistance type: Air, Water, and Magnetic. Each offers a distinct feel, noise profile, and footprint. Below is a comparison of the top-tier models defining the 2026 market.
| Model | Resistance Type | Footprint (In Use) | Price Range (USD) | Best For |
|---|---|---|---|---|
| Concept2 RowErg | Air | 8'0" x 4'0" | $1,100 - $1,250 | CrossFit, competitive rowers, data purists |
| WaterRower Classic (Oak) | Water | 7'0" x 2'2" (Stores vertically in 2' x 2') | $1,695 - $1,850 | Aesthetic home gyms, apartment dwellers |
| Hydrow | Electromagnetic | 7'2" x 2'1" | $2,495 - $2,695 | Immersive tech lovers, guided workout fans |
| Echelon Row | Magnetic | 7'0" x 2'0" (Folds completely) | $599 - $749 | Budget-conscious, ultra-small spaces |
Mastering the Rowing Technique: A Biomechanical Breakdown
Buying the right machine is only 20% of the equation; the other 80% is technique. According to the American Council on Exercise (ACE), improper rowing form is a leading cause of lumbar strain in home gym users. A proper rowing stroke is not an upper-body pull; it is a powerful leg drive sequenced through the hips and arms.
Phase 1: The Catch (The Setup)
- Body Position: Shins should be completely vertical (or as close as your ankle mobility allows). Your torso should be hinged forward at roughly an 11 o'clock angle.
- Arms and Grip: Arms are fully extended. Use a 'hook grip'—fingers wrapped over the handle, thumbs resting lightly underneath. Avoid a death grip, which causes premature forearm fatigue.
- Damper Setting: If using an air rower, do not blindly set the damper to 10. Check the drag factor on the monitor. A drag factor between 110 and 130 simulates the feel of a sleek racing shell on water. A setting of 10 is akin to rowing a heavy wooden rowboat.
Phase 2: The Drive (The Power Phase)
The drive is where the work happens. The power distribution should follow a strict 60-30-10 rule: 60% legs, 30% core/hips, 10% arms.
- Legs First: Push explosively through the mid-foot. Your arms must remain completely straight, acting merely as ropes connecting your torso to the handle.
- Hip Hinge: Once your legs are about 75% extended, hinge your hips backward, swinging your torso from the 11 o'clock position to the 1 o'clock position.
- Arm Pull: Only after the hips have opened do you engage the lats and biceps, drawing the handle to your lower sternum (just below the pectoral line).
Phase 3: The Finish (The Lockout)
At the end of the drive, your legs should be fully extended (but not hyperextended), your torso leaning back slightly at 1 o'clock, and the handle resting lightly against your lower ribs. Your elbows should be drawn back and relaxed, not flared outward.
Phase 4: The Recovery (The Reset)
The recovery is the exact reverse sequence of the drive, performed at half the speed (a 1:2 drive-to-recovery ratio).
- Arms Away: Push your hands forward until they pass your knees.
- Hip Hinge: Pivot from the hips, returning the torso to the 11 o'clock catch position.
- Knee Bend: Once the handle has cleared the knees, allow the knees to bend and slide the seat forward back to the catch.
Common Failure Mode: 'Shooting the Slide'
If your hips shoot backward before the handle moves, you have disconnected your leg drive from the handle. This places immense shear force on the lumbar spine. To fix this, practice 'pause drills' at the catch, focusing on feeling the tension in your lats and quads before initiating the push.
Eco-Friendly Upgrades: Treadmill Recycling & Disposal
You have selected your rower and reviewed the technique. Now, you must clear the floor space. Treadmills are notoriously difficult to dispose of. They are too heavy for standard municipal trash collection, and their mixed-material construction makes them an environmental hazard if sent directly to a landfill. Proper treadmill recycling requires a strategic approach to material separation.
1. Understanding Treadmill Material Breakdown
According to the EPA Electronics Recycling Guidelines, fitness equipment with digital consoles and electric motors falls under specialized e-waste and scrap metal categories. A standard motorized treadmill contains:
- The Motor & Wiring: Rich in copper windings and aluminum housings (highly valuable scrap metal).
- The Console: Contains printed circuit boards (PCBs), LCD screens, and plastic housings (classified as e-waste).
- The Frame: Heavy-gauge steel and aluminum (recyclable scrap).
- The Belt & Deck: PVC, rubber, and MDF wood (rarely recyclable; destined for landfill or waste-to-energy facilities).
2. Step-by-Step Disposal Framework
Warning: Never attempt to dismantle a treadmill motor or power supply unit yourself if you are not certified in electrical safety. Capacitors can hold dangerous charges even when unplugged.Option A: Specialized Fitness Haulers (The Hands-Off Route)
Companies like Junk King or local specialized fitness equipment removal services will haul the treadmill for $150 to $300. While this costs money, reputable services partner with regional e-waste facilities to ensure the motor and console are stripped and recycled rather than dumped. Always ask the hauler for their 'diversion rate'—a legitimate recycler will divert at least 70% of the machine's weight from landfills.
Option B: The DIY Scrap & E-Waste Route (The Eco-Conscious Route)
If you are handy and want to minimize environmental impact (and potentially make a few dollars), break the treadmill down yourself:
- Unplug and Remove the Console: Unscrew the console and handlebars. Take the console, wiring harness, and any digital displays to a municipal e-waste drop-off center or a retailer like Best Buy, which often accepts e-waste for free.
- Detach the Motor Hood: Remove the plastic front hood. Underneath, you will find the drive motor. Unbolt the motor. You can take the copper-heavy motor and steel frame to a local scrap metal yard. In 2026, scrap steel yields roughly $0.10 to $0.15 per pound, while copper yields significantly more. A 200lb treadmill frame might net you $20-$30 at the scrap yard.
- Dispose of the Belt and Deck: The running belt and wooden deck cannot be recycled curbside. These must be taken to a local dump or transferred station as bulk solid waste.
Option C: Charitable Donation (If Still Functional)
If your treadmill is less than 7 years old and fully functional, organizations like Habitat for Humanity ReStore or local community centers may accept it. This not only keeps the machine out of the waste stream entirely but may also provide you with a tax-deductible receipt based on the fair market value of the equipment.
Final Verdict: Reclaiming Your Space
Transitioning from a treadmill to a rowing machine is one of the highest-ROI upgrades you can make for your home gym and your cardiovascular health. By selecting a machine that fits your spatial and budgetary needs—like the space-saving WaterRower or the data-rich Concept2—and mastering the 60-30-10 biomechanical sequence, you unlock a lifetime of low-impact, full-body fitness.
More importantly, by taking the time to properly execute treadmill recycling, you ensure that the copper, steel, and electronics from your old machine are reintroduced into the manufacturing supply chain, rather than leaching heavy metals in a landfill. Clear the floor, unbox the rower, and strap in—your 2026 fitness evolution starts now.
Frequently Asked Questions
Can I use a rowing machine every day?
Yes, rowing is low-impact and can be performed daily. However, beginners should alternate between high-intensity interval days (20-30 minutes) and low-intensity steady-state (LISS) recovery rows (45+ minutes) to prevent overuse injuries in the wrists and lower back.
Do magnetic rowers require maintenance compared to air rowers?
Magnetic rowers (like the Echelon or Hydrow) are virtually maintenance-free regarding the resistance mechanism, as they use magnets rather than physical friction or air displacement. Air rowers (like the Concept2) require occasional chain oiling (every 50 hours of use) and vacuuming of the flywheel cage to remove dust buildup.
More gear to consider
All reviews
Walking Pad vs Treadmill: Hitting 10k Steps on a Treadmill (2026)

Merit Treadmill Noise Tested: 2026 Head-to-Head Comparison
LifeSmart TM4500 PowerTouch Treadmill Review & Cardio Noise Fixes
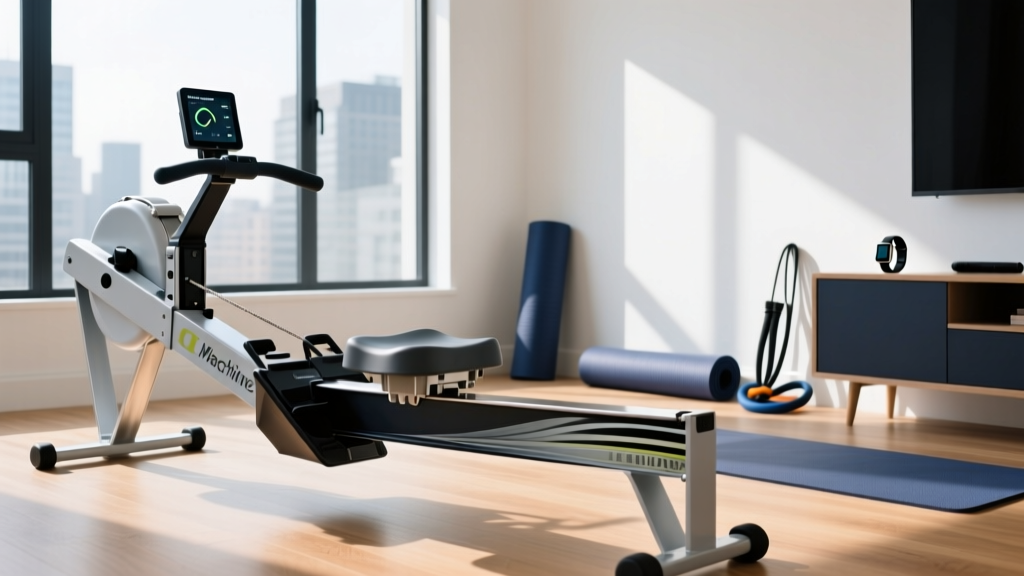
Beyond the Treadmill Buying Guide: Rowing Machine Setup
ProForm iFIT Treadmill Setup & Feature Comparison (2026)
