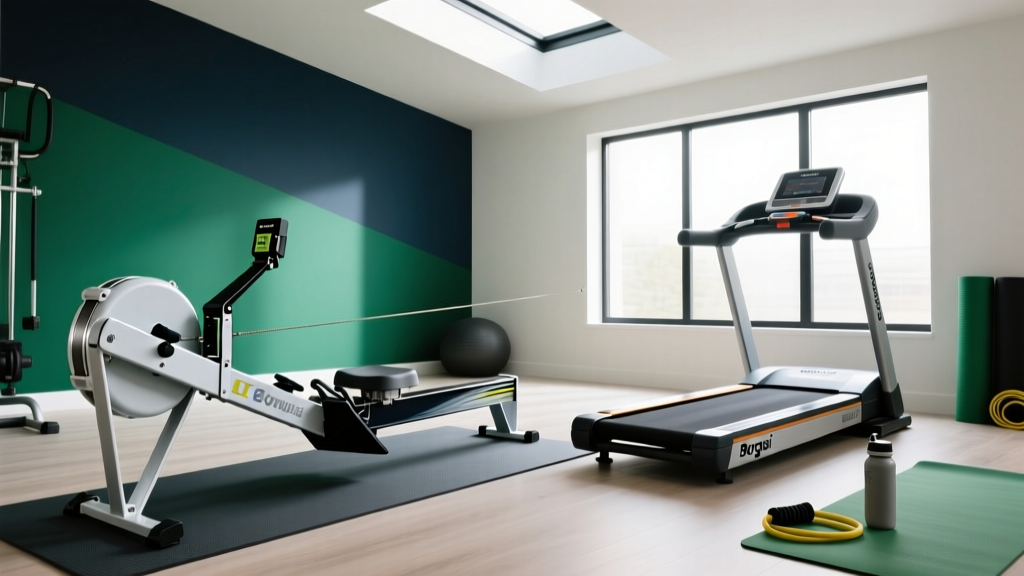
Rowing Machine Buying Guide & Technique vs Borgusi Treadmill Review
Master rowing machine technique and buying specs. We compare full-body rower benefits against insights from our recent Borgusi treadmill review.

Modality Showdown: Full-Body Ergometer vs. Budget Walking Pad
When outfitting a home gym in 2026, buyers often cross-shop completely different cardiovascular modalities. Readers frequently ask us to compare the high-intensity, full-body engagement of a rowing ergometer against the low-impact, budget-friendly walking experience detailed in our recent borgusi treadmill review. While the Borgusi treadmill excels as an under-desk walking pad designed to boost NEAT (Non-Exercise Activity Thermogenesis) with its 2.5 HP motor and $300 price point, a rowing machine is a dedicated, high-yield cardiovascular and muscular endurance powerhouse. This guide breaks down exactly how to buy, size, and master the rowing machine for serious fitness adaptations.
Why Choose a Rower Over a Treadmill?
While walking pads like the Borgusi are fantastic for joint-friendly daily movement, they cannot replicate the systemic physiological demand of rowing. According to the American Heart Association, adults need at least 150 minutes of moderate-intensity or 75 minutes of vigorous aerobic activity per week. Rowing effortlessly pushes you into the vigorous zone, engaging 86% of the body's musculature—including the lats, rhomboids, quads, glutes, and core—while remaining entirely non-weight-bearing. This makes it the ultimate modality for athletes recovering from lower-body impact injuries or those seeking maximum caloric expenditure in minimal time.
The 2026 Rowing Machine Buying Matrix
Not all rowers are created equal. The market is currently dominated by air, magnetic, and water resistance mechanisms. Below is a comparison of the top-tier models available this year, contrasting their drive systems, footprints, and ideal user profiles.
| Model | Resistance Type | Price (Approx.) | Monorail Length | Best For |
|---|---|---|---|---|
| Concept2 RowErg | Air (Chain Drive) | $1,050 | 54 inches | Purists, CrossFit, Data Nerds |
| Hydrow | Electromagnetic | $2,495 | 36 inches | Tech-lovers, Immersive Coaching |
| NordicTrack RW900 | Magnetic | $1,299 | 42 inches | Quiet Operation, iFIT Integration |
| WaterRower Natural | Water (Paddle) | $1,695 | 38 inches | Aesthetics, Acoustic Feedback |
Critical Specs to Scrutinize Before Buying
- Drag Factor vs. Damper Setting: Many beginners mistakenly believe a damper setting of 10 is optimal. On an air rower like the Concept2 RowErg, a setting of 10 simulates rowing a heavy, sluggish wooden boat. Elite rowers typically set the damper between 3 and 5, achieving a drag factor of 100-130. This allows for a faster, more explosive stroke rate (SPM) without premature muscular fatigue.
- Monorail and Inseam Clearance: If you are taller than 6'2", you must verify the monorail length. A minimum of 38 inches of sliding clearance is required to prevent the seat from hitting the rear bumper during the 'catch' phase of the stroke.
- Footprint and Storage: Unlike the Borgusi treadmill which slides neatly under a desk, rowers require significant operational length (often 8 to 9 feet). However, most modern ergometers can be stood upright on their front casters, reducing their storage footprint to roughly 2x2 feet.
Biomechanics: The 4-Phase Rowing Technique
Purchasing a premium rower is useless if your biomechanics are flawed. Poor form not only caps your power output but is the primary cause of lumbar strain in novice rowers. As outlined in the Concept2 Technique Video library, the stroke is divided into four distinct phases. Mastering the 1:2 drive-to-recovery ratio is the hallmark of an efficient rower.
1. The Catch (The Setup)
This is the starting position. Your shins should be perfectly vertical (or as close as your ankle mobility allows). Your torso should be hinged forward at roughly 11 o'clock, with arms fully extended and shoulders relaxed away from the ears. Crucial edge case: Do not compress your knees past your ankles; this forces you to lift the handle over your knees, wasting energy and disrupting the kinetic chain.
2. The Drive (The Power Phase)
The drive is not an arm pull; it is a leg press. The power distribution should be exactly 60% legs, 30% hips, and 10% arms.
- Legs: Push explosively through the mid-foot, keeping the arms completely straight until the handle passes your knees.
- Hips: Once the legs are nearly extended, swing the hips open from the 11 o'clock catch position to a 1 o'clock finish position.
- Arms: Only after the hips open do you draw the handle into your lower sternum, keeping the elbows tucked close to the ribs.
Pro-Tip on Power Leakage: If you feel your lower back burning during the drive, you are likely 'shooting the slide'—meaning your legs are extending before your torso hinges, placing the entire load on your lumbar erectors. Keep your core braced to transfer leg power directly to the handle.
3. The Finish
The stroke concludes with the handle lightly touching your lower ribs, legs fully extended (but knees not hyper-locked), and the torso leaned back slightly past vertical. Your wrists must remain perfectly flat; bending the wrists at the finish drastically reduces lat engagement and invites tendonitis.
4. The Recovery (The Reset)
The recovery should take exactly twice as long as the drive. The sequence reverses strictly: Arms away, hinge forward from the hips, then bend the knees. If you bend your knees before your hands clear them, you will have to awkwardly lift the handle over your knees, ruining your rhythm and dropping your stroke rate.
Common Failure Modes and Maintenance Protocols
Rowing machines are remarkably durable, but they are not maintenance-free. Based on our long-term testing of air and magnetic models, here are the specific failure modes you must monitor to protect your investment.
Monthly Maintenance Tasks
- Monorail Cleaning: Sweat and dust accumulate on the aluminum or steel monorail, causing the seat rollers to stutter. Wipe the rail with a damp microfiber cloth and a mild degreaser after every 10 hours of use. Never use abrasive pads.
- Chain Lubrication (Air Rowers): If you own a chain-drive model, apply 1-2 teaspoons of purified mineral oil or 20W motor oil to a paper towel and pull the chain through it every 50 hours of rowing. A dry chain stretches prematurely and accelerates wear on the internal sprocket.
- Bungee Cord Tension: The handle return mechanism relies on an internal elastic bungee. If the handle slowly droops toward the floor when at rest, the bungee has lost elasticity and must be re-tensioned or replaced (a $15 part that takes 10 minutes to install).
Final Verdict: Matching the Machine to Your Goals
Ultimately, the choice between a dedicated rowing ergometer and a walking pad comes down to your specific physiological targets. If your goal is to accumulate 10,000 steps while answering emails, the budget-friendly, low-profile design highlighted in our Borgusi treadmill review is the undisputed champion of convenience. However, if you are chasing VO2 max improvements, anaerobic threshold training, and full-body muscular endurance, a high-quality rowing machine is an unparalleled investment. By selecting a model with the correct monorail length, understanding the nuance of drag factor, and strictly adhering to the 4-phase biomechanical sequence, you will unlock one of the most efficient cardiovascular tools available in 2026.
More gear to consider
All reviews
LifeSmart TM3000 PowerTouch Treadmill vs Air Bike: Assault Guide
Rowing Machine Buying Guide & Technique vs Zwift Treadmill App

Top Compact Picks for Your Treadmill Exercise Plan (2026 Review)
Best QVC Treadmills for Office Use: 2026 Under Desk Review

Under-Desk Treadmills 2026: How Fast Should I Walk on a Treadmill?
