
Roman Chair Setup for a Targeted Ab Workout Routine With Equipment
Master your Roman chair assembly and biometric adjustments to build a safe, highly effective ab workout routine with equipment for maximum core hypertrophy.

Why the Roman Chair is Essential for Core Development
When building a comprehensive home gym, the Roman chair (often called a hyperextension bench) is frequently misunderstood as a tool exclusively for the lower back. However, when angled at 45 degrees and utilized for decline spinal flexion, it becomes one of the most potent tools for targeting the rectus abdominis and obliques. According to Mayo Clinic guidelines on core strength, engaging the core through varied planes of motion—including the controlled decline flexion a Roman chair provides—is critical for spinal stability and functional hypertrophy.
Yet, the effectiveness of any ab workout routine with equipment hinges entirely on proper assembly and biometric calibration. A wobbly frame or misaligned thigh pads will not only limit your range of motion but can also introduce dangerous shear forces to your lumbar spine. This walkthrough will guide you through the unboxing, assembly, and precise calibration of a standard 45-degree Roman chair, ensuring your gear is ready for intense core loading.
Unboxing and Pre-Assembly Preparation
As of 2026, the market offers a wide spectrum of hyperextension benches, from budget-friendly 16-gauge steel models (like the Marcy MH-134, typically priced around $110–$130) to premium 14-gauge steel workhorses (like the Rogue GH-45 at $495). Regardless of the price point, the preparation phase remains identical.
Space and Tool Requirements
- Footprint Clearance: Ensure you have a minimum floor space of 48 inches in length and 28 inches in width. You also need 36 inches of vertical clearance at the highest decline point.
- Tools Provided: Most manufacturers include basic Allen wrenches and combination spanners. Discard these if they feel soft or poorly machined.
- Recommended Tools: Use your own high-quality metric socket set (typically 17mm and 19mm for carriage bolts), a 6mm and 8mm hex key set, and a torque wrench if available.
- Surface Protection: Lay down a 3/8-inch thick EVA foam mat or a moving blanket to prevent scratching the powder coat on the steel frame during assembly.
Step-by-Step Roman Chair Assembly Walkthrough
Follow this sequence to ensure structural integrity. Never fully tighten any bolt until the entire sub-assembly is complete; leave them at 80% torque to allow for frame alignment.
- Base Frame Construction: Connect the front and rear stabilizer feet to the main longitudinal base tube. Insert the carriage bolts from the top down, placing a flat washer on the nut side to prevent the nyloc nut from biting into the powder coat.
- Upright Post Installation: Slide the angled upright post into the base receiver. This is the highest stress point on the machine. Ensure the dual securing pins or heavy-duty hex bolts are threaded completely flush.
- Attaching the Thigh Pad Bracket: Mount the adjustable thigh pad carriage. Apply a thin layer of white lithium grease to the adjustment pop-pin sleeve to ensure smooth height transitions later.
- Pad Mounting: Secure the high-density polyurethane back pad and the split thigh pads. Use the provided wood screws or machine bolts, ensuring you do not over-torque and strip the internal threading of the pad brackets.
- Final Torque Pass: Go back to every single bolt and tighten to the manufacturer's specification (usually between 35–45 Nm for main structural bolts on mid-tier benches).
Biometric Calibration: Adjusting for Your Anatomy
The most common mistake lifters make when executing an ab workout routine with equipment is ignoring the pivot point. The Roman chair must be calibrated to your specific anterior superior iliac spine (ASIS)—the bony prominences at the front of your hip bones.
The Hip Crease Alignment Rule
For lower back hyperextensions, the top edge of the thigh pad should sit exactly at your hip crease, allowing free spinal extension. However, when pivoting to target the abdominals via decline sit-ups or reverse crunches, you need to adjust the pad height.
- For Rectus Abdominis Focus: Lower the thigh pad by 1 to 2 inches so that the pad sits firmly against the upper quadriceps, roughly 3 inches below the hip crease. This locks the pelvis in place and forces the rectus abdominis to initiate the spinal flexion, rather than relying on hip flexor momentum.
- For Oblique Targeting: Adjust the split thigh pads so they are snug but allow a 15-degree lateral tilt. You will need a secure anchor for your feet; if your bench lacks dedicated lower oblique ankle hooks, use a resistance band looped around the base frame to secure your ankles during side-bending movements.
Designing Your First Ab Workout Routine With Equipment
Once your bench is assembled and calibrated, you can implement a structured, progressive overload protocol. The Harvard Health Publishing team emphasizes that core training must involve both dynamic flexion and isometric stabilization to protect the spine and build functional armor. Below is a highly effective, 45-degree Roman chair routine designed for intermediate to advanced lifters.
| Exercise | Sets | Reps | Tempo | Primary Target |
|---|---|---|---|---|
| 45° Roman Chair Sit-Up | 4 | 10-12 | 3-1-2 | Rectus Abdominis |
| Weighted Cross-Body Oblique Flex | 3 | 12 / side | 2-1-2 | Internal/External Obliques |
| Decline Isometric Plank | 3 | 45-60s | N/A | Transverse Abdominis |
| Eccentric Reverse Hyperextension | 3 | 15 | 4-0-1 | Lower Core / Erectors |
Tempo Key: A 3-1-2 tempo means 3 seconds on the eccentric (lowering) phase, a 1-second pause at maximum stretch, and 2 seconds on the concentric (flexion) phase. Controlling the eccentric phase on a 45-degree decline drastically increases muscle fiber recruitment without requiring heavy external loading.
Maintenance and Safety Troubleshooting
Even premium equipment requires maintenance, especially when subjected to the repetitive torque of daily core training. Here are the most common failure modes and how to address them before they cause injury.
Dealing with Frame Squeaks and Wobbles
If your bench develops a rhythmic squeak during decline sit-ups, the issue is almost always metal-on-metal friction at the adjustment pop-pin. Remove the pin, wipe away factory grease, and apply a dry PTFE (Teflon) lubricant. Avoid WD-40, which attracts dust and turns into an abrasive paste over time.
If the frame wobbles laterally, check the floor levelers on the rear stabilizer feet. A 2-millimeter gap between the rubber foot and a slightly uneven garage floor will amplify into a 1-inch wobble at the top of the upright post. Adjust the threaded levelers until all four points of contact bear equal weight.
Pad Care and Vinyl Preservation
The vinyl upholstery on budget Roman chairs (under $150) is prone to tearing, particularly if you perform weighted sit-ups while wearing a lifting belt with a sharp metal prong or buckle. To extend the life of your pads:
- Always wear smooth, belt-less athletic wear during abdominal isolation work.
- Clean the pads after every session with a mild, alcohol-free antibacterial wipe. Alcohol-based cleaners will dry out the PVC vinyl, causing it to crack and split within 6 to 8 months.
- If a tear does occur, patch it immediately with marine-grade vinyl repair tape to prevent sweat from degrading the internal EVA foam.
Final Thoughts on Core Equipment Setup
Treating your Roman chair as a precision instrument rather than a basic metal frame will entirely transform your midsection training. By taking the time to properly torque your hardware, align the thigh pads to your specific ASIS measurements, and follow a structured tempo-based protocol, you unlock the true potential of this versatile machine. A meticulously assembled bench ensures that when you begin your next ab workout routine with equipment, every ounce of effort is directed squarely into building a resilient, powerful core.
More gear to consider
All reviews
Hyperice and Beyond Compared: A Clinician-Driven Analysis of Recovery Tech Performance, Evidence, and Real-World Utility
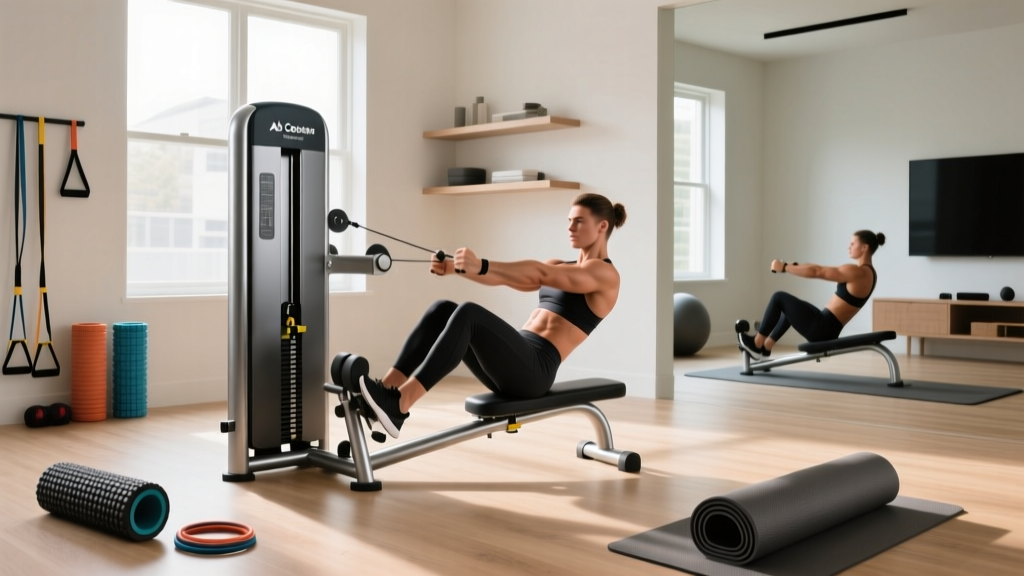
Ab Coaster Machine Review, Alternatives & Yoga Design Lab Mat Space

Stability Ball & BOSU: Abs Workout Gym Equipment Mistakes Fixed

Troubleshooting Sports Maintenance Essentials: Real-World Fixes for Equipment, Surfaces, and Performance Systems

The Ultimate Stretching Guide: Science-Backed Techniques, Timing, and Tools for Lifelong Mobility
