
Power Rack vs Squat Stand: At Home Glute Workout with Dumbbells
Compare power racks, squat racks, and stands to build the ultimate rig for your at home glute workout with dumbbells. Expert specs, safety tips, and costs.

The Foundation of Your Lower-Body Home Gym
Building a dedicated space for an at home glute workout with dumbbells and eventual barbell progressions requires more than just a set of adjustable dumbbells and a bench. As you progress to heavy Romanian deadlifts (RDLs), Bulgarian split squats, and loaded hip thrusts, the structural integrity of your lifting rig becomes the limiting factor for both safety and performance. In 2026, the home fitness equipment market offers three primary upright solutions: the full power rack, the half squat rack, and the minimalist squat stand. But which one actually supports the unique biomechanical and spatial demands of high-volume glute training?
This head-to-head comparison breaks down the exact specifications, safety tolerances, and spatial footprints of each rig type. We will evaluate how each setup accommodates heavy dumbbell storage, band attachments for isolation work, and crucial safety spotter mechanisms required for solo lower-body training.
The Contenders: Specs, Steel, and Pricing
Before comparing functionality, we must establish the baseline engineering and current market pricing for top-tier models in each category.
1. The Power Rack (Full Cage)
Reference Model: Rep Fitness PR-4000 Power Rack
Approximate Cost: $799 - $950 (Base to fully rigged)
Dimensions: 47" W x 49" D x 90" H (Interior working width: 41")
Steel Specs: 3x3-inch 11-gauge steel, 1-inch hole spacing (Westside spacing) through the bench press and squat zones.
The power rack is a fully enclosed, four-upright cage. It offers 360-degree protection via pin-pipe safeties or sandwich-style spotter straps. For heavy lifters pushing past failure on hip thrusts or dumbbell goblet squats, the enclosed nature of the cage means the barbell or dumbbell can only drop straight down onto the safeties, eliminating the risk of the rig tipping.
2. The Squat Rack (Half Rack)
Reference Model: Titan Fitness X-2 Half Rack
Approximate Cost: $449 - $599
Dimensions: 48" W x 48" D x 83" H
Steel Specs: 2x3-inch 11-gauge steel, 2-inch hole spacing.
The half rack features two front uprights for the J-cups and safeties, connected to a rear upright assembly that primarily serves as a weight storage horn and counterbalance. It provides an open front for easy entry and exit during dynamic movements like dumbbell walking lunges, while still offering a degree of catch-protection via front-mounted spotter arms.
3. The Squat Stand
Reference Model: Rogue Fitness S-2 Squat Stands 2.0
Approximate Cost: $395
Dimensions: 21" W x 23" D (per stand) x 72" H
Steel Specs: 2x2-inch 11-gauge steel.
Squat stands are two independent, freestanding uprights. They are the ultimate space-savers, capable of being pushed into a corner or even folded flat (in the case of models like the PRx Profile). However, they lack a rear crossmember, meaning weight storage must be handled by a separate dumbbell rack, and safety spotters are often an awkward, bolt-on afterthought.
Head-to-Head Comparison Matrix
| Feature | Power Rack (Full Cage) | Half Squat Rack | Squat Stand |
|---|---|---|---|
| Footprint (Sq Ft) | 16 - 24 sq ft | 16 - 18 sq ft | 4 - 6 sq ft (when stored) |
| Safety for Solo Lifts | Exceptional (4-point catch) | Good (Front spotter arms) | Poor (Tipping risk on failure) |
| Dumbbell Storage | Requires add-on tiers | Built-in rear plate horns | None (Requires separate rack) |
| Cable/Band Attachments | High (Lat towers, pulleys) | Moderate (Band pegs) | Low (Band pegs only) |
| Best For | Heavy barbell & dumbbell failure | Garage gyms needing plate storage | Small apartments & low ceilings |
Glute Training Specifics: Safety Spotters and Biomechanics
Designing an effective at home glute workout with dumbbells heavily relies on exercises like the dumbbell sumo deadlift, heavy single-leg RDLs, and barbell hip thrusts. According to biomechanical research published in the National Center for Biotechnology Information (NCBI), maximizing gluteus maximus activation requires taking the muscle through a full range of motion under heavy loads, often approaching muscular failure.
Expert Insight: When performing heavy hip thrusts, standard J-cups set at 35+ inches are useless for safety. You need spotter arms or pin-pipe safeties set precisely 14 to 18 inches off the floor to catch the load if your hips fail at the bottom of the movement. Full power racks allow you to pin safeties at the lowest hole. Squat stands often lack low-profile safety options entirely, making solo heavy thrusting a massive liability.
Furthermore, exercises like the Bulgarian split squat require significant lateral clearance. A full power rack with a 41-inch interior width allows you to step back and laterally without hitting the uprights, provided you use a 60-inch barbell. Squat stands offer infinite lateral clearance, but if you fail a heavy dumbbell split squat, there is no rig to safely dump the weights onto—you simply have to drop them to the floor, which can destroy home gym flooring over time.
The Dumbbell Storage Dilemma
A comprehensive lower-body routine requires progressive overload. For dumbbell RDLs and goblet squats, advanced lifters routinely use pairs ranging from 40 lbs to over 100 lbs. Storing these on the floor disrupts workout flow and creates a tripping hazard.
The Storage Reality Check
- Power Racks: While excellent for safety, full cages rarely include built-in dumbbell tiers. You will likely need to purchase a bolt-on 3-tier dumbbell shelf (approx. $120-$180) or place a standalone rack immediately adjacent to the cage.
- Half Racks: The rear uprights feature Olympic plate storage horns. While this keeps 45-lb bumper plates organized, you still cannot store heavy hex or urethane dumbbells on these horns without them sliding off. A separate dumbbell rack remains a requirement.
- Squat Stands: Zero integrated storage. You must allocate floor space for a dedicated 3-tier commercial dumbbell rack, negating some of the spatial benefits of the minimalist stands.
Integrating Bands and Cable Pulleys for Isolation
As noted by the American Council on Exercise (ACE), isolation movements like cable pull-throughs, glute kickbacks, and banded lateral walks are vital for complete glute hypertrophy and addressing muscle imbalances.
If your at home glute workout with dumbbells is supplemented by band work, the power rack is the undisputed king. Modern 3x3-inch uprights feature standardized 1-inch holes that accept low-row cable pulley attachments, lat towers, and functional trainer arms. This allows you to seamlessly transition from heavy dumbbell RDLs to low-pulley kickbacks without changing stations. Half racks offer basic band pegs for accommodating resistance (e.g., looping a band over the top crossmember for banded squats), but lack the structural depth to support heavy cable pulley systems. Squat stands are entirely incompatible with cable attachments.
Final Verdict: Matching the Rig to Your Goals
Choosing the right equipment ultimately depends on your spatial constraints, budget, and training intensity. Here is the 2026 decision framework:
Choose the Power Rack If:
- You train alone to failure and require absolute safety for heavy hip thrusts and squats.
- You want to integrate a cable pulley system for isolation exercises to complement your dumbbell work.
- You have a dedicated garage or basement space with ceilings at least 84 inches high.
Choose the Half Squat Rack If:
- You need a centralized hub for Olympic plate storage and want an open front for dynamic dumbbell lunges and step-ups.
- You are working with a mid-tier budget ($400-$600) and can accept slightly reduced safety for solo heavy lifting.
Choose the Squat Stand If:
- You are outfitting a small apartment, spare bedroom, or low-ceiling basement (under 80 inches).
- Your at home glute workout with dumbbells relies primarily on moderate weights, and you rarely push barbell movements to absolute muscular failure.
- You are willing to purchase and store a separate dumbbell rack and weight tree.
For a deeper dive into specific brand tolerances and long-term durability testing, the equipment testing team at Garage Gym Reviews provides exhaustive teardowns of the latest 2026 squat rack models, highlighting which brands use true 11-gauge steel versus cheaper, thinner alternatives that warp under heavy eccentric loading.
Actionable Setup Tips for Glute Training
- Floor Protection: Regardless of the rack you choose, heavy dumbbell drops will crack standard tiles or hardwood. Invest in 3/4-inch thick vulcanized horse stall mats (typically $50-$70 per 4x6 ft mat) to absorb the kinetic energy of dropped iron.
- Clearance Zones: Maintain a minimum of 36 inches of clearance on all sides of your rack. This ensures you have enough room to maneuver heavy dumbbells into position for goblet squats and to safely bail out of a failed lift.
- Lighting and Mirrors: Glute training requires precise pelvic positioning to avoid lower-back compensation. Mount a large, shatterproof acrylic mirror directly in front of your rig to monitor your hip hinge mechanics during dumbbell RDLs.
By aligning your structural equipment with the specific biomechanical demands of lower-body training, you create a sustainable, injury-free environment that will support your glute-building goals for years to come.
More gear to consider
All reviews
Best Adjustable Dumbbells for Dumbbell Weight Training (2026)
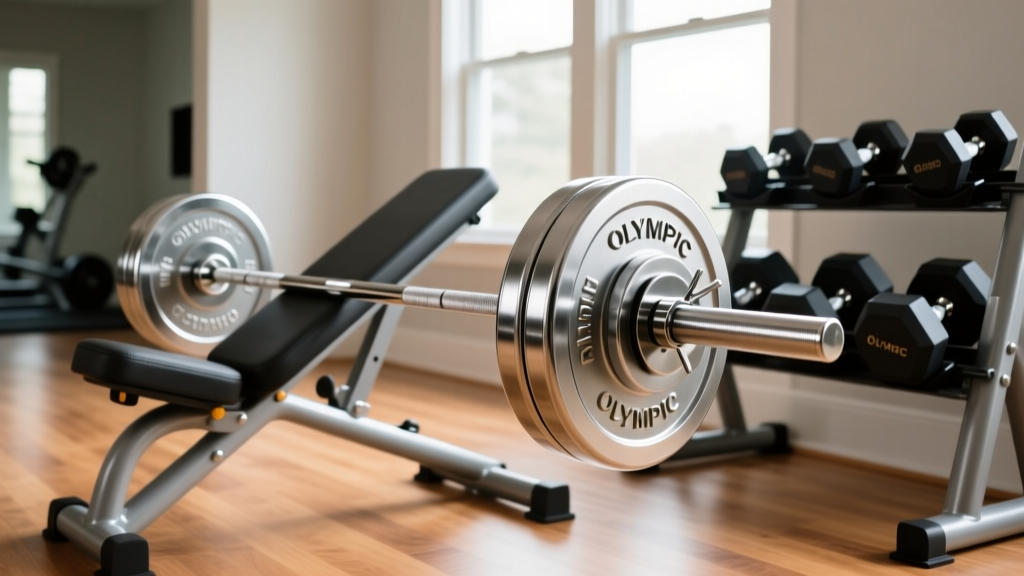
Barbell Weight & Knurling Guide + Incline Dumbbell Lateral Raise
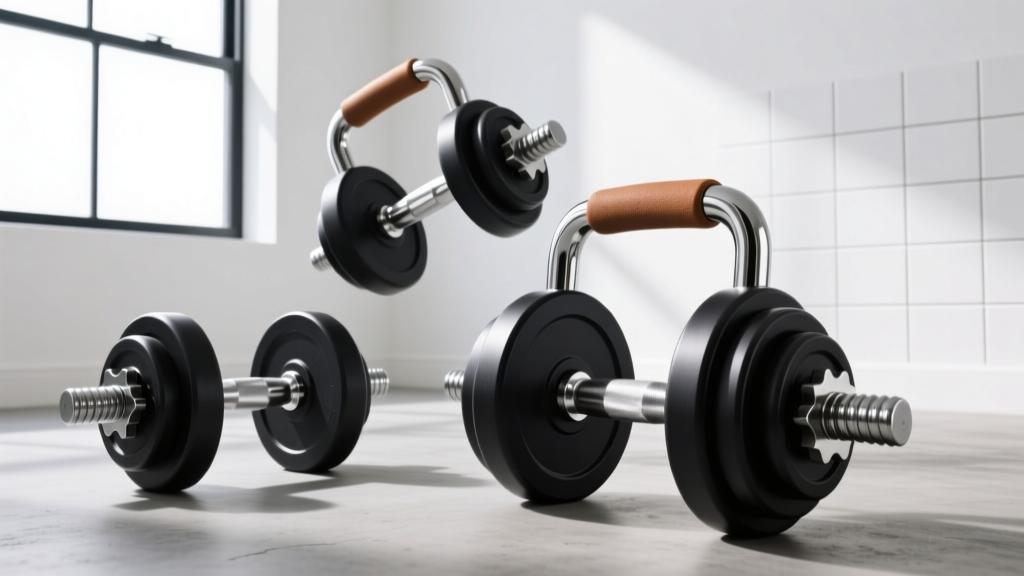
Curved Dumbbell Handles & Loadable Plates: Value Guide

Olympic Barbell Knurling vs Standing Biceps Curl Dumbbell Grips

Single Dumbbell Floor Press: Budget Guide to Loadable Handles
