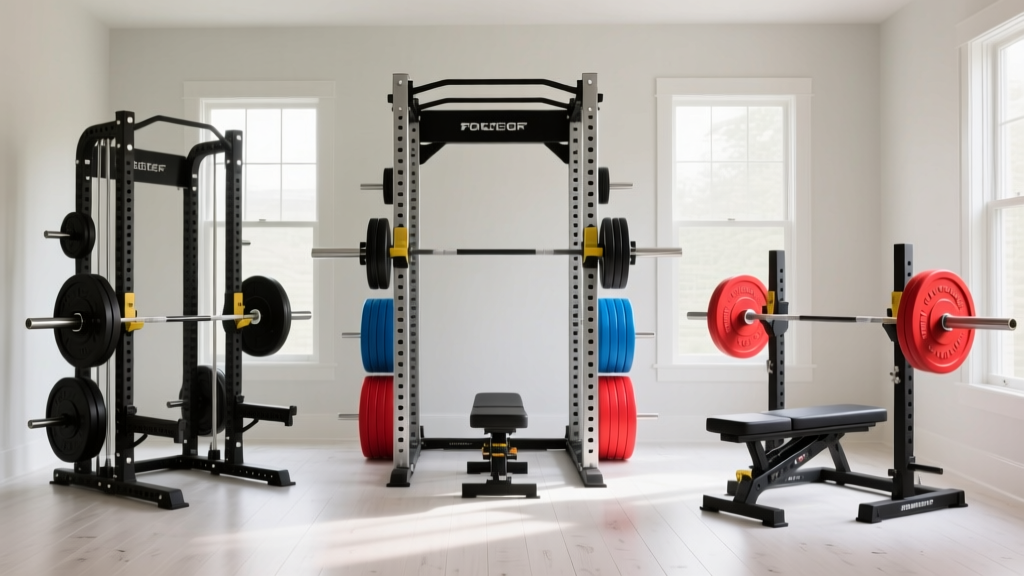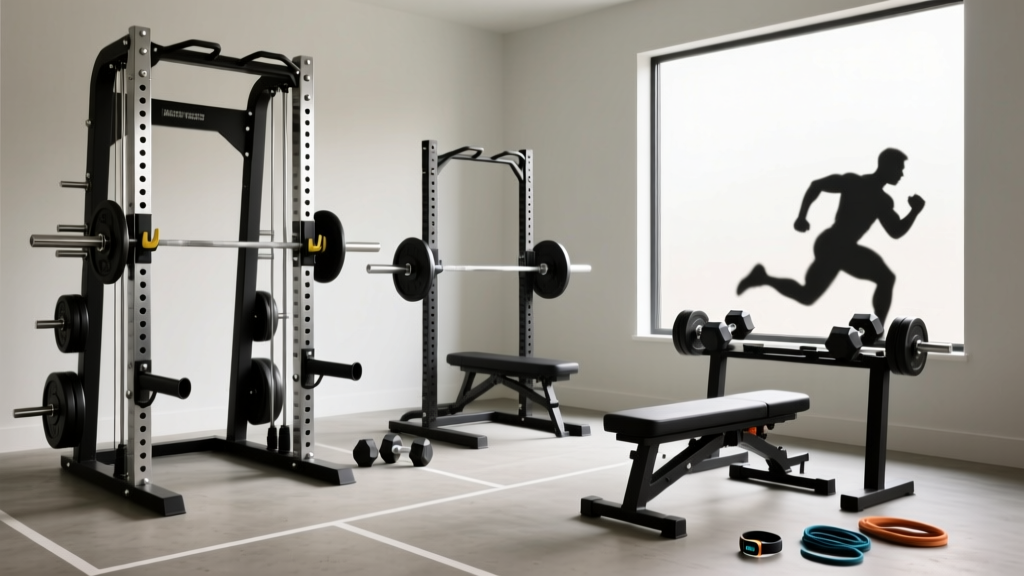
Power Rack vs Squat Rack vs Stand: Setup & Rear Dumbbell Laterals
Compare power racks, squat racks, and squat stands. This installation walkthrough optimizes your home gym footprint for heavy squats and rear dumbbell laterals.

Building a functional home gym in 2026 requires more than just buying heavy iron; it demands a meticulous approach to spatial planning and equipment installation. When deciding between a power rack, a squat rack, and a squat stand, most lifters focus solely on barbell clearance for heavy squats. However, a truly optimized training station must accommodate the full spectrum of your programming—including isolation movements that require significant lateral space, such as rear dumbbell laterals.
This complete setup and installation walkthrough will guide you through choosing the right rig, configuring your footprint for both compound and isolation lifts, and executing a rock-solid installation on your subfloor.
The Core Debate: Power Rack vs. Squat Rack vs. Squat Stand
Before unboxing any hardware, you must understand the structural differences and spatial footprints of the three primary rack categories. Your choice will dictate not only your safety during heavy bench presses but also your ability to perform bent-over isolation work without smashing your knuckles into steel uprights.
| Feature | Power Rack (e.g., Rogue R-3) | Squat Rack (e.g., Titan T-2) | Squat Stand (e.g., Rep SR-4000) |
|---|---|---|---|
| Footprint | Large (approx. 4x4 ft) | Medium (approx. 4x2 ft) | Small (approx. 4x1.5 ft) |
| Interior Width | 43" or 49" | 43" | Open (50"+ between uprights) |
| Safety Mechanism | Enclosed cage, strap safeties | Front-mounted spotter arms | Independent spotter arms |
| Avg. Price (2026) | $1,100 - $1,600 | $500 - $750 | $350 - $450 |
| Isolation Clearance | Restricted (requires bench offset) | Moderate | Excellent (unrestricted arc) |
Spatial Planning: The 'Rear Dumbbell Laterals' Clearance Test
When programming for posterior chain and shoulder health, exercises like rear dumbbell laterals are non-negotiable. The biomechanics of this movement require a deep hip hinge, a neutral spine, and a wide lateral arc to properly target the rear deltoids and rhomboids. According to biomechanics guidelines outlined by the American Council on Exercise (ACE), maintaining a natural scapular path without structural obstruction is vital for joint longevity.
Expert Insight: If you purchase a standard 43-inch interior power rack and attempt to perform bent-over rear dumbbell laterals inside the cage, your knuckles will repeatedly strike the uprights at the apex of the movement. To fix this, you must either pull an adjustable bench completely out of the rack, or utilize a chest-supported incline setup inside the cage to alter the movement vector.
Why Squat Stands Win for Isolation Movements
If your programming heavily features dumbbell isolations, kettlebell flows, and Olympic lifts, squat stands (like the Rep Fitness SR-4000 or Rogue SML-2) offer an unobstructed 360-degree training environment. You can place an adjustable bench directly between the uprights, hinge forward for your rear dumbbell laterals, and enjoy a full range of motion without spatial anxiety. Conversely, power racks are mandatory if you plan on lifting near your 1-rep max without a dedicated spotter, as endorsed by the safety standards of the National Strength and Conditioning Association (NSCA).
Step-by-Step Installation Walkthrough
Once you have selected your rack based on your spatial and safety needs, proper installation is critical. A poorly assembled rack can shift during racking, leading to catastrophic failure. Follow this exact sequence for a rigid, wobble-free setup.
Step 1: Subfloor Preparation and Matting
Do not assemble your rack directly on bare concrete or hardwood. Lay down 3/4-inch thick vulcanized rubber stall mats. Not only does this protect your floor from dropped dumbbells during heavy lateral raises, but it also provides a uniform, slightly forgiving surface that helps absorb vibration. Ensure your training space has at least 8 feet of ceiling clearance for pull-ups and overhead presses.
Step 2: Base Assembly and Squaring
- Assemble the base crossmembers on the floor, leaving all bolts finger-tight.
- Measure the diagonals from corner to corner. If the measurements are not identical within 1/16th of an inch, your base is out of square.
- Use a rubber mallet to tap the corners into perfect alignment before tightening the base bolts to 60 ft-lbs using a torque wrench.
Step 3: Upright Erection and Crossmember Bolting
With a partner, lift the uprights into the base sockets. Attach the top crossmembers immediately to prevent the uprights from bowing outward. Crucial tip: Do not fully tighten the upright bolts until all crossmembers and safety spotter arms are installed. The steel frame needs to 'settle' into its natural geometry.
Step 4: Anchoring to the Subfloor
If you are bolting down a power rack or squat rack to a concrete slab, use 3/8-inch by 3-inch zinc-plated wedge anchors. Drill a 3/8-inch hole exactly 3.5 inches deep, vacuum out the concrete dust (a clogged hole will prevent the anchor from seating), and torque the nut to 30 ft-lbs. If you are using squat stands on a wooden subfloor or cannot drill concrete, utilize the manufacturer's rear weight storage horns and load them with heavy bumper plates to lower the center of gravity and prevent forward tipping during barbell racking.
Accessory Configuration for Full-Body Routines
Your rack is the central nervous system of your home gym. To seamlessly transition from heavy squats to rear dumbbell laterals, you need intelligent accessory integration.
Dumbbell Storage Solutions
Bending down to the floor to pick up 35 lb dumbbells for your rear laterals after a heavy set of squats is a recipe for lower back fatigue. Install rack-mounted dumbbell shelves or utilize weight horns positioned at waist height (typically hole 15 or 16 on standard 1-inch Westside spacing). This keeps your dumbbells organized and preserves your energy for the working sets.
The Adjustable Bench Factor
Invest in a high-quality adjustable FID (Flat/Incline/Decline) bench with rear wheels. For chest-supported rear dumbbell laterals, set the bench to a 30-degree incline, wedge it inside the power rack, and straddle the seat. This eliminates lower back momentum and strictly isolates the rear delts, turning a cramped power rack into a highly effective isolation station.
Troubleshooting Common Setup Failures
Even experienced home gym owners run into installation snags. Here is how to troubleshoot the most common issues:
- J-Hook Misalignment: If your J-hooks sit at different heights, your frame is twisted. Loosen all crossmember bolts, place a 4-foot level across the J-hooks, adjust the frame until the bubble is centered, and re-torque in a star pattern.
- Upright Wobble: If the uprights sway during pull-ups, your floor is uneven. Insert heavy-duty steel shims under the base plates before anchoring, rather than relying on the rubber mats to bridge the gap.
- Spotter Arm Interference: If your spotter arms block your path when doing dumbbell work, swap to folding wall-mounted racks or quick-release pin-and-pipe safeties that can be removed in seconds.
Final Thoughts on Gym Optimization
Choosing between a power rack, a squat rack, and a squat stand ultimately comes down to your primary training modalities and your available square footage. If safety during heavy solo barbell work is your priority, the enclosed power rack is unmatched—provided you learn to navigate its spatial limitations for exercises like rear dumbbell laterals. If open-space versatility and isolation freedom are paramount, heavy-duty squat stands offer the ultimate unobstructed training experience. By following this precise installation walkthrough, you will build a foundation that supports your fitness goals safely and efficiently for years to come.
More gear to consider
All reviews
Power Rack Setup for a Leg Workout: Dumbbells Only Guide

Neoprene Dumbbells for Rotator Cuff Exercises: 2026 Comparison

Heavy Dumbbell Training Spaces: Cast Iron vs Competition Kettlebells

Rubber Hex vs Urethane Dumbbells After Bowflex Recall

Dumbbell Chest Press Benefits: A Beginner's Neoprene Guide