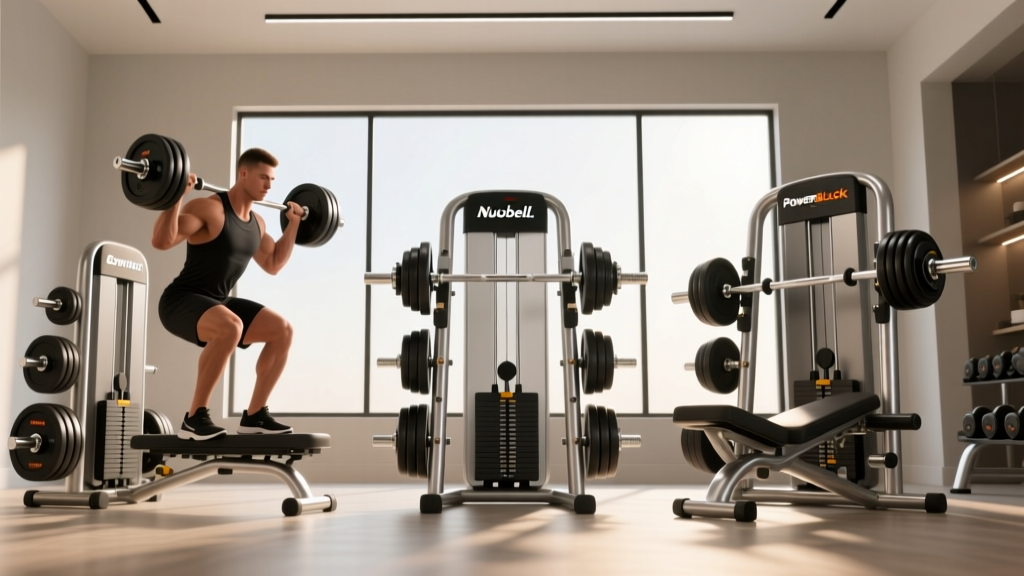
Power Rack vs Squat Stand Setup for a Safe Pull Dumbbell Workout
Compare power racks, squat racks, and stands. Get our complete installation walkthrough to ensure total stability for your heavy pull dumbbell workout.

The Foundation of Asymmetric Lifting: Choosing Your Rack
Building a home gym in 2026 requires more than just buying heavy iron; it demands a meticulous approach to structural stability. When your programming includes a heavy pull dumbbell workout—think unilateral chest-supported rows, heavy dumbbell snatches, or offset rack pulls—lateral stability becomes your primary safety concern. Unlike a perfectly balanced barbell back squat, pulling heavy dumbbells creates asymmetric, offset loads that can easily tip poorly anchored or improperly assembled equipment.
This brings us to the ultimate home gym debate: Power Rack vs. Squat Rack vs. Squat Stand. Each footprint offers distinct advantages, but their installation requirements vary wildly. In this complete setup and installation walkthrough, we will break down the structural differences, map out floor clearances, and provide a step-by-step anchoring guide to ensure your rack can handle the violent torque of a maximal pull dumbbell workout without shifting a single millimeter.
The Stability Matrix: Power Rack vs. Squat Rack vs. Squat Stand
Before unboxing a single bolt, you must understand how your chosen footprint handles offset forces. Below is a comparison of the three primary rack categories, evaluated specifically for their performance during dynamic pulling movements.
| Equipment Type | Footprint (Approx.) | Lateral Stability | Ideal for Pull Workouts? |
|---|---|---|---|
| Power Rack (e.g., Rogue RML-390F) | 48" x 48" (Full) | Exceptional (4-point base) | Yes. Safest for heavy unilateral pulls and rack-supported rows. |
| Squat Rack (e.g., REP Fitness SR-4000) | 48" x 32" (Open) | High (Extended front feet) | Moderate. Good for storage, but requires strict anchoring for offset pulls. |
| Squat Stand (e.g., Titan T-2 Series) | 24" x 24" (Minimal) | Low (Relies entirely on anchors) | Poor. High tip-risk during explosive dumbbell snatches or heavy rows. |
Pre-Installation: Floor Prep and Spatial Clearances
According to facility safety guidelines outlined by the National Strength and Conditioning Association (NSCA), proper spatial planning and flooring are critical to preventing equipment shift and user injury. Before assembling your rack, you must prepare the subfloor and calculate your working clearances.
1. Flooring and Subfloor Assessment
Never install a rack directly over carpet or uneven tile. You need a high-density, vulcanized rubber mat (minimum 3/4-inch thick, like standard horse stall mats) to absorb impact and provide a level surface. If your concrete slab has a variance greater than 1/8-inch over a 4-foot span, the rack will wobble. You must use steel shims under the base plates before tightening your anchor bolts.
2. Calculating the Pull Clearance Zone
When mapping out your gym layout, reference the spacing standards recommended by ExRx Facility Guidelines. For a standard barbell squat, you need 36 inches of clearance on each side. However, for a dynamic pull dumbbell workout, you must account for the swing path of the dumbbells and your body mechanics. Allocate a minimum of 48 inches of lateral clearance on the working side of the rack to ensure you do not strike walls or adjacent equipment during heavy dumbbell snatches or renegade rows.
Step-by-Step Assembly and Anchoring Walkthrough
Whether you are building a REP Fitness PR-4000 or a Rogue Echo, the physics of assembly remain the same. Follow this exact sequence to guarantee a plumb, square, and immovable structure.
- Stage and Sort Hardware: Unbox all components and group bolts by length and thread pitch. Cross-threading is the most common failure mode in home gym builds. Apply a small drop of blue Loctite (threadlocker) to all structural bolts to prevent vibration loosening during heavy rack pulls.
- Assemble the Base on the Floor: Connect the front and rear crossmembers to the uprights while the rack is lying on its side or resting on the rubber mats. Do not fully tighten the bolts yet; leave them at 80% torque to allow the frame to self-square.
- Stand and Plumb the Frame: Stand the rack up. Use a 48-inch spirit level on the front uprights. If the rack is out of plumb, the J-cups will sit at uneven heights, making it impossible to safely rack a barbell or set up a chest-supported row bench. Insert steel shims under the base plates as needed.
- Mark and Drill Anchor Holes: Using the base plates as a template, mark your concrete or wood subfloor.
- For Concrete: Use a rotary hammer drill with a 1/2-inch masonry bit. Drill to a depth of 3.5 inches. Clean out the concrete dust with a vacuum (crucial for wedge anchor grip).
- For Wood Subfloors: You must locate the floor joists using a stud finder. Never anchor solely into plywood or OSB. Use 3/8-inch x 4-inch structural lag screws driven directly into the center of the joists.
- Set the Anchors and Torque: Drop your 1/2-inch x 3.75-inch zinc-plated wedge anchors into the concrete holes. Place the washers and nuts on the threads. Tighten with a torque wrench to 60-80 ft-lbs, or until the anchor sleeve expands and bites into the concrete. Finally, go back and fully torque all structural frame bolts.
Rigging the Rack for Your Pull Dumbbell Workout
Once the rack is securely bolted to the earth, it is time to optimize the attachments for your specific programming. A well-rigged rack transforms from a simple squat station into a comprehensive pulling powerhouse.
Chest-Supported Dumbbell Rows
To set up for heavy unilateral rows, position an adjustable utility bench inside the power rack. Set the bench to a 30-degree incline. Place the J-cups at the lowest possible setting and rest a barbell across them to act as a dead-stop for your dumbbells. This prevents you from having to bend over and pick up 100lb dumbbells from the floor, saving your lower back for the actual pulling movement. Ensure the bench is braced firmly against the rear crossmember to eliminate sliding.
Offset Dumbbell Rack Pulls
Rack pulls are typically done with a barbell, but heavy dumbbell rack pulls are an incredible tool for grip strength and core stabilization. Set your safety spotter arms or strap safeties just below the knee. Because you are pulling two independent heavy dumbbells (e.g., 120 lbs per hand), the lateral force on the safety arms is immense. Always use UHMW-lined safety straps rather than steel pin-and-pipe safeties for this movement; the straps will absorb the shock and prevent the dumbbells from bouncing off the steel and damaging the knurling.
Common Installation Failure Modes to Avoid
Even experienced DIYers make mistakes during rack installation. Review these common failure modes to ensure your setup remains safe for years to come.
- Over-tightening on Uneven Floors: If your concrete is sloped and you force the bolts down without shimming, you will warp the 11-gauge steel base plates. This creates a permanent wobble that worsens over time.
- Ignoring the Pull-Up Bar Torque: The pull-up bar is often the main structural crossmember tying the two front uprights together. If the hardware securing the pull-up bar is loose, the entire front end of the rack will sway during kipping movements or heavy offset pulls.
- Using Drywall Anchors for Wall-Mounted Storage: If you are adding weight storage horns to the wall behind your squat stand, you must hit the wooden studs or use toggle bolts rated for 250+ lbs of shear force. Storing heavy dumbbells on drywall-mounted racks is a catastrophic failure waiting to happen.
Final Thoughts on Home Gym Stability
Choosing between a power rack, a squat rack, and a squat stand ultimately comes down to your available square footage and your lifting style. However, when your routine demands the brutal, asymmetric forces of a heavy pull dumbbell workout, stability must dictate your purchase and installation. By taking the time to properly assess your subfloor, calculate your clearances, and meticulously torque your anchors, you build more than just a place to lift—you build a professional-grade training environment capable of handling whatever heavy iron you throw at it.
For further reading on equipment maintenance and facility safety, regularly consult resources from the Rogue Fitness engineering blogs and the NSCA's facility design manuals to keep your home gym up to current industry standards.
More gear to consider
All reviews
Barbell Collar Types: Safe Squats & Sit Ups with Dumbbells
Cast Iron vs Competition Kettlebells Beyond Standard Dumbbell Curls

Barbell Collar & Clamp Comparison: Squats & Shoulder Curls with Dumbbells
Back and Bi Dumbbell Workout Fixes: Barbell Knurling & Weight Errors
2026 Market Trends: Dumbbell Racks for Heavy Chest Fly Dumbbells