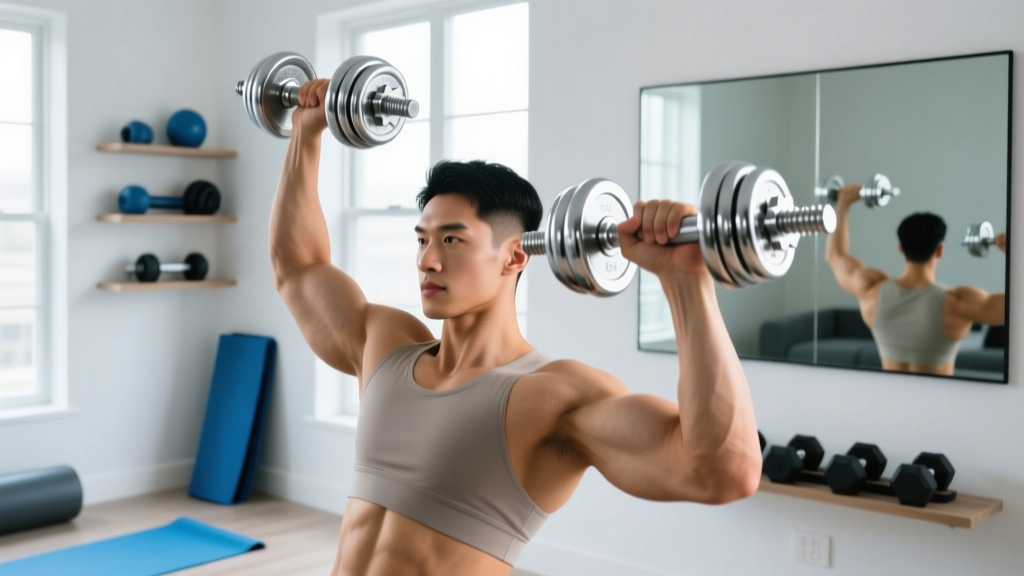
Power Rack vs Squat Rack vs Stand: Setup for Peppins Dumbbells
Compare power racks, squat racks, and stands. Learn exact installation steps, floor prep, and how to integrate Peppins dumbbells into your setup.

The Foundation of a Serious Home Gym
Building a dedicated lifting space in 2026 requires more than just purchasing premium free weights. If you have invested in a set of peppins dumbbells, you already understand the value of precise knurling, durable urethane coatings, and accurate weight calibration. However, to safely execute heavy compound movements, drop sets, and rack-supported isolation work, you need the right racking infrastructure. Choosing between a full power rack, a half squat rack, or a minimalist squat stand dictates not only your safety but also the spatial geometry of your entire gym.
This comprehensive installation walkthrough will break down the structural differences between these three racking systems, provide exact anchoring protocols, and detail how to seamlessly integrate your peppins dumbbells into the ecosystem without damaging the equipment or compromising your safety.
The Racking Hierarchy: Footprint vs. Functionality
Before unboxing any hardware, you must align your equipment choice with your available square footage and lifting style. According to comprehensive testing by Garage Gym Labs, the primary differentiator between rack styles is the safety envelope they provide during failed repetitions.
| Feature | Full Power Rack (e.g., REP PR-4000) | Half Squat Rack (e.g., Rogue SML-2) | Squat Stand (e.g., Titan T-2) |
|---|---|---|---|
| Footprint | 47' x 47' (Enclosed) | 49' x 48' (Open Front) | 48' x 48' (Minimalist) |
| Weight Capacity | 1,000+ lbs | 800 - 1,000 lbs | 600 - 800 lbs |
| Safety Mechanism | Internal Spotter Arms / Strap Safeties | External Catch Arms | External Spotter Arms (Limited) |
| Dumbbell Utility | High (Internal benching, tray attachments) | Medium (Open front for heavy DB presses) | Low (Strictly for barbell spotting) |
| Avg. Price Range (2026) | $800 - $1,400 | $600 - $900 | $250 - $450 |
Pre-Installation: Subfloor and Matting Prep
Never install a rack directly onto bare concrete or standard garage epoxy without impact protection. Dropping a loaded barbell or a pair of 100-lb peppins dumbbells generates immense point-load stress that can crack unsealed concrete and shatter the urethane on your dumbbells.
- Matting: Use 3/4-inch thick vulcanized rubber horse stall mats. Avoid interlocking foam tiles, as they compress unevenly under the 400-lb static load of a loaded power rack.
- Leveling: Place a 48-inch machinist level across your matting. If your concrete slab has a variance greater than 1/4 inch over 10 feet, use composite shims under the rack base plates before tightening your anchors to prevent twisting the steel uprights.
Spatial Geometry and Ceiling Clearances
A common failure mode in home gym setups is ignoring the Z-axis (vertical space). Standard power racks come in 84-inch or 90-inch heights.
Pro-Tip: The Pull-Up Bar RuleIf you have standard 8-foot (96-inch) ceilings, you must buy an 84-inch rack. You need a minimum of 12 to 15 inches of clearance above the pull-up bar to perform strict pull-ups without your head striking the ceiling joists. For taller athletes, consider mounting the rack directly to a floor joist cutout or dropping the ceiling drywall in that specific zone.
Step-by-Step Installation Walkthrough
The installation process varies wildly depending on whether you are bolting down a massive power rack or counter-weighting a freestanding squat stand.
Scenario A: Anchoring a Power Rack to Concrete
If you are installing a full power rack, bolting it to the floor is non-negotiable for safety, especially when performing dynamic movements like kipping pull-ups or heavy rack pulls.
- Position and Mark: Slide the assembled rack onto your rubber matting. Use a paint marker to mark the four to eight anchor holes on the base plates directly onto the mat.
- Drill the Concrete: Pull the mat back. Using a hammer drill and a 1/2-inch carbide masonry bit (for standard 3/8-inch wedge anchors), drill exactly 4 inches deep into the concrete. Warning: Do not drill within 4 inches of the slab edge to prevent blowout.
- Clean the Dust: Use a shop vac and a wire brush to remove all concrete dust from the hole. Residual dust reduces the holding power of the anchor by up to 40%, according to Simpson Strong-Tie engineering guidelines.
- Set the Anchors: Insert 3/8-inch x 3-3/4-inch carbon steel wedge anchors through the base plate and mat into the hole. Thread the nut on by hand.
- Torque to Spec: Using a calibrated torque wrench, tighten the nuts to 60 ft-lbs. This expands the wedge at the base of the anchor, locking it permanently into the concrete matrix.
Scenario B: Stabilizing Freestanding Squat Stands
Squat stands are inherently top-heavy. If you cannot drill into your floor (e.g., renting a commercial space or using a basement with post-tension cables), you must use counter-ballast.
- Sandbag Method: Load two 100-lb sandbags onto the rear storage pegs of the squat stands. This lowers the center of gravity and prevents the stands from tipping forward when you unrack a heavy barbell.
- Barbell Tie-Down: For extra rigidity, place a loaded 45-lb barbell on the rear cross-member storage pins. Never unrack the main working bar before the counter-weight bar is in place.
Integrating Peppins Dumbbells into Your Rack Ecosystem
While racks are primarily designed for barbells, integrating premium free weights like peppins dumbbells requires specific spatial awareness and accessory attachments.
Dumbbell Tray Clearances
If you purchase a bolt-on dumbbell tray for your uprights, ensure it is mounted on the outside of the power rack. Mounting it internally reduces your benching clearance. The standard internal width of a power rack is 49 inches; a standard bench is 12 inches wide. This leaves roughly 18.5 inches per side for dumbbell movement. Bulky external trays preserve this critical range of motion.
Spotter Arm Heights for Dumbbell Pressing
When bench pressing with peppins dumbbells, you lack the continuous barbell shaft to catch on safeties if you fail a rep. You must set your spotter arms differently than you would for a barbell:
- Barbell Setup: Safeties sit 1-2 inches below the bottom of your sternum arch.
- Dumbbell Setup: Safeties should be set at the exact height of your resting elbows when lying on the bench. If you fail, you can safely open your hands and let the dumbbells drop to the floor while the barbell path is protected. Never let heavy dumbbells crash onto steel spotter arms, as this will destroy the chrome knurling and urethane coating of your peppins dumbbells.
UHMW Plastic and Upright Protection
The uprights of your rack are coated in zinc or powder coat. The j-hooks and spotter arms should feature UHMW (Ultra-High Molecular Weight) plastic liners. Over time, the aggressive knurling on barbells and the metal handles of your peppins dumbbells will chew through this plastic.
Inspection Protocol: Every 90 days, inspect the UHMW plastic on your j-hooks. If the steel core is exposed, replace the liners immediately. Exposed steel will act like a cheese grater on your barbell sleeves and dumbbell handles, generating metal shavings that ruin your gym flooring and compromise your grip.
Long-Term Maintenance and Hardware Checks
A home gym is a dynamic environment subject to temperature fluctuations, humidity, and immense kinetic force. To ensure your setup remains safe through years of heavy training:
- Bi-Annual Torque Check: Concrete expands and contracts with seasonal temperature shifts. Every six months, take your torque wrench and re-verify that all base anchors and structural carriage bolts are tightened to manufacturer specifications (usually 60-80 ft-lbs for structural bolts).
- Weld Inspections: Wipe down the weld seams on your squat stand base plates with a damp cloth. Look for micro-fractures or rust blooming, which indicate structural fatigue.
- Hardware Lubrication: Apply a dry PTFE (Teflon) lubricant to the pull-up bar mounting brackets and any moving parts on lat-pulldown attachments. Avoid wet oils, which attract chalk dust and create an abrasive paste that degrades steel bearings.
By carefully selecting the right racking architecture for your spatial constraints and meticulously following these installation protocols, you create a training environment that honors the quality of your equipment. Whether you are loading up a barbell for heavy squats or pressing your peppins dumbbells to failure, a properly installed rack is the silent partner that guarantees your safety and progress.
More gear to consider
All reviews
Leg Curl with Dumbbells: Best Neoprene Home Weights
Best Neoprene Dumbbells for an Underarm Workout with Dumbbells

One Hand Dumbbell Storage: 2026 Budget & Value Breakdown
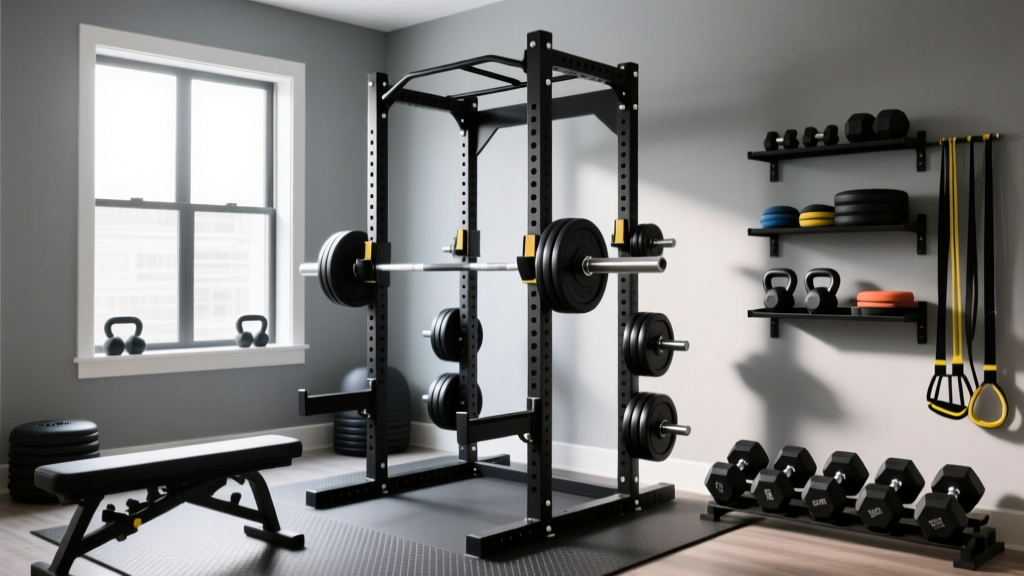
Power Rack vs Squat Rack Setup & Reverse Grip Dumbbell Row

2026 Trends: Loadable Gear for Bulgarian Squats With Dumbbells