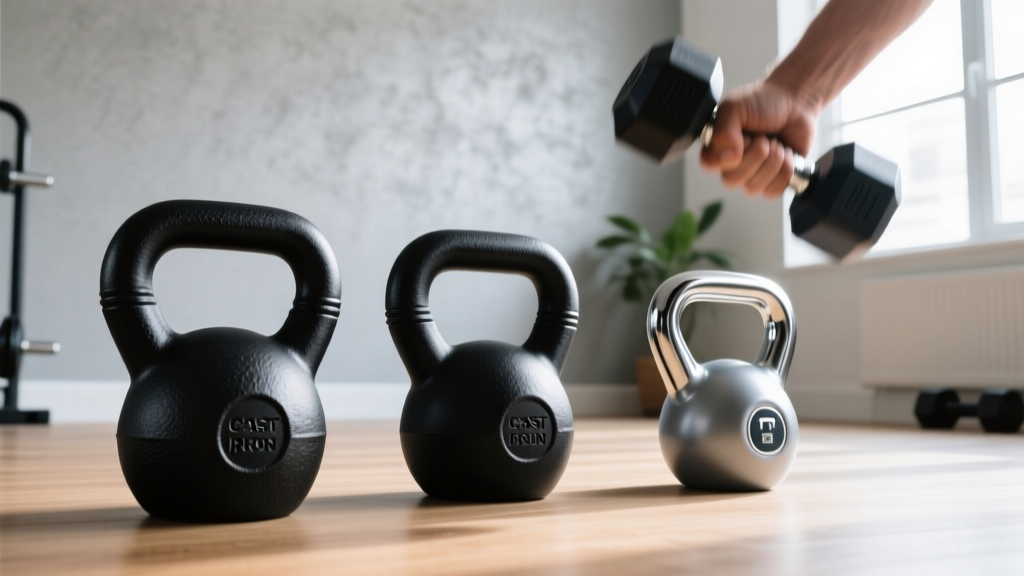
Rack Maintenance for Your Home Dumbbell Tricep Workout
Discover expert dumbbell rack maintenance and storage tips to protect your gear and optimize your space for any home dumbbell tricep workout routine.

The Hidden Link Between Storage Ergonomics and Tricep Isolation
When designing a dedicated space for a high-volume home dumbbell tricep workout, most lifters focus entirely on the bench angle or the weight increments. However, the longevity of your equipment and the safety of your joints are inextricably linked to your dumbbell rack maintenance and storage setup. Tricep isolation movements—such as lying skull crushers, overhead extensions, and heavy kickbacks—require precise weight transitions. When fatigue peaks during a drop set, a poorly maintained or ergonomically flawed rack forces you into awkward spinal flexion or results in careless dumbbell drops that degrade both the rack and the weights.
According to ergonomic guidelines emphasized by the American Council on Exercise (ACE), minimizing unnecessary bending and reaching under load is critical for preventing lumbar strain. A well-maintained, tiered dumbbell rack positions your 15 lb to 40 lb pairs exactly at hip height, allowing for seamless transitions during tricep burnout sets without compromising your posture or damaging your gear.
💡 The Drop-Set Workflow Rule: During a tricep drop set (e.g., moving from 35 lbs to 25 lbs to 15 lbs on lying extensions), you have roughly 10 seconds of rest between sets. If your rack shelves have exposed metal burrs or degraded rubber footing, the frantic weight swap will tear the urethane on your dumbbells or scratch the knurling on your handles. Maintenance is not just about aesthetics; it is about preserving the functional integrity of your gear during high-speed workflows.Diagnosing Rack Failure Modes: A 2026 Inspector’s Guide
Whether you are using a premium Rogue 3-Tier Dumbbell Rack (retailing around $295) or a budget-friendly Titan Fitness 3-Tier Rack (approximately $180), steel storage units are subject to specific stress points. Over time, the repetitive impact of hexagonal or adjustable dumbbells (like the Nuobell 80s) creates distinct failure modes. Below is a diagnostic matrix to help you identify and rectify these issues before they ruin your equipment.
| Failure Mode | Primary Cause | Longevity Fix & Maintenance |
|---|---|---|
| Micro-fractures in TIG Welds | Asymmetrical loading; dropping heavy hex dumbbells on the edge of the shelf rather than sliding them in. | Inspect quarterly with an LED flashlight. Apply a clear-coat rust inhibitor over hairline fractures to prevent oxidation until professional re-welding is possible. |
| Urethane Peeling & Micro-tears | Exposed metal burrs or unfinished steel edges on the rack shelves scraping the dumbbell heads during racking. | Sand shelf lips with 400-grit sandpaper. Apply a layer of heavy-duty rubberized shelf liner or automotive undercoating to create a soft barrier. |
| Carbon Black Transfer | Friction and heat from cheap rubber dumbbells degrading and leaving residue on bare steel tiers. | Clean shelves with a 1:10 Simple Green dilution. Seal bare steel racks with a matte black enamel spray to prevent permanent staining and rust. |
| Hardware Loosening | Vibrations from dropping adjustable dumbbells (e.g., PowerBlock or Bowflex) onto the floor near the rack base. | Use a torque wrench to tighten all 3/8" Grade 5 bolts to 40 ft-lbs every six months. Apply blue Loctite to threads to prevent vibration backing. |
The Quarterly Maintenance Protocol for Steel and Urethane
To ensure your storage solutions survive the rigors of a demanding home dumbbell tricep workout routine, implement this step-by-step maintenance protocol every 90 days. This routine addresses both the rack structure and the dumbbells that rest upon it.
- Degrease and De-dust: Mix a mild dish soap solution (or Simple Green) and wipe down all tiers. Dust acts as an abrasive between the steel shelf and the urethane dumbbell head. Use a microfiber cloth to avoid scratching powder-coated finishes.
- The Flashlight Weld Test: Turn off the overhead lights and run a high-lumen LED flashlight parallel to the weld joints where the shelf meets the vertical uprights. Any shadowing or jagged lines indicate a stress fracture. Catching these early prevents catastrophic shelf collapse.
- Shelf Lip Resurfacing: Run your bare fingers along the front lip of each shelf tier. If you feel any snags or burrs, use a metal file followed by 400-grit sandpaper to smooth the edge. This single step will extend the life of your premium urethane dumbbells by years.
- Dumbbell Head Conditioning: If you use rubber-coated hex dumbbells, they can dry out and crack over time. Wipe them down with a 50/50 mix of water and white vinegar to remove oils from your hands, then apply a very light coat of 3-IN-ONE silicone spray to keep the rubber supple. Note: Never use petroleum-based products, as they will dissolve the rubber binders.
- Hardware Torque Check: Vibrations travel through the floor when you drop weights after a grueling set of tricep kickbacks. Check all structural bolts and re-torque them to the manufacturer's specifications.
Material Breakdown: Which Rack Survives Heavy Tricep Drop-Sets?
Not all storage solutions are created equal. When curating your home gym, the material of your rack dictates its maintenance schedule and its ability to handle the workflow of rapid weight changes.
- Powder-Coated Steel (e.g., Rogue, Titan): Pros: Indestructible under normal use, high weight capacity (up to 1,000 lbs total), optimal shelf depth (usually 8.5 to 10 inches) for large adjustable dumbbells. Cons: Requires occasional touch-up paint if the powder coat chips; heavy and difficult to relocate.
- Solid Wood / Bamboo Stands: Pros: Aesthetically pleasing, protects dumbbell heads from metal-on-metal scratching naturally. Cons: Susceptible to warping in humid garages; lower weight limits (typically maxing out at 300 lbs); requires annual sealing with polyurethane to prevent sweat damage.
- High-Density Polyethylene (HDPE) / Plastic: Pros: Rust-proof, lightweight, cheap. Cons: Becomes brittle in cold environments (unheated garages in winter); shelves can bow permanently if heavy 50+ lb dumbbells are left in the center of the tier for long periods.
Designing the Ultimate 2026 Drop-Set Station
To merge equipment longevity with workout efficiency, your spatial arrangement is just as critical as your maintenance routine. According to facility layout standards referenced by top equipment manufacturers like Rogue Fitness, clearance and flooring play a massive role in gear preservation.
"The ideal tricep isolation station places the flat bench exactly 18 inches in front of the dumbbell rack. This 18-inch gap allows the lifter to perform lying tricep extensions without their elbows striking the rack's vertical uprights, while keeping the next set of dumbbells within a simple backward reach. Place a 3/4-inch thick horse stall mat directly under the rack's front feet to absorb the acoustic shock and vibration of dropping weights, which protects the rack's TIG welds from floor-transferred kinetic energy."
By maintaining this 18-inch buffer and utilizing proper shock-absorption flooring, you eliminate the primary causes of rack instability and dumbbell damage. When you are on your fourth set of overhead tricep extensions and your grip is failing, you need a storage system that forgives a clumsy re-rack. A sanded, sealed, and properly torqued steel rack provides exactly that forgiveness.
Frequently Asked Questions
Q: Can I store my adjustable dumbbells (like Bowflex or Nuobell) on a standard tiered rack?
A: Yes, but you must verify the shelf depth. Standard hex dumbbell racks often have an 8-inch shelf depth. Adjustable dumbbells are typically longer (up to 15 inches) and have a lower center of gravity. If they overhang the shelf by more than 30%, a slight bump during a fatiguing tricep workout could knock them off. Look for racks specifically labeled with a 10-inch or 12-inch shelf depth for selectorized models.
Q: How do I remove white scuff marks from my black urethane dumbbells caused by the rack?
A: Those scuff marks are usually paint transfer from the rack or oxidized rubber. Use a standard melamine sponge (Magic Eraser) dampened with water. Gently buff the urethane head. Avoid harsh chemical degreasers, as they can strip the protective UV coating off premium urethane, leading to premature drying and cracking.
Q: Is it necessary to anchor my dumbbell rack to the floor?
A: For a standard 3-tier rack holding up to 50 lb dumbbells, anchoring is rarely necessary if the rack features a wide, flared base with rubberized feet. However, if you are utilizing a 5-tier vertical tower or storing pairs exceeding 70 lbs, anchoring to wall studs or a concrete slab using 3/8" wedge anchors is highly recommended to prevent tip-overs during aggressive weight selection.
More gear to consider
All reviews
Dumbbell Rowing Setup: Olympic vs Standard Plate Install

Elevated Dumbbell Squat Setup: Olympic vs Standard Plates
Space-Saving Dumbbell Set Up: Loadable Handles & Plates

Olympic vs Standard Plates: How Many Calories Do Dumbbell Curls Burn

Rubber Hex vs Urethane Dumbbells: Best for Dumbbell Rows?