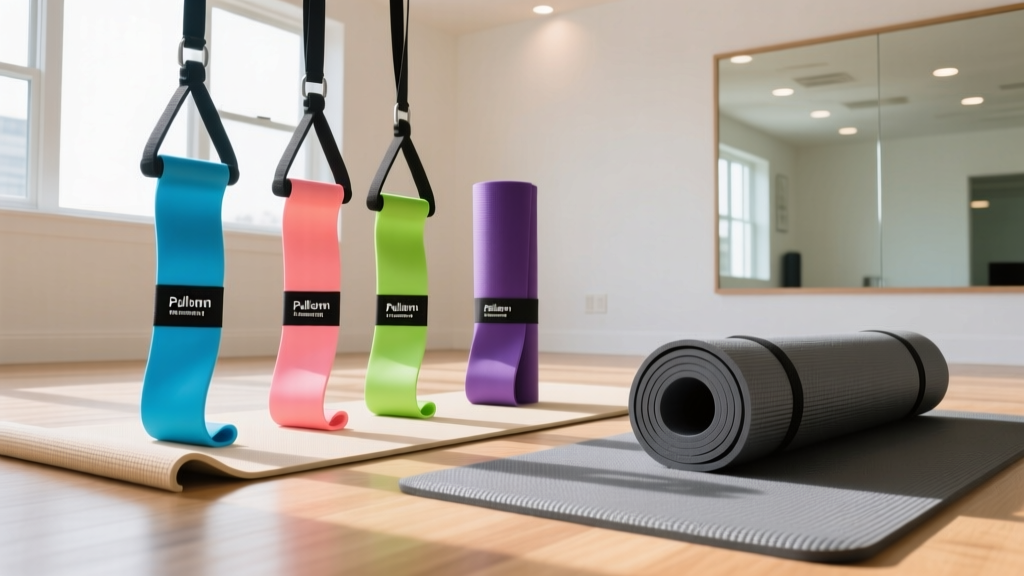
Beginner Pull-Up Band Sizing & Yoga Mat Size Guide
Master your home gym setup with our step-by-step guide to pull-up assist band sizing and choosing the perfect yoga mat size for mobility work.

Building a functional home calisthenics and mobility station requires mastering two foundational pieces of gear: the equipment that gets you over the bar, and the equipment that supports your recovery on the floor. For beginners, navigating the myriad of resistance levels and dimensions can be overwhelming. This step-by-step guide breaks down the exact science of pull-up assist band sizing and selection, while also addressing a crucial secondary component often ignored by calisthenics athletes: selecting the correct yoga mat size for your post-pull-up mobility and core routines.
Step 1: Demystifying Pull-Up Assist Band Sizing
Pull-up assist bands are typically 41-inch continuous latex loops. Unlike tube bands with plastic handles, these flat loops are designed to be anchored to a pull-up bar, with your foot or knee placed inside the loop to offset a percentage of your body weight. The assistance is not linear; the band provides maximum lift at the bottom of the movement (the dead hang) and minimal assistance at the top (chin over the bar), perfectly matching the human strength curve.
According to research published by the National Center for Biotechnology Information, elastic resistance training provides comparable muscle activation to free weights, making assisted pull-ups a highly effective hypertrophy and strength stimulus when sized correctly. The 'size' of the band refers to its width and thickness, which directly dictate its tensile strength and resistance profile.
The Standard Band Sizing Matrix
Most reputable brands, such as Rogue Fitness, WODFitters, and Serious Steel, adhere to a universal color-coded sizing system. Below is the definitive matrix to help you select the right band based on your current body weight and strength level.
| Color | Width | Resistance / Assistance | Best For | Avg. Price (2026) |
|---|---|---|---|---|
| Red | 0.25 in. | 10 - 35 lbs | Warm-ups, mobility, finishing sets | $12 - $15 |
| Black | 0.5 in. | 30 - 60 lbs | Beginners close to unassisted reps | $16 - $20 |
| Purple | 1.15 in. | 40 - 80 lbs | Average beginners learning the groove | $22 - $28 |
| Green | 1.75 in. | 50 - 125 lbs | Heavy beginners, first-time pull-ups | $30 - $38 |
| Blue | 2.5 in. | 60 - 150+ lbs | Rehab, heavy assistance, advanced levers | $40 - $50 |
Step 2: Transitioning to the Floor & Yoga Mat Size Selection
Once you complete your vertical pulling sets, your spine requires decompression, and your thoracic region needs targeted mobility work to counteract the internal rotation of heavy lat engagement. This is where your floor setup matters. Many calisthenics beginners mistakenly buy a cheap, narrow travel mat, not realizing that yoga mat size directly impacts the efficacy of their recovery and core routines.
When evaluating yoga mat size for a calisthenics-focused home gym, you must look beyond the standard dimensions. The American Council on Exercise (ACE) emphasizes that adequate space and joint cushioning are vital for maintaining proper alignment during floor-based mobility drills. If your mat is too narrow, your wrists and elbows will slip off the edge during exercises like the 'Thread the Needle' or 'Scorpion Stretch', breaking your focus and risking injury.
Breaking Down Yoga Mat Dimensions
- Standard Size (24' x 68'): Adequate for basic seated stretching and short core work. However, it is generally too narrow for broad-shouldered athletes performing prone thoracic extensions or wide-arm planks post-pull-up.
- Extra Long (24' x 72' to 84'): Essential if you are over 5'10'. During a dead-bug core sequence or a full-body prone cobra stretch, a standard mat will leave your heels or head resting on the hard floor, causing discomfort that ruins the mobility stimulus.
- Wide / Extra Wide (28' to 30' x 72'): The gold standard for calisthenics athletes. A 30-inch width ensures that during wide-arm child's pose or lateral lunges, your extremities remain on the grippy surface. Premium options like the Manduka PRO (approx. $120) or Lululemon The Mat (approx. $98) offer these wider dimensions with high-density PVC or natural rubber that won't compress out during heavy kneeling.
'The right yoga mat size acts as your designated recovery zone. When you step off the pull-up platform and onto a wide, dense mat, it signals to your nervous system that it is time to shift from sympathetic exertion to parasympathetic recovery.' - FitGearPulse Biomechanics Team
Step 3: Your First Assisted Pull-Up & Mat Flow Routine
Now that you have selected the correct band resistance and mapped out your floor space with the appropriate yoga mat size, it is time to execute. Follow this beginner-friendly flow to build back strength and immediate thoracic mobility.
- The Anchor: Loop your chosen band (e.g., Purple) over the center of your pull-up bar. Pull the bottom of the loop through the top to create a secure choke hitch.
- The Mount: Place a sturdy plyo box or step stool near the bar. Step one foot into the loop, then the other. Ensure the band is resting on the arch of your shoes, not your toes, to prevent slipping.
- The Pull: Initiate the movement by depressing your scapula (pulling your shoulders down and back). Drive your elbows toward your hips. Aim for 3 sets of 5-8 controlled repetitions.
- The Dismount: Carefully step down onto your wide yoga mat. Do not jump down while the band is still under high tension, as the recoil can damage the bar's knurling or snap the latex.
- The Mat Mobility Flow: Immediately transition to your mat for 3 minutes of 'Puppy Pose' (melting your chest toward the floor while keeping hips high) to stretch the lats, followed by 'Thread the Needle' to mobilize the T-spine.
Equipment Failure Modes & Safety Checks
Both resistance bands and yoga mats are subject to material degradation. Understanding these failure modes will save you from sudden injuries and unnecessary replacement costs.
Latex Band Micro-Tears
Latex is highly susceptible to UV degradation and ozone exposure. If you store your bands on a patio or near a sunlit window, the rubber will dry rot, leading to catastrophic snapping under load. Before every session, run your fingers along the entire 41-inch loop. If you feel any micro-tears, chalky residue, or notice a loss of elasticity, discard the band immediately. According to safety guidelines referenced by Yoga Journal and fitness equipment manufacturers, keeping gear out of direct sunlight extends its lifespan by up to 300%.
Mat Edge Curling and Compression
Cheap TPE or thin NBR mats (often under 4mm thick) suffer from edge curling and permanent compression divots when subjected to the high point-loads of calisthenics movements like L-sits or kneeling thoracic extensions. If your mat edges no longer lay flat, they become a tripping hazard during dynamic transitions. Invest in a dense, closed-cell PVC or natural rubber mat (5mm to 6mm thick) that retains its structural integrity and lays perfectly flat, ensuring your mobility work is never compromised by uneven terrain.
Final Thoughts on Building Your Station
Mastering your home gym setup is about more than just buying gear; it is about understanding how the equipment interacts with your biomechanics. By meticulously selecting your pull-up assist band sizing based on your current strength curve, and intentionally choosing a yoga mat size that accommodates your wingspan and height, you create a seamless ecosystem for strength and recovery. Stick to the progressive overload principles, respect the maintenance requirements of your latex and rubber, and your home calisthenics station will serve you safely for years to come.
More gear to consider
All reviews
Loop vs Tube Bands: Compact Layouts & How to Disinfect Yoga Mat

Pull-Up Assist Band Sizing: Anchor Errors & How Wide Are Yoga Mats?

Expert Exercise Ball Size Guide & Best Way to Clean Yoga Mat Gear
Pull-Up Assist Band Sizing & Yoga Mat Holder Floor Setups
Medicine Ball Weight Selection + Homemade Yoga Mat Spray
