
Pull-Up Assist Band Sizing: Anchor Errors & How Wide Are Yoga Mats?
Troubleshoot pull-up assist band sizing mistakes, anchor failures, and spatial clearance. Learn how wide are yoga mats for safe home gym setups.

The Hidden Dangers of Incorrect Pull-Up Assist Band Sizing
As home calisthenics and garage gym setups continue to evolve in 2026, the pull-up assist band remains a cornerstone piece of equipment for building vertical pulling strength. However, at FitGearPulse, we see a troubling trend: a high volume of snapped bands, bruised shins, and damaged drywall stemming from fundamental sizing and spatial miscalculations. Selecting the right resistance profile is only half the battle; understanding the kinetic energy stored in these heavy-duty latex loops and how they interact with your physical space is critical for safety.
This troubleshooting guide will dissect the most common mistakes lifters make when sizing, anchoring, and positioning their pull-up assist bands. We will also address a crucial, often-overlooked aspect of home gym spatial planning: mapping your safe drop zone based on standard equipment footprints.
Mistake #1: Sizing by Color Instead of Tensile Data
The most pervasive error in band selection is assuming that color coding is universal across brands. A "green" band from one manufacturer might offer 30 pounds of assistance, while a "green" band from another could offer 65 pounds. Relying on color leads to severe under- or over-assistance, ruining your progressive overload metrics.
The Troubleshooting Fix: Measure Width and Check Durometer
Instead of looking at the color, look at the physical width of the band and the manufacturer's tensile data. According to the Rogue Fitness Monster Bands specifications, resistance is directly correlated to the cross-sectional area of the vulcanized rubber.
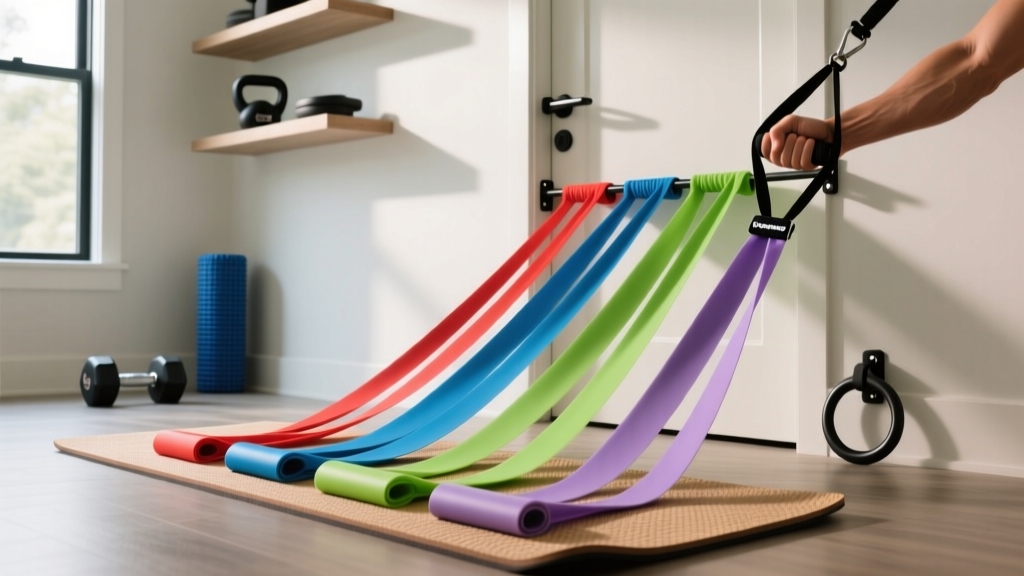
- 0.25-inch (Red): 5–15 lbs assistance. Best for warm-ups and mobility.
- 0.5-inch (Black): 15–35 lbs assistance. Ideal for advanced lifters needing a slight boost at the bottom of the rep.
- 1.75-inch (Purple/Blue): 40–80 lbs assistance. The standard for intermediate lifters learning strict pull-ups.
- 4.0-inch (Green/Black): 80–120+ lbs assistance. Used for heavy rehabilitation, extreme beginners, or mobility stretching.
Spatial Troubleshooting: Anchor Points, Swing Radius, and Floor Mats
When planning your home gym's vertical pulling zone, a frequent spatial question we receive isn't just about ceiling height, but floor footprint—specifically, how wide are yoga mats and how does that dictate your safe landing radius? This is not a trivial question; it is a vital safety metric when using high-tension assist bands.
Heavy assist bands (like the 1.75-inch and 4-inch models) store massive amounts of kinetic energy. If your foot slips out of the loop at the bottom of a pull-up, the band will violently snap back toward the anchor point, and your body will pendulum forward. To prevent swinging into a wall, squat rack, or furniture, you must calculate your "safe swing zone."
Mapping the Safe Zone Using Mat Dimensions
Standard yoga mats are exactly 24 inches (61 cm) wide and 68 to 72 inches long. Extra-wide mats range from 30 to 36 inches. By using your yoga mats as a measuring grid, you can perfectly map out your safety clearance.
- The Anchor Point: Center your pull-up bar over your primary landing mat.
- The Swing Buffer: Place a second standard 24-inch mat directly in front of your landing mat. This gives you a 48-inch wide by 72-inch long safe zone.
- The Rule of Thumb: Ensure there is at least 36 inches of empty clearance in front of and behind your mat grid when using bands rated over 50 lbs of assistance.
Understanding how wide are yoga mats allows you to visually demarcate the "danger zone" in a cramped garage gym. If your pull-up bar is mounted on a doorframe or a wall where you cannot fit at least one 24-inch mat's width (24 inches) of clearance behind you, you should not use heavy pull-up assist bands, as the pendulum effect will send your heels into the drywall.
Mistake #2: Improper Anchoring and Slippage Failures
Pull-up assist bands are designed to be looped, but the method of anchoring them to the bar dictates both the lifespan of the band and your physical safety.
The "Choke" Method vs. Carabiner Anchoring
The traditional method involves pulling the band through its own loop to create a choke knot on the bar. The Mistake: Doing this on a bar with aggressive knurling (the rough grip pattern on steel bars). The knurling acts like a cheese grater against the stretched latex, causing microscopic tears that lead to catastrophic snapping under load.
The Fix: If you are using a knurled bar, you must use a smooth steel carabiner rated for at least 25 kN (kilonewtons) to attach the band to the bar, or slide a piece of PVC pipe over the bar to act as a smooth sleeve. According to guidelines from the National Strength and Conditioning Association (NSCA), inspecting elastic resistance equipment for abrasion points before every session is a non-negotiable safety standard.
Comparative Data: Band Width vs. Stretch Tolerance
A major cause of band failure is exceeding the maximum stretch ratio. Most continuous loop bands are engineered for a maximum stretch ratio of 2.5x to 3x their resting length. If you are anchoring the band to the floor for deadlifts or rotational work, you must know your limits.
| Band Width | Resting Length | Max Safe Stretch (2.5x) | Primary Use Case |
|---|---|---|---|
| 0.25" (Red) | 41 inches | 102 inches | Mobility, Shoulder Rehab |
| 0.5" (Black) | 41 inches | 102 inches | Light Pull-Up Assist |
| 1.75" (Purple) | 41 inches | 102 inches | Intermediate Pull-Ups, Squat Assist |
| 4.0" (Green) | 41 inches | 102 inches | Heavy Beginner Assist, Bench Press |
Expert Insight: "Never step into a pull-up assist band with bare feet or socks. The friction coefficient is too low, and a slipped foot at maximum tension can result in severe facial or groin impact. Always use the band with a rubber-soled training shoe, or better yet, loop it around the knee or a specialized foot peg if your pull-up station has one." — FitGearPulse Biomechanics Team, 2026
Step-by-Step Selection Framework for 2026
To troubleshoot your current setup and select the correct band for your next training block, follow this decision matrix:
Step 1: Test Your Unassisted Max
Jump to the top of the bar and lower yourself as slowly as possible (eccentric phase). If you cannot control a 3-second descent, you need a band that offsets at least 40% of your body weight.
Step 2: Calculate the Offset
If you weigh 200 lbs and need 40% assistance, you require a band that provides roughly 80 lbs of tension at the bottom of the movement (where the band is stretched the most). This typically points to a 1.75-inch Purple band (priced between $25 and $35 from reputable brands like Serious Steel or Rogue).
Step 3: Verify Your Spatial Grid
Look down at your floor. Do you have space for two standard 24-inch wide yoga mats placed end-to-end beneath the bar? If yes, your swing radius is secure, and you can safely use the heavy band. If no, switch to a seated lat-pulldown machine or an assisted dip/pull-up tower with a guided track until you build enough strength to use thinner, lower-tension bands that do not cause violent pendulum swings.
Frequently Asked Questions (Troubleshooting)
Why does my pull-up band snap toward my face when I finish a set?
This happens when you dismount by stepping forward off the band rather than stepping backward or laterally. When you step forward and release the tension, the band's elastic recoil pulls it straight up toward the anchor point. Always step backward off the band, allowing it to swing away from your body, or control it with your hand until the tension is fully dissipated.
Can I stack multiple thin bands instead of buying one thick band?
Yes, stacking bands is an excellent troubleshooting method for micro-loading. For example, stacking a 0.5-inch black band (25 lbs) with a 0.25-inch red band (10 lbs) gives you 35 lbs of assistance. This is highly recommended by physical therapists for progressive strength rehabilitation, as it allows you to wean off assistance in 5-to-10-pound increments rather than making massive 30-pound jumps between standard band sizes.
How do I clean my bands without degrading the latex?
Never use chemical solvents, alcohol, or bleach. Wipe them down with a damp microfiber cloth and a tiny drop of mild dish soap, then dry them immediately. Store them in a dark, climate-controlled drawer away from your yoga mats and foam rollers to prevent material bonding and ozone degradation.
More gear to consider
All reviews
Foam Roller Density & Size: Matching Your Yoga Mat Dims

Beyond the OKO Yoga Mat: Pull-Up Assist Band Sizing
Resistance Band Set Setup: Levels, Types & Manuka Eco Yoga Mat Guide

Pilates Care: How to Clean a Yoga Mat Gaiam & Maintain Accessories

Battle Rope Guide & Yoga Mat Thickness for Beginners: 2026 Layouts
