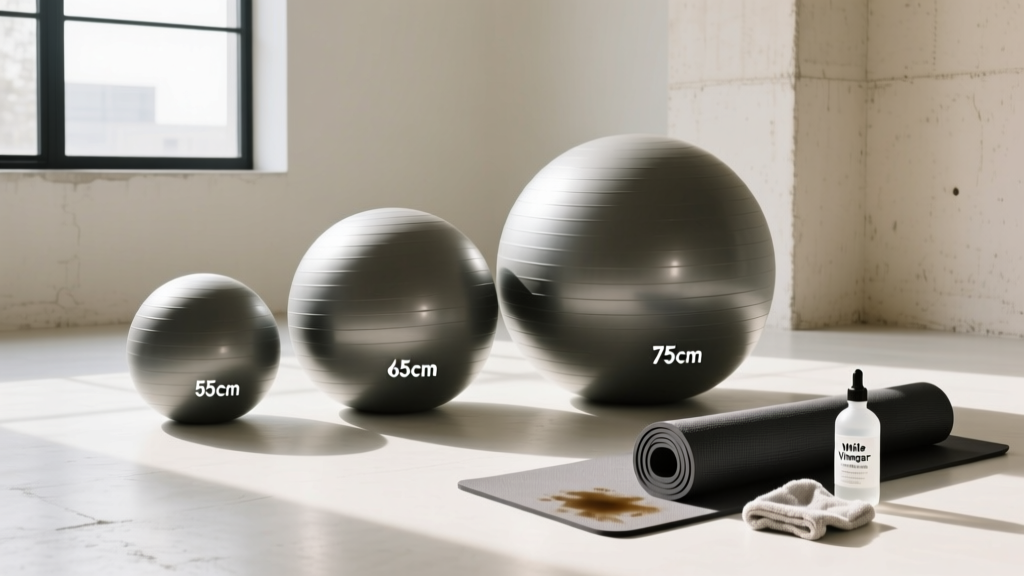
Pull Up Assist Band Sizing & How to Wash Yoga Mat in Washing Machine
Master your home gym setup with our pull up assist band sizing guide and expert tips on whether you can safely wash yoga mat in washing machine.

The Ultimate Home Gym Walkthrough: Rigging & Recovery
Setting up a comprehensive home calisthenics and recovery station requires more than just bolting a pull-up bar to your wall and rolling out a piece of foam. A true functional fitness space demands precise equipment selection, safe installation protocols, and rigorous hygiene maintenance. In this complete setup and installation walkthrough, we will guide you through two critical phases of your home gym: the vertical pulling station and the floor recovery zone.
First, we will break down the physics and practical application of pull up assist band sizing and selection, ensuring you rig your equipment safely for maximum longevity. Second, we will transition to the floor setup and tackle one of the most debated hygiene questions in the fitness community. Specifically, we will analyze the material science behind whether you should wash yoga mat in washing machine cycles, breaking down exactly which materials survive the agitator and which will be destroyed.
Phase 1: Calisthenics Rig Installation & Band Selection
Before you can use a resistance band for assisted pull-ups, you must ensure your anchor point is secure. Standard home gym pull-up bars typically feature a 1.25-inch diameter steel tube. If your bar features aggressive knurling (the rough texture meant to grip your hands), you must wrap the anchor point with athletic tape or a specialized bar sleeve. Bare knurling acts like a cheese grater on natural latex and synthetic elastomer bands, causing micro-tears that lead to catastrophic snapping under tension.
Step-by-Step Band Rigging Walkthrough
The industry standard for rigging a pull-up assist band is the choke hitch (or lark's head knot). This method distributes the load evenly and prevents the band from sliding across the bar during dynamic movements like kipping or muscle-up transitions.
- Inspect the Band: Run your fingers along the entire 41-inch loop. Look for white stress marks, nicks, or dry rot. According to research published in the Journal of Sports Science & Medicine, elastic resistance materials degrade under UV exposure and ozone; store your bands indoors away from direct sunlight.
- Loop Over the Bar: Drape the band over the center of your pull-up bar so both ends hang down evenly.
- Thread the Tail: Take one hanging end and thread it completely through the opposite hanging loop.
- Pull Tight: Pull the threaded end down sharply. The resulting friction knot will lock against the steel bar.
- Test the Anchor: Before placing your foot or knee inside the bottom loop, hang your full body weight from the band using your hands to ensure the hitch is secure and the bar mount is stable.
Phase 2: Pull Up Assist Band Sizing Matrix
Selecting the correct band is not about guessing; it is a calculation based on your body weight, your current unassisted pulling strength, and the band's tension curve. Resistance bands follow Hooke's Law: tension increases as the band stretches. A band provides maximum assistance at the bottom of the pull-up (where it is stretched the most) and zero assistance at the top (where it returns to its resting 41-inch length).
Below is the definitive 2026 sizing matrix based on standard 41-inch continuous loop bands from premium manufacturers like Rogue Fitness and WODFitters.
| Band Color | Width | Tension Range | Ideal User Profile | Avg. Price (2026) |
|---|---|---|---|---|
| Red | 0.25" | 5 - 15 lbs | Rehab, shoulder mobility, warm-ups | $12 - $15 |
| Black | 0.5" | 15 - 35 lbs | Light assist, high-rep endurance sets | $16 - $20 |
| Purple | 1.15" | 40 - 80 lbs | Intermediate athletes, strict pull-ups | $22 - $26 |
| Green | 1.75" | 50 - 125 lbs | Heavy assist, muscle-up transitions | $28 - $34 |
| Blue | 2.5" | 80 - 150 lbs | Beginners, heavy athletes (220+ lbs) | $35 - $42 |
| Orange | 3.25" | 100 - 175 lbs | Rehab, deadlift reverse bands | $45 - $55 |
If your goal is to achieve your first unassisted strict pull-up, select a band that allows you to complete a set of 5 reps with roughly 10% of the band's assistance left in reserve. As you get stronger, step down to the next color in the matrix rather than cutting reps.
Phase 3: Floor Setup & The Great Mat Maintenance Debate
Once your vertical rig is installed, you must establish the floor recovery and mobility zone. This typically involves high-density yoga mats for stretching, core work, and post-workout decompression. However, intense home gym sessions lead to heavy sweat accumulation, dead skin cells, and bacterial growth. This brings us to a critical maintenance crossroads.
When users search for instructions to wash yoga mat in washing machine appliances, they are often met with conflicting, and sometimes disastrous, advice. To understand why, we must look at the chemical composition of modern fitness mats.
Material Failure Modes: Why Machines Destroy 90% of Mats
According to Yoga Journal's comprehensive mat care guidelines, the mechanical agitation, heat, and harsh surfactants found in standard washing machines are fundamentally incompatible with the structural integrity of most yoga mat materials.
- PVC (Polyvinyl Chloride): Premium mats like the Manduka PRO ($132) are made of dense, closed-cell PVC. The agitator in a washing machine will physically punch holes into the foam core, while hot water leaches out the plasticizers, causing the mat to warp, shrink, and become brittle.
- TPE (Thermoplastic Elastomer): Budget-friendly mats (like Gaiam, ~$25) use layered TPE. The spin cycle and water pressure will cause the top traction layer to delaminate and peel away from the base layer.
- Natural Rubber: Mats like the Jade Harmony ($80) are made from open-cell, sustainably tapped tree rubber. Detergents strip the natural oils, and the heat from a washing machine accelerates oxidation, leading to severe dry rot and crumbling.
The Safe Protocol: How to Wash Yoga Mat in Washing Machine
There is exactly one category of yoga mats that can safely survive a washing machine: 100% Cotton or Microfiber Travel Mats (such as the Manduka Yogitoes Skidless, ~$78). Because these mats are essentially specialized textiles with silicone grip nodules, they can be machine washed if you follow a strict protocol to protect the grips and prevent mold.
- Pre-Treat Stains: Mix a 50/50 solution of white vinegar and water. Spray heavily soiled areas and let sit for 10 minutes. Do not use bleach or fabric softeners, as these destroy the microfiber's moisture-wicking capabilities.
- Load Balancing: Wash the mat alone or with a few similarly colored towels. A heavy, wet mat can unbalance the washing machine drum, triggering an error code or damaging the machine's bearings.
- Machine Settings: Select the Delicate / Hand-Wash cycle. Use Cold Water only. Set the spin cycle to Low or No Spin to prevent the silicone grips from tearing against the metal drum.
- Detergent Selection: Use a mild, unscented, dye-free liquid detergent. Powder detergents will become trapped in the microfiber fibers and cause skin irritation during your next workout.
- Drying: Never use a tumble dryer. Lay the mat flat on a drying rack in a well-ventilated area away from direct sunlight. Depending on ambient humidity, a microfiber mat will take 12 to 24 hours to dry completely.
Troubleshooting & Edge Cases
Band Slippage on Smooth Bars
If your pull-up bar is powder-coated and exceptionally smooth, the choke hitch may slowly rotate during high-rep sets. To fix this, wrap a single layer of 1-inch athletic tape around the center of the bar before rigging the band. The tape provides the necessary friction coefficient to lock the elastomer in place without damaging the bar's finish.
Mat Odor Lingering After Washing
If your microfiber mat still smells of sweat after a machine wash, the bacteria have likely embedded themselves in the silicone grip nodules. Add half a cup of baking soda directly to the washing machine drum during the wash cycle to neutralize the acidic pH of dried sweat.
Frequently Asked Questions
Can I use a pull-up assist band for squats?
Yes, but not by stepping on it. The 41-inch loop is too short to safely anchor under your feet for a front squat. Instead, loop the band over the top of a squat rack's pull-up bar and drape it over your traps (band-assisted squats) to teach bar path mechanics, or use it for reverse band squats to accommodate the strength curve.
How often should I replace my pull-up assist bands?
Under heavy use (4+ days a week), expect to replace natural latex bands every 8 to 12 months. Synthetic elastomer blends may last up to 18 months. If the band loses its recoil speed or shows white stress lines near the choke hitch, retire it immediately to avoid snap-back injuries.
Is it safe to wash my mat in the dishwasher?
Absolutely not. Dishwashers use water temperatures exceeding 140°F (60°C) and highly caustic alkaline detergents. This will melt the adhesive layers of TPE mats and instantly warp PVC mats beyond repair.
Final Setup Checklist
Your home gym is now fully operational. You have successfully rigged your vertical pulling station with the correct tension matrix for your body weight, and you have established a safe, material-specific hygiene protocol for your floor recovery zone. Remember: proper installation and meticulous maintenance are the hallmarks of a serious athlete. Treat your gear with respect, and it will support your progression for years to come.
More gear to consider
All reviews
Speed, Weighted, Beaded Jump Rope Setup & Jade Harmony Yoga Mat Sale

Yoga Blocks, Straps & Typical Yoga Mat Thickness: Value Guide

Therabody Yoga Mat & Stability Ball vs BOSU Ball 2026 Trends

Loop vs Tube Bands: Space Layouts & Lululemon Foldable Yoga Mat
Exercise Ball Size Guide & Care: Stability Balls vs. Prada Yoga Mat