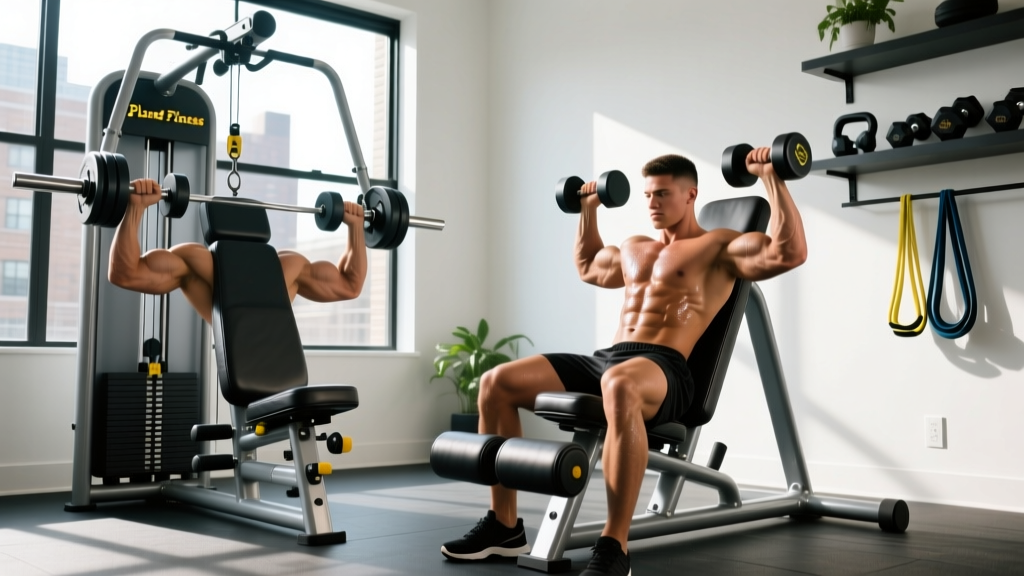
Preacher Bench Setup: Planet Fitness Biceps Curl Machine vs Home Gear
Master your home gym with our preacher curl bench buying guide and installation walkthrough, comparing home pads to commercial gym machines.

Why Transition from Commercial Machines to a Home Preacher Bench?
Many lifters begin their arm-building journey on the standard biceps curl machine Planet Fitness locations stock in their facilities. These commercial selectorized machines—often manufactured by Hammer Strength or Matrix—utilize a fixed cam system and a rigid pad angle to isolate the biceps brachii and brachialis. While excellent for beginners, advanced lifters quickly outgrow the fixed biomechanical path of these machines. Transitioning to a dedicated home preacher curl bench and pad setup allows for micro-adjustments in grip width, free-weight stabilization, and customizable pad angles that commercial machines simply cannot replicate.
In this comprehensive 2026 buying guide and complete setup walkthrough, we will break down exactly what to look for when purchasing a home preacher bench, compare it to the commercial gym experience, and provide a masterclass in assembling and installing your equipment for maximum safety and longevity.
According to kinesiology data published by ExRx.net, the preacher curl pad places the shoulder in flexion while strictly immobilizing the humerus, shifting the mechanical tension heavily onto the distal biceps tendon and the brachialis. Proper pad angle is critical to prevent elbow hyperextension at the bottom of the movement.
Preacher Curl Bench and Pad Buying Guide: 2026 Specs
Before unboxing a single bolt, you need to ensure you are buying the right equipment. A poorly designed preacher pad can cause severe elbow impingement. When shopping for a standalone bench or a power rack attachment, prioritize these three specifications:
- Pad Angle and Geometry: The ideal preacher pad features a 45-degree to 60-degree incline. Pads that are too vertical (70+ degrees) shift the tension away from the biceps at the top of the contraction, while pads that are too flat turn the movement into a modified spider curl.
- Foam Density and Vinyl Thickness: Look for high-rebound polyurethane foam wrapped in at least 1000-denier vinyl. Memory foam compresses too much under heavy loads, causing your elbows to sink and altering your joint alignment.
- Steel Gauge and Base Footprint: A standalone bench must feature a wide, T-bar or H-bar base footprint constructed from 11-gauge or 12-gauge steel to prevent tipping when loading heavy EZ-curl bars.
Top Home Gym Preacher Benches Compared
| Brand & Model | Type | Pad Angle | Steel Gauge | Approx. Price (2026) |
|---|---|---|---|---|
| Titan Fitness Preacher Bench | Standalone | 45 Degrees | 12-Gauge | $249.00 |
| Rep Fitness PR-4000 Attachment | Rack Mount | Adjustable | 11-Gauge | $169.00 |
| Valor Fitness CB-13 | Standalone | 55 Degrees | 12-Gauge | $139.00 |
Complete Setup and Installation Walkthrough
Proper installation is non-negotiable. A wobbly preacher bench will ruin your mind-muscle connection and pose a severe tipping hazard. Below is the step-by-step installation workflow for a standard standalone preacher curl bench.
Phase 1: Hardware Inventory and Base Framing
- Organize Your Hardware: Lay out all M10 and M12 carriage bolts, flat washers, lock washers, and nylock nuts. Most 2026 models use M10x80mm bolts for the main frame and M8x30mm bolts for the pad mounting plates.
- Assemble the Base T-Bar: Connect the front and rear stabilizer feet to the main vertical spine. Insert the carriage bolts through the pre-drilled holes. Ensure the square neck of the carriage bolt seats flush into the square steel punch.
- Install Leveling Feet: Thread the rubber leveling feet into the base plates. Do not fully tighten them yet; you will adjust these in the final phase to account for uneven garage gym flooring.
Phase 2: Seat Track and Pad Mounting
- Attach the Seat Slider: If your model includes an adjustable seat, mount the UHMW (Ultra-High-Molecular-Weight) plastic liners to the track. These liners reduce metal-on-metal friction. Apply a light coat of silicone lubricant to the track before inserting the seat carriage.
- Mount the Arm Pad Brackets: Secure the dual side-brackets to the top of the main spine. Use a digital protractor to verify the bracket angle sits exactly at 45 or 55 degrees, depending on your purchased model.
- Secure the Vinyl Pad: Align the pre-drilled holes on the back of the preacher pad with the brackets. Use the M8x30mm bolts with wide flat washers to distribute the clamping force. Warning: Do not overtighten these bolts, or you will crush the internal polyurethane foam and cause the vinyl to tear over time.
Phase 3: Torque Specifications and Final Calibration
According to equipment safety guidelines outlined by the National Strength and Conditioning Association (NSCA), regular maintenance and proper torque application are vital for preventing structural fatigue in resistance training equipment.
- Main Frame Bolts (M10/M12): Use a torque wrench set to 45-50 ft-lbs. This ensures the nylock nuts are fully engaged without stripping the steel threads.
- Pad Mounting Bolts (M8): Hand-tighten with a standard ratchet until snug, then add exactly one-quarter turn.
- Leveling: Sit on the bench with a loaded 45lb EZ-curl bar resting on the pad. Have a partner check for wobble. Adjust the rubber leveling feet until the base is 100% flush with your rubber gym mats.
Troubleshooting Common Installation Edge Cases
Even with meticulous assembly, home gym equipment can present unique challenges. Here is how to troubleshoot the most common preacher bench installation failures:
1. The Pad Pinches the Vinyl When Adjusting
If your adjustable pad squeaks or pinches the vinyl cover when changing angles, the pivot bolt is likely over-torqued, causing the metal brackets to bind against the pad backing. Loosen the pivot bolt by two full turns, apply white lithium grease to the metal-on-metal contact points, and re-tighten until there is zero lateral play but smooth rotational movement.
2. The Seat Slider Gets Stuck Mid-Track
This is almost always caused by metal shavings left over from the factory drilling process. Remove the seat carriage, wipe down the steel tracks with a degreaser, and inspect for burrs. Use a fine-grit metal file to smooth out any manufacturing defects, wipe clean, and reapply silicone spray.
3. Elbow Pain at the Bottom of the Rep
If you experience sharp distal bicep tendon pain at the bottom of the curl, your pad angle is too steep for your specific limb length. While you cannot bend the steel frame, you can alter the effective angle. Purchase a high-density foam wedge or fold a thick microfiber towel and place it at the top third of the pad. This slightly elevates your armpits and reduces the extreme stretch at the bottom of the eccentric phase, mimicking the more forgiving cam profile of the biceps curl machine Planet Fitness provides.
Maintenance and Pad Care for Longevity
To ensure your preacher bench lasts through years of heavy arm days, implement a strict maintenance schedule. Wipe down the vinyl pad after every session with a pH-neutral cleaner; sweat acidity will degrade the vinyl stitching within 18 months if left untreated. Every six months, inspect the nylock nuts on the main spine for vibration loosening and re-torque to 45 ft-lbs. For a deep dive into optimizing your home gym layout and equipment care, resources like Garage Gym Reviews offer extensive databases on long-term equipment durability and maintenance protocols.
By carefully selecting the right pad geometry, meticulously following torque specifications during assembly, and maintaining your hardware, your home preacher curl setup will easily outperform the fixed-path commercial machines found in big-box gyms.
More gear to consider
All reviews
Unilateral Bicep Curl Machine & Preacher Bench Setup Guide

Troubleshooting EZ Bar, Straight Bar & Nautilus Biceps Curl Machine
Training for Infrared: A Tactical Operator’s Guide to Thermal Detection, Avoidance, and Countermeasures
Life Fitness Bicep Curl Machine & Tricep Extension Guide

Forearm Guide: Beyond the Bicep Curl Machine Planet Fitness
