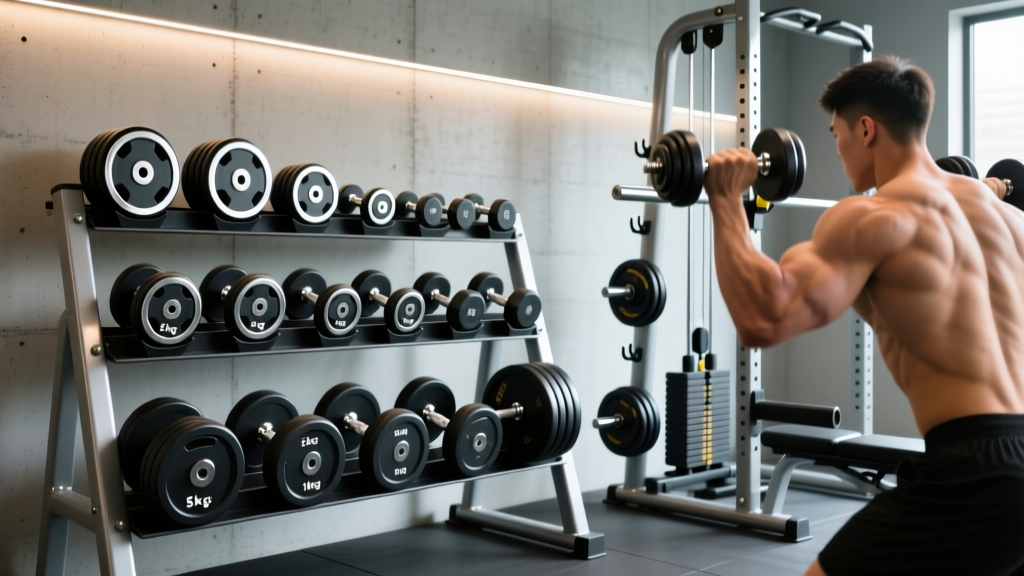
Home Gym Setup: Plate Types & Correct Dumbbell Press Form
Master your home gym setup with our Olympic vs standard plate guide, storage installation tips, and a breakdown of correct dumbbell press form.

The Foundation: Olympic vs. Standard Plate Installation
Building a resilient home gym in 2026 requires more than just buying iron; it demands a strategic approach to equipment compatibility, spatial planning, and biomechanical safety. The most critical fork in the road for any garage gym owner is choosing between Olympic (2-inch) and Standard (1-inch) weight plates. This decision dictates not only your barbell and dumbbell options but also your storage infrastructure and floor layout.
Dimensional and Material Breakdown
Standard plates feature a 25.4mm (1-inch) center hole, designed for lightweight, entry-level bars and adjustable dumbbell handles. While budget-friendly—typically running $1.00 to $1.50 per pound for cast iron models like the CAP Barbell A1 series—they suffer from severe load limitations. Standard bars often experience catastrophic sleeve bending or snapping when loaded beyond 200 lbs.
Conversely, Olympic plates utilize a 50.4mm (2-inch) hub, pairing with high-tensile steel bars capable of handling 1,000+ lbs. According to Rogue Fitness specifications for Olympic bumper plates, modern urethane and virgin rubber Olympic plates are calibrated to within 1% of their stated weight, dropping safely onto reinforced rubber flooring without shattering. Expect to pay a premium for this durability, with urethane Olympic plates stabilizing around $3.50 to $4.50 per pound in the current 2026 market.
Step-by-Step Plate Storage Installation Walkthrough
Improperly installed plate storage is a leading cause of home gym property damage and injury. Whether you opt for a wall-mounted tree or a freestanding A-frame, the installation must account for dynamic loading (the shockwave of dropping a 45-lb plate onto a peg).
Wall-Mounted Tree Installation Protocol
- Locate Structural Supports: Use a magnetic stud finder to locate wooden wall studs, which are typically spaced 16 inches on-center (OC) in standard residential construction.
- Mark and Drill Pilot Holes: Align the mounting bracket. Drill pilot holes using a 7/32-inch drill bit. This prevents splitting the stud when driving heavy hardware.
- Drive Lag Bolts: Secure the bracket using 3/8-inch x 3-inch hex-head lag bolts. Use a socket wrench to drive them until the washer bites into the steel bracket, ensuring zero lateral play.
- Test Load Progressively: Load the pegs symmetrically, starting with 45 lbs and increasing by 90 lbs increments, checking for drywall stress fractures or bolt deflection.
Spatial Planning: The Dumbbell Press Zone
Once your heavy plates are safely racked, you must configure the adjacent floor space for free-weight movements. A standard commercial bench measures 17 inches wide by 45 inches long. However, for pressing movements, you need a minimum of 24 inches of lateral clearance on both sides to accommodate elbow drop and spotter access. Ensure your plate tree is positioned at least 4 feet away from the head of the bench to prevent accidental collisions during heavy sets.
Biomechanics & Execution: Correct Dumbbell Press Form
With your gym layout optimized, it is time to address the cornerstone of upper-body hypertrophy. Transitioning from barbells to dumbbells requires a nuanced understanding of joint mechanics. Mastering correct dumbbell press form mitigates anterior shoulder impingement while maximizing pectoral recruitment. As outlined by ExRx.net's biomechanical breakdown of the dumbbell bench press, the movement relies on a converging path rather than a strictly vertical bar path.
The Setup and Knee-Kick
When handling heavy adjustable dumbbells (such as 70-lb Nuobells or PowerBlocks), never attempt to curl the weights into position. Sit on the bench, rest the dumbbell heads on your thighs, and use a sequential 'knee-kick' to drive the weights to your shoulders as you simultaneously roll backward into a supine position.
Scapular Retraction and Arch
Pinch your shoulder blades together and down (scapular depression and retraction). This creates a stable shelf on the bench and protects the rotator cuff. Maintain a slight, natural arch in your thoracic spine, keeping your glutes and upper back in contact with the pad.
The Descent and Press
Lower the weights with a 2-second eccentric tempo. Your elbows should tuck at a 45 to 60-degree angle relative to your torso—never flaring out to 90 degrees, which places extreme shear stress on the acromioclavicular joint. Press the weights upward and slightly inward, stopping just short of clanking the dumbbells together to maintain constant tension on the pectoralis major.
Troubleshooting Matrix: Form Faults & Equipment Fixes
| Common Fault | Biomechanical Risk | Equipment / Setup Adjustment |
|---|---|---|
| Elbows flaring to 90° | AC joint impingement, pec tear risk | Lower the bench incline by 5-10°; use lighter dumbbells to enforce a 45° tuck. |
| Wrist hyperextension | Distal radius strain, power leakage | Stack the handle directly over the forearm bone; use wrist wraps for 50lb+ sets. |
| Glutes lifting off pad | Lumbar hyperextension, spinal shear | Adjust foot placement wider; ensure bench height allows flat feet (17-18 inches). |
Long-Term Equipment Maintenance
Maintaining your free-weight ecosystem ensures longevity and safety. For standard cast iron plates, inspect the center holes annually for rust buildup that can alter the 1-inch tolerance and scratch your dumbbell handles. Wipe down Olympic urethane plates with a mild, non-corrosive cleaner to prevent dust accumulation in the grip grooves. Finally, routinely check the tightening collars on your adjustable dumbbells; vibration from heavy pressing sets can slowly loosen internal locking mechanisms over time. By integrating robust storage installation with strict adherence to ACE Fitness exercise library guidelines for pressing mechanics, your home gym will remain a safe, high-performance environment for years to come.
More gear to consider
All reviews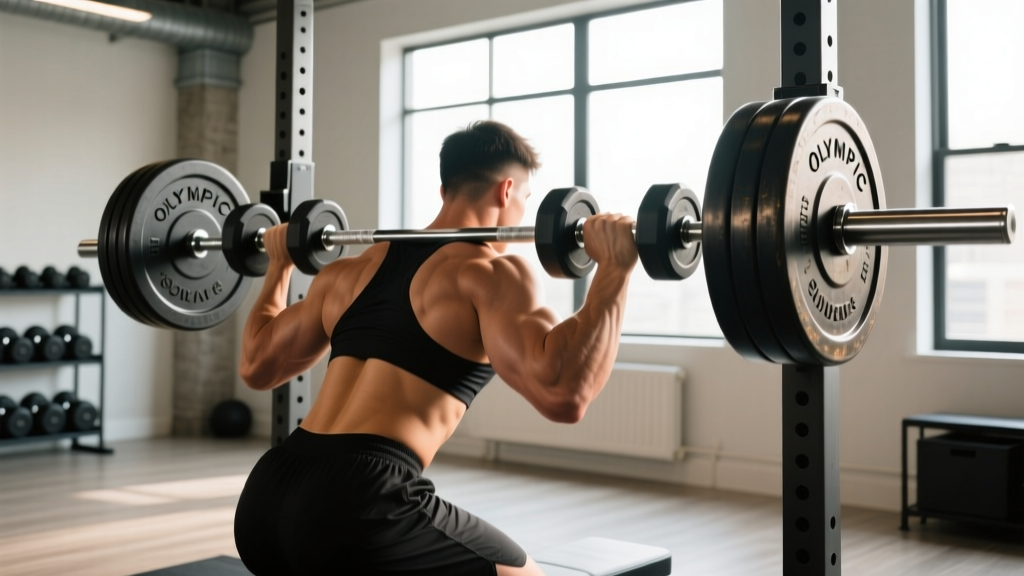
T Bar Rows With Dumbbells: Olympic vs Standard Plates

Bent Over Dumbbell Reverse Fly: Best Loadable Picks 2026

Long Dumbbell vs Olympic Barbell: Beginner Guide to Weight & Knurling

EZ Curl vs Straight Bar Comparison: Care & Leg Extension with Dumbbell

Loadable Dumbbell Care for Rear Delt Workouts with Dumbbells
