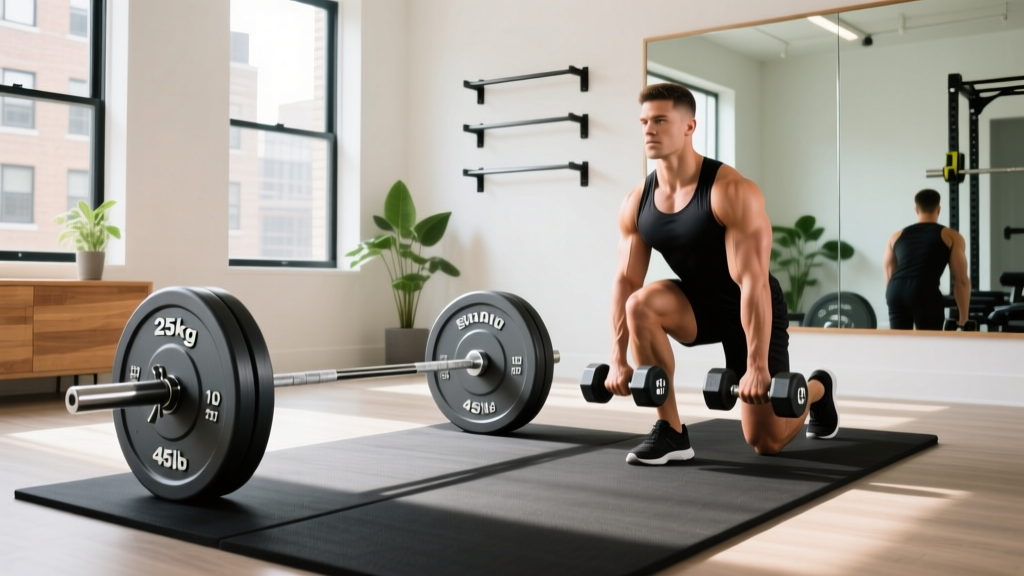
Olympic vs Standard Plates Setup & Dumbbell Lunges Workout Guide
Master your home gym setup with our Olympic vs standard plate installation walkthrough, followed by a space-testing dumbbell lunges workout.

The Home Gym Blueprint: Navigating Weight Plate Standards
Building a functional home gym in 2026 requires more than just purchasing iron; it demands a strategic approach to spatial planning, load-bearing installation, and equipment interoperability. The most fundamental fork in the road for any home gym owner is choosing between Standard (1-inch) and Olympic (2-inch) weight plate systems. This decision dictates your barbell compatibility, storage footprint, and long-term upgrade path.
However, installing heavy iron racks and plate trees is only half the battle. Once your storage is anchored and your floor space is mapped, you must stress-test the layout's flow and flooring impact absorption. The ultimate spatial and structural test for any new home gym setup is a high-volume dumbbell lunges workout. This movement demands maximum floor clearance, tests the shock absorption of your newly laid mats near the plate racks, and utilizes the adjacent adjustable dumbbell station. Below is your complete setup walkthrough and the shake-down workout to validate your new space.
Core Specifications: Standard vs. Olympic Plates
Before unboxing your hardware, you must understand the mechanical differences between the two primary plate standards. Standard plates are generally aimed at casual, entry-level home setups, while Olympic plates are the universal standard for serious strength training and commercial facilities.
| Feature | Standard (1-Inch) | Olympic (2-Inch / 50mm) |
|---|---|---|
| Hole Diameter | 1 inch (25.4mm) | 2 inches (50mm) |
| Bar Sleeve Compatibility | Standard threaded or smooth bars | Olympic barbells and specialty bars |
| Max Load Capacity | ~200-300 lbs (bar dependent) | 1,000+ lbs (plate and bar dependent) |
| 2026 Avg. Price Per Pound | $1.00 - $1.80 | $2.50 - $8.00+ (Urethane/Calibrated) |
| Common Materials | Cement-filled vinyl, basic cast iron | Cast iron, rubber, urethane, bumper |
| Dimensional Accuracy | Low (varies by manufacturer) | High (IWF standard 450mm diameter for bumpers) |
According to BarBend's comprehensive weight plate buyer's guide, Olympic plates offer superior durability and calibrated accuracy, making them the only viable choice for drop-heavy movements like Olympic lifts or high-volume CrossFit WODs. Standard plates, particularly cement-filled ones, are prone to cracking and volume-shifting over time.
Step-by-Step Installation & Storage Walkthrough
Proper installation of your plate storage is critical for safety. A fully loaded plate tree can easily exceed 500 pounds, creating a severe tipping hazard if not secured correctly.
- Select the Storage Apparatus: For floor storage, the Rogue Fitness Monster Utility Tree (approx. $195) offers heavy-duty 2x3-inch steel uprights. For space-saving setups, the Titan Fitness Wall Mount Plate Storage (approx. $65) is ideal.
- Locate Structural Studs: Never mount a wall plate rack into drywall. Use a magnetic stud finder to locate the center of 16-inch or 24-inch on-center wooden studs, or use toggle bolts rated for 250+ lbs if mounting into concrete.
- Anchor with Proper Hardware: For wall mounts, use 3/8-inch x 3-inch structural lag screws. Pre-drill a 1/4-inch pilot hole to prevent splitting the wood stud. Torque the lag screws until the washer bites into the steel bracket, but avoid over-torquing which can strip the wood.
- Organize by Biomechanical Load: Load the heaviest plates (45 lb / 20 kg) on the lowest, longest pegs to keep the center of gravity near the floor. Place 2.5 lb and 5 lb fractional plates on the shortest, highest pegs to prevent wrist strain when retrieving them.
- Establish the 'Drop Zone': Ensure a minimum 3-foot clearance radius around the plate tree. This prevents tripping hazards when loading heavy 45-pound plates onto a barbell resting on the floor.
Spatial Mapping and Flooring Requirements
Expert Warning: Subfloor ProtectionDropping a loaded 45lb cast-iron Olympic plate directly onto a concrete garage floor will chip the concrete and fracture the plate. You must install a dedicated lifting platform or interlocking rubber mats. For general use, 3/4-inch thick vulcanized rubber horse stall mats (typically $50-$70 per 4x6 sheet) provide the necessary density (approx. 72 lbs per cubic foot) to disperse kinetic energy without bottoming out.
When mapping your gym, place the Olympic plate tree in a corner or against a load-bearing wall, leaving the center of the room open for dynamic movements. This open floor plan is exactly what you will need for the validation test: walking lunges.
The Shake-Down Test: Dumbbell Lunges Workout
Why use a dumbbell lunges workout to test your new gym setup? Lunges require extensive linear clearance (up to 8-10 feet of walking space), test the grip strength required to handle your newly organized adjustable dumbbells (like the PowerBlock Pro 50 or Nuobell 80), and evaluate the shock absorption of your flooring under dynamic, unilateral loading. As noted in ExRx.net's biomechanical breakdown of the dumbbell lunge, this movement heavily targets the quadriceps and gluteus maximus while demanding intense core stabilization.
Phase 1: The Clearance Check (Walking Lunges)
- Equipment: Adjustable Dumbbells (20-30 lbs per hand to start).
- Execution: Start at the base of your plate tree. Take exaggerated steps forward, ensuring your back knee hovers exactly 1 inch above the rubber matting. Walk the length of your designated open space.
- Setup Validation: If you find yourself altering your stride to avoid bumping into a barbell sleeve or a bench, your spatial mapping needs adjustment. Move the storage racks further toward the perimeter.
Phase 2: The Flooring Stress Test (Reverse Lunges)
- Equipment: Heavier Adjustable Dumbbells (40-60 lbs per hand).
- Execution: Stand in the center of your drop zone. Step backward, dropping the rear knee forcefully but controlled onto the mat. The impact of the knee, combined with the downward force vector of the heavy dumbbells, will test the density of your rubber mats.
- Setup Validation: If you feel the concrete subfloor through the mat upon impact, your flooring is insufficient. You will need to add a layer of 1/2-inch plywood beneath the rubber mats to create a proper floating platform.
Phase 3: The Flow State (Alternating Lateral Lunges)
- Equipment: Moderate Dumbbells (30 lbs).
- Execution: Perform side lunges, stepping wide to the left and right. This tests the lateral clearance of your gym setup.
- Setup Validation: Ensure your plate tree pegs are not protruding into your lateral movement path. A protruding 10-inch Olympic sleeve holding 45lb plates is a severe laceration and impact hazard during lateral movements.
Edge Cases, Failure Modes, and Adapters
As you integrate your new plates and test the space, be aware of common equipment failure modes that plague home gyms.
The Adapter Trap: Many beginners attempt to save money by buying Standard (1-inch) plates and using 'Olympic to Standard' sleeve adapters on a 2-inch barbell. Avoid this. These adapters introduce 'slop' (lateral movement), alter the bar's balance point, and can crack under heavy eccentric loading. Always match the plate hole to the bar sleeve natively.
Bar Whip and Sleeve Bottoming
When loading Olympic plates for heavy squats or deadlifts, ensure the plates sit flush against the inner collar of the barbell sleeve. If you use standard plates on an Olympic adapter, the increased distance from the collar exacerbates 'bar whip' (the harmonic oscillation of the barbell), which can throw off your center of gravity during heavy squats. According to Rogue Fitness's official weight plate specifications, high-quality cast iron and urethane Olympic plates feature machined center holes with tight tolerances (usually within 0.5mm of 50mm) to ensure a flush, rattle-free fit on the sleeve.
Finalizing Your 2026 Home Gym Layout
Choosing Olympic plates and installing a heavy-duty storage tree is an investment in your long-term strength progression. By anchoring your storage securely, protecting your subfloor with high-density rubber, and validating your spatial flow with a rigorous dumbbell lunges workout, you ensure that your home gym is not just a collection of iron, but a highly optimized, safe, and functional training environment. Keep the center clear, respect the load limits of your hardware, and let the iron do the work.
More gear to consider
All reviews
Top Neoprene Dumbbells for Dumbbell Weight Lifting at Home (2026)

Barbell Collar Clamp Types: Safety Beyond Dumbbell Curls Form

Dumbbell Rack Care After a Men's Chest Workout with Dumbbells
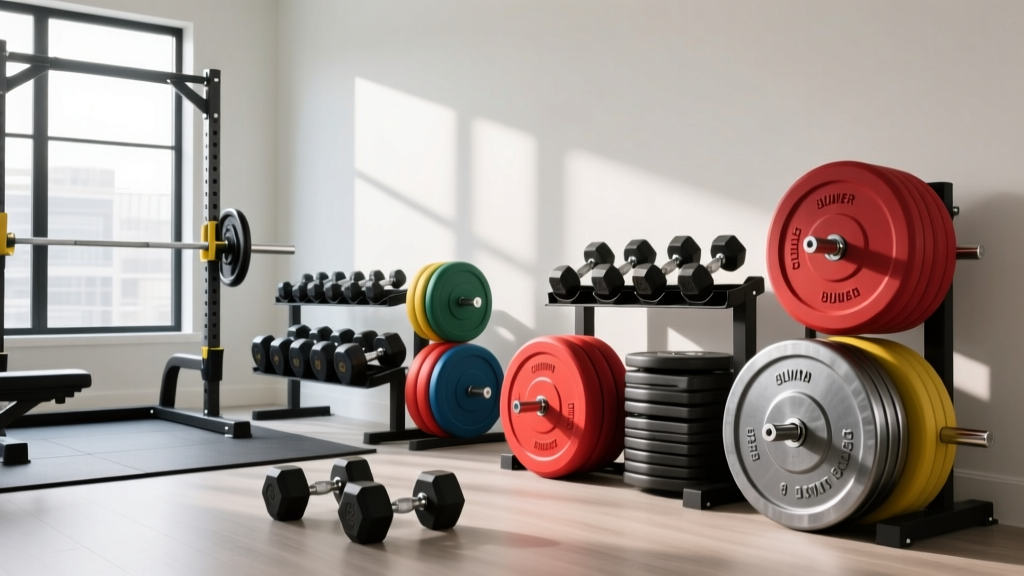
Bumper vs Iron Plates: Layouts for Good Back Exercises With Dumbbells
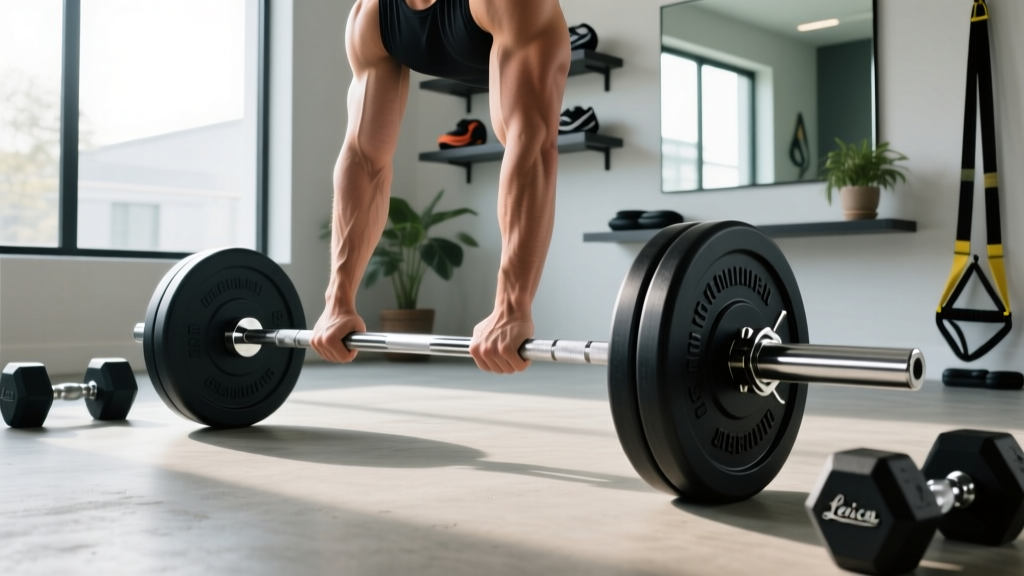
Olympic Barbell Guide: Weight, Knurling & Forearms Workout Dumbbells
