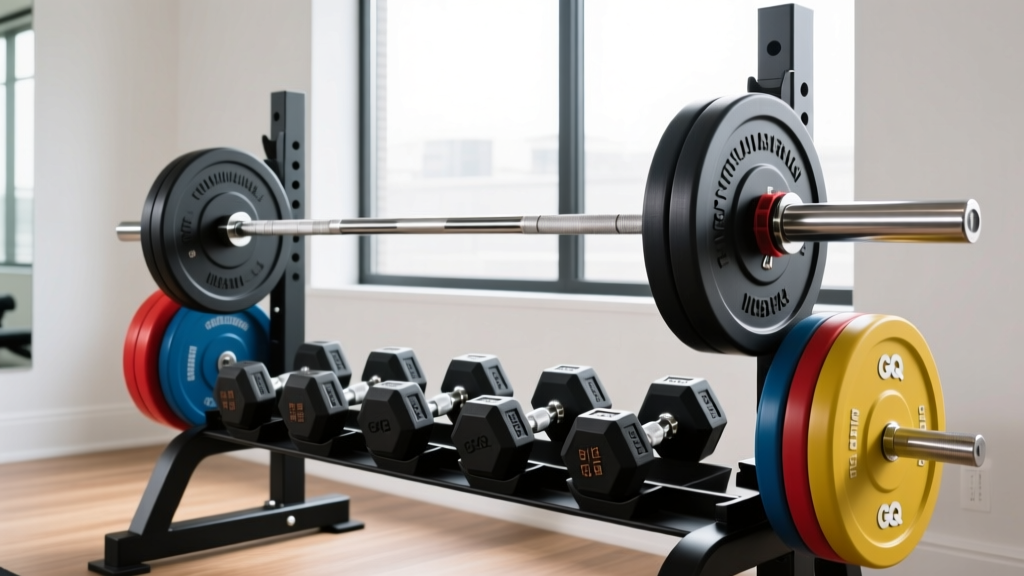
Olympic Barbell Setup: Weight, Knurling & Dumbbell Pull Aparts
Master your home gym setup with our Olympic barbell installation guide. Explore weight specs, knurling profiles, and floor planning for dumbbell pull aparts.

Phase 1: Unboxing and Inspecting Barbell Weight & Specs
Setting up a home gym in 2026 requires precision, and the centerpiece of your free weight zone is the Olympic barbell. Before you even mount the bar on your power rack, you must verify its weight classification, shaft diameter, and tensile strength. Most commercial and home gym setups rely on the standard 20kg (44.09 lb) men's Olympic barbell, featuring a 28mm to 29mm shaft diameter. However, for lifters with smaller hands or those focusing on high-rep Olympic lifting, the 15kg (33.07 lb) women's bar with a 25mm shaft is a critical alternative.
Tensile Strength & PSI Benchmarks
When inspecting your newly delivered barbell, check the manufacturer's spec sheet for tensile strength, measured in PSI (pounds per square inch). Never settle for less than 190,000 PSI. Bars rated at 190k PSI (like standard multi-purpose bars) will support roughly 600-700 lbs before permanent deformation. High-end weightlifting bars often push 215,000+ PSI, ensuring the bar returns to perfect straightness even after heavy, dynamic drops.
Another vital setup consideration is the internal mechanism. If your training involves heavy, slow squats and bench presses, ensure your bar utilizes bronze bushings. If your setup is geared toward the snatch and clean & jerk, you need needle bearings for faster, smoother sleeve rotation. For a comprehensive look at industry-standard shaft tolerances, reviewing the engineering specs on the Rogue Ohio Bar product page provides an excellent baseline for what a premium 190k PSI multi-purpose bar should look like.
Phase 2: Decoding the Knurl (The Grip Factor)
The knurling pattern dictates your grip security and skin integrity. During your installation walkthrough, run your hands across the shaft to identify the knurl profile. Manufacturers generally machine three distinct profiles, and choosing the right one depends on your primary lifts.
| Knurl Profile | Tactile Feel | Best Application | Example Model |
|---|---|---|---|
| Volcano | Aggressive but grippy; peaks are slightly rounded off after machine-cutting. | Powerlifting, heavy rows, multi-purpose use. | Rogue Ohio Bar |
| Mountain | Sharp, prominent peaks that dig into the calluses. | Heavy deadlifts, strongman events. | Rep Fitness Excalibur |
| Hill | Passive, smooth, and wide peaks. Very forgiving on the skin. | High-rep conditioning, Olympic lifting, beginners. | Eleiko Sport Training Bar |
Setup Tip: If you are purchasing a barbell for a shared home gym, a "Volcano" knurl with a Cerakote or stainless steel finish offers the best compromise between grip aggression and rust resistance. You can explore premium finish options and bearing configurations by browsing the Eleiko barbell catalog, which sets the global standard for Olympic weightlifting knurl tolerances.
Phase 3: Rack Installation & Barbell Mounting
With the barbell inspected, it is time to integrate it into your power rack or squat stand. Proper installation ensures safety and extends the lifespan of your equipment's UHMW plastic J-cup liners.
- Set J-Cup Heights: Stand inside the rack with the empty barbell resting on your upper back (for squats) or at your wrist height (for benching). The J-cups should be set exactly one hole below your natural unracking height to prevent excessive calf/knee flexion when lifting the bar off the hooks.
- Install Safety Spotter Arms: For the squat, set the safeties exactly 2 to 3 inches below the bottom of your deepest squat position. This allows you to dump the bar safely without having to collapse your spine.
- Center the Barbell: Mount the bar on the J-cups. Ensure the smooth sleeve rings are perfectly equidistant from the inside edges of the J-cups. This guarantees balanced loading when you start sliding 45-lb bumper plates onto the sleeves.
Phase 4: Accessory Zone Setup & Dumbbell Pull Aparts
A complete gym setup extends beyond the barbell and rack. Heavy barbell pressing and squatting create massive anterior chain dominance and internal shoulder rotation. To maintain structural balance and prevent rotator cuff impingements, you must dedicate floor space behind or adjacent to your rack for posterior chain prehab.
This is where programming dumbbell pull aparts becomes non-negotiable. While band pull aparts are common, executing dumbbell pull aparts (essentially a bent-over rear deltoid fly with a focus on scapular retraction) forces the rhomboids, mid-traps, and rear delts to stabilize an independent, gravity-loaded vector.
Space Planning for Accessory Movements
Ensure you leave a minimum of a 4x6 foot rubber matted zone directly behind your power rack. Keep a pair of 15 lb to 25 lb hex dumbbells in this zone. Hex dumbbells are mandatory here so they do not roll away when dropped between sets of heavy barbell rows or squats.
Execution and Biomechanics
To properly integrate this movement into your new setup, follow the biomechanical guidelines for posterior deltoid and upper back isolation. According to the exercise databases maintained by ExRx.net for rear deltoid fly variations, the hinge angle and scapular movement are critical:
- The Hinge: Hinge at the hips until your torso is nearly parallel to the floor. Keep a neutral spine.
- The Pull Apart: With a slight bend in the elbows, pull the dumbbells apart and upward, focusing entirely on crushing the shoulder blades together at the apex.
- The Tempo: Use a 2-1-2 tempo (2 seconds concentric, 1 second isometric squeeze, 2 seconds eccentric). Do not use momentum.
Superset your heavy barbell bench press sets with 15 reps of dumbbell pull aparts using 20 lb hex dumbbells. This active recovery keeps the shoulder joint stabilized and flushes lactic acid from the chest while reinforcing the upper back.
Phase 5: Ongoing Maintenance Checklist
Your installation is complete, but a 2026 home gym requires strict maintenance to protect your investment. Chalk and dead skin will quickly pack into the knurling valleys, turning an aggressive volcano knurl into a smooth, slippery hill.
- Weekly: Scrub the knurling with a stiff nylon brush and a few drops of 3-in-1 oil or mineral oil. Never use WD-40, as it degrades the internal bushing lubricants.
- Monthly: Inspect the sleeve snap rings or end caps. If you notice excessive lateral sleeve play (more than 2mm of side-to-side wiggle), contact the manufacturer for replacement bushings.
- Quarterly: Check the tightness of your rack's structural bolts, as the vibration from dropping bumper plates can slowly back out hardware over time.
"A properly installed and maintained barbell station is the anchor of any serious training facility. By pairing precise barbell specs with dedicated accessory zones for movements like dumbbell pull aparts, you build a gym that supports both maximal strength and long-term joint longevity."
More gear to consider
All reviews
Home Gym Setup: Plate Types & Correct Dumbbell Press Form

Olympic Barbell Guide: Weight, Knurling & Lat Pulls with Dumbbells
Olympic vs Standard Plates: Neutral Grip Dumbbell Shoulder Press Guide
Bumper vs Iron Plates: Space Layouts for a 30 Day Dumbbell Workout

Beyond Starting Dumbbell Weight: Barbell Collar Clamp Mistakes
