
Barbell Weight & Knurling Guide: A Dumbbell Bicep Curl Alternative
Discover how to choose the right Olympic barbell weight and knurling to build the ultimate dumbbell bicep curl alternative station in your home gym.

Why an Olympic Barbell is the Ultimate Dumbbell Bicep Curl Alternative
When lifters experience elbow tendonitis, wrist supination fatigue, or a stubborn hypertrophy plateau on unilateral movements, they actively search for a reliable dumbbell bicep curl alternative. While cable machines and EZ-bars are common pivots, the straight-bar Olympic barbell curl remains the gold standard for overloading the biceps brachii, brachialis, and brachioradialis. However, transitioning from dumbbells to a 45-pound Olympic barbell introduces new biomechanical variables. Not all barbells are created equal, and using the wrong bar can lead to grip failure before your biceps reach muscular failure.
This comprehensive guide bridges the gap between equipment selection and physical gym setup. We will walk you through the critical buying criteria—specifically barbell weight, shaft diameter, and knurling patterns—and then provide a complete, step-by-step installation walkthrough to build a dedicated, safe barbell arm-isolation station in your home gym.
The Biomechanical Case: Straight Bar vs. Dumbbells
According to the ExRx Exercise Directory, the barbell curl forces both arms to move a single, fixed load along a strict sagittal plane. Unlike dumbbells, which allow the wrists to rotate into a comfortable semi-supinated position, a standard Olympic barbell locks the wrists into full supination. This places maximum mechanical tension on the short head of the bicep but heavily taxes the wrist extensors and forearm flexors.
Because your grip is the primary point of failure in this dumbbell bicep curl alternative, the physical dimensions of the barbell shaft and the aggressiveness of its knurling dictate the success of your workout. If the bar is too thick or the knurling is too abrasive, your central nervous system will limit force output to protect your hands, shortchanging your bicep development.
Decoding Barbell Weight and Shaft Diameter for Arm Isolation
Standard Olympic barbells weigh 20kg (44 lbs), which serves as the baseline starting weight. For advanced lifters, this is a warm-up, but for those transitioning from 15-pound dumbbells, the empty bar provides substantial initial tension. The more critical metric for arm isolation is the shaft diameter.
| Shaft Diameter | Bar Type | Grip Fatigue Level | Suitability for Bicep Curls |
|---|---|---|---|
| 28.0mm | Olympic Weightlifting | Low | Excellent (High whip, easy grip) |
| 28.5mm | Multi-Purpose / CrossFit | Medium | Optimal (Best balance of stiffness & grip) |
| 29.0mm | Powerlifting | High | Poor (Causes premature forearm failure) |
For a dedicated home gym setup in 2026, a 28.5mm multi-purpose bar like the Rogue Ohio Bar (retailing around $225–$245 depending on the coating) is the ideal investment. It provides enough rigidity to prevent excessive 'whip' during strict curls, while remaining narrow enough to prevent grip fatigue during high-rep hypertrophy sets (8–15 reps). Avoid 29mm power bars like the Rep Fitness EXF; the thicker shaft will force your forearms to give out long before your biceps are fully stimulated.
The Knurling Matrix: Finding the Right Bite for High-Rep Curls
Knurling is the CNC-machined crosshatch pattern on the barbell shaft. It is categorized by the depth and shape of the grooves, which directly impact skin traction and callus management. When performing a heavy barbell curl alternative, sweaty palms can cause the bar to roll down the fingers, risking a dropped load on the thighs or floor.
The 3 Primary Knurl Profiles
- Hill (Generic/Budget): Shallow, rounded peaks. Found on sub-$150 import bars. Offers zero grip security when hands sweat. Verdict: Avoid.
- Mountain (Aggressive): Sharp, deep peaks (e.g., Eleiko Olympic WL Bar, ~$945). Bites deeply into the skin. Excellent for heavy deadlifts, but will tear palm calluses during high-volume arm work. Verdict: Use with caution.
- Volcano (Medium/Moderate): The peaks are machined flat, creating a crater-like rim that grips the skin without piercing it. Pioneered by Rogue Fitness and widely adopted by premium brands in 2026. Verdict: Ideal for arm isolation.
As detailed in the BarBend Barbell Knurling Guide, the volcano pattern provides the necessary friction to secure a full-supination grip without requiring excessive crushing force from the forearm flexors. This ensures the biceps remain the limiting factor in your sets.
Complete Setup Walkthrough: Installing Your Barbell Arm Station
Selecting the right 28.5mm volcano-knurled barbell is only half the battle. To safely execute heavy barbell curls and drops, you must properly install a dedicated storage and lifting station. Dropping a 20kg steel bar from waist height can crack concrete or shatter floor tiles. Follow this precise installation walkthrough to prep your space.
Step 1: Spatial Planning and Flooring Installation
Identify a wall section with a minimum 6-foot horizontal clearance. You will be standing 2 feet away from the wall during curls, requiring a 4x6 foot impact zone.
- Subfloor Prep: Sweep and vacuum the concrete or wood subfloor to remove debris that could cause uneven wear.
- Matting Layout: Install 3/4-inch thick vulcanized rubber horse stall mats (typically 4x6 feet). Do not use thin foam puzzle mats; they will bottom out under the point-load of a dropped barbell sleeve.
- Seam Sealing: If using multiple mats, apply a bead of polyurethane construction adhesive between the seams to prevent the mats from separating when you step backward after a heavy set.
Step 2: Locating the Load Path (Stud Finding)
A fully loaded Olympic barbell can easily exceed 150 lbs. Your vertical barbell storage rack must be anchored directly into the structural framing of the wall, never just the drywall.
- Use a magnetic stud finder to locate the drywall screws, which indicate the center of the wooden studs.
- Standard US framing places studs 16 inches on-center (OC). Verify by finding two adjacent studs and measuring the distance.
- Mark the exact vertical centerline of two adjacent studs using a laser level.
Step 3: Mounting the Vertical Barbell Rack
For this setup, we recommend a wall-mounted vertical holder like the Rogue 3-Gun Vertical Bar Holder. This keeps the barbell sleeves off the floor, protecting the knurling from moisture and dust.
- Hold the rack bracket against your laser level marks. Mark the four pilot hole locations.
- Using a drill with a 1/4-inch wood bit, drill pilot holes to a depth of 3.5 inches. Pro Tip: Wrap a piece of painter's tape around the drill bit at the 3-inch mark to prevent drilling too deep and compromising the stud's integrity.
- Drive 3/8-inch x 3-inch structural lag screws (such as Simpson Strong-Tie SDS) through the bracket and into the studs using a 1/2-inch impact driver.
- Torque the screws until the washer seats flush against the steel bracket. Warning: Do not over-torque, as this will strip the pine or spruce stud, resulting in a catastrophic pull-out failure when removing a heavy barbell.
Step 4: Barbell Seating and Sleeve Care
Slide the barbell vertically into the rack. Ensure the rack's UHMW plastic liners are intact to prevent steel-on-steel contact, which degrades the bar's zinc or cerakote finish over time. Apply a few drops of 3-in-One oil to the sleeve bushings or bearings every 3 months to maintain smooth rotation during the concentric phase of the curl.
Execution: Transitioning from Dumbbells to the Barbell
Now that your station is installed and your 28.5mm barbell is properly stored, it is time to execute the movement. Stand with your feet shoulder-width apart, glutes engaged to prevent lower back hyperextension. Grip the bar just outside the smooth ring marks, ensuring the volcano knurling is fully engaged with your palm and fingers.
Coach's Note: When using a straight barbell as a dumbbell bicep curl alternative, keep your elbows pinned to your ribs. The fixed nature of the bar will tempt you to flare your elbows outward to recruit the front deltoids. Fight this urge to maintain strict isolation on the biceps brachii.
Troubleshooting Wrist Pain (Edge Cases)
If you experience medial or lateral epicondylitis (golfer's or tennis elbow) or sharp wrist pain due to the forced supination of the straight bar, do not abandon the barbell setup. Instead, utilize fat grips or slide an EZ-curl attachment onto the Olympic sleeves. The EZ-curl bar attachment allows for a semi-supinated grip while still utilizing the heavy 45-lb Olympic plates and the stable flooring/station you just installed, providing a joint-friendly compromise that still overload the muscle far beyond what standard dumbbells can offer.
More gear to consider
All reviews
Best Neoprene Dumbbells for 1 Dumbbell Chest Exercises (2026)

EZ Bar vs Straight Bar & Dumbbell Bench Press or Floor Press
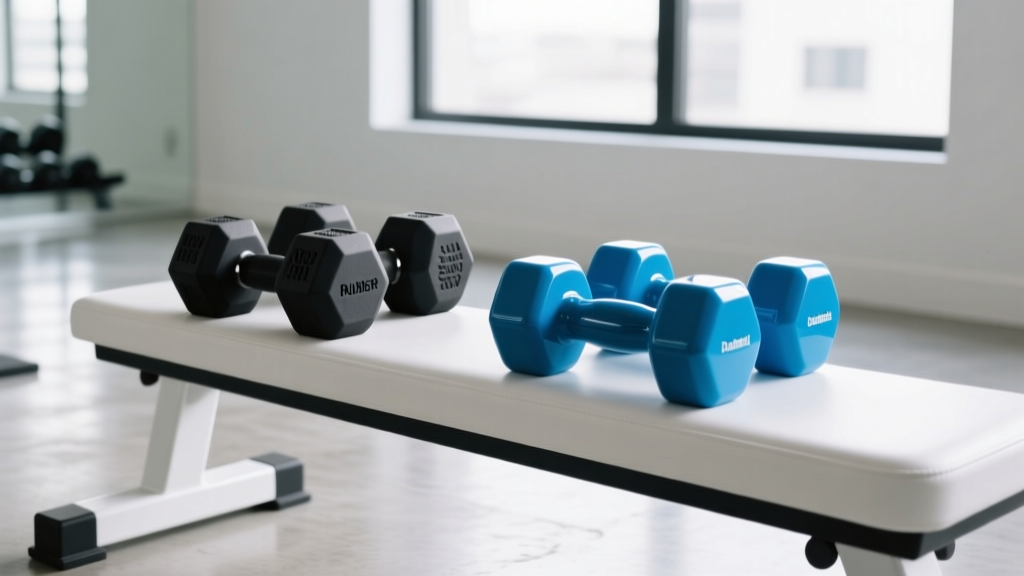
Rubber vs Urethane Dumbbells: Best Value for the Dumbbell Bench Row

Best Dumbbell Racks for Frontal Dumbbell Raise Setups 2026

Best Adjustable Dumbbells for Dumbbell Workouts for Traps
