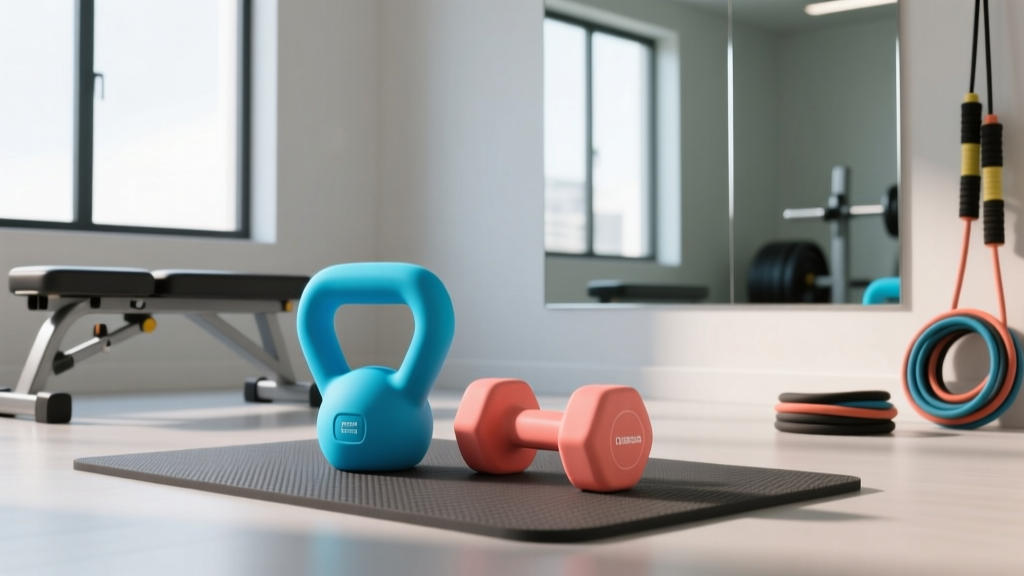
Neoprene Dumbbell Setup: Complete Arm Workout With Dumbbells For Home
Learn how to set up your home gym space with neoprene dumbbells and install a complete arm workout with dumbbells for maximum bicep and tricep growth.

Setting up a dedicated home training space requires more than just purchasing equipment; it demands a strategic installation of both your physical environment and your programming. When outfitting a home gym for upper-body isolation, the neoprene coated dumbbell for home use remains a top-tier choice. Its tactile grip, floor-safe exterior, and color-coded weight system make it ideal for high-volume isolation work. However, simply owning the gear is not enough. To achieve optimal hypertrophy, you must properly configure your training zone and install a structured routine. This walkthrough covers the complete hardware setup, spatial configuration, and the installation of a highly effective, biomechanically sound complete arm workout with dumbbells.
The Hardware: Selecting and Storing Neoprene Dumbbells
The first phase of your setup involves selecting the right neoprene dumbbells and an appropriate storage solution. Unlike bare cast iron or urethane, neoprene (polychloroprene) provides a slightly compressible, high-friction surface that excels in home environments where temperature and humidity fluctuate.
Equipment Specifications & Pricing
For a comprehensive arm setup, you need a minimum of three weight increments to accommodate the strength disparities between your biceps, triceps, and brachialis. We recommend the CAP Barbell Neoprene Hex Dumbbells or the Yes4All Neoprene Coated Hex Set. Both feature a 35mm handle diameter, which is optimal for grip engagement during heavy curls.
- Light Pair (10-15 lbs): Ideal for triceps kickbacks and lateral raises. (Avg. Cost: $25-$35 per pair)
- Medium Pair (20-25 lbs): Perfect for hammer curls and overhead extensions. (Avg. Cost: $45-$55 per pair)
- Heavy Pair (30-40 lbs): Necessary for supinating biceps curls and skull crushers. (Avg. Cost: $65-$85 per pair)
Expect to pay between $1.50 and $2.20 per pound for high-quality neoprene. Avoid ultra-cheap, off-brand options, as they often use a thinner 1mm coating that splits at the handle junction within months.
Storage Installation
Neoprene hex dumbbells will not roll, but leaving them scattered creates a tripping hazard and degrades the coating through foot traffic. Install a CAP Barbell 3-Tier A-Frame Rack (approx. $120) in the corner of your training zone. The A-frame design minimizes the footprint to just 2.5 square feet while keeping the weights at waist level, reducing spinal flexion during pickup.
Material Science Insight: Neoprene vs. UrethaneNeoprene registers around 60-70 on the Shore A durometer scale, making it significantly softer than urethane (85-90 Shore A). This softness provides superior grip friction when your hands are dry, but it acts as a sponge for sweat. If you are a heavy sweater, the neoprene can become slick during high-rep sets. Keep a microfiber towel within arm's reach to wipe the handles between sets to maintain peak friction coefficients.
Spatial Installation: Configuring Your Arm Training Zone
Arm training requires less overall square footage than squats or deadlifts, but it demands specific spatial considerations for safety and range of motion. You must clear a 6x6 foot zone centered around an adjustable weight bench.
Floor Protection & Bench Setup
While neoprene is gentler on hardwood and laminate than bare iron, repeated drops will still cause micro-fractures in your subfloor. Install 3/4-inch thick interlocking rubber horse stall mats (approx. $50 per 4x6 mat) beneath your bench. Set your adjustable bench to a 45-degree incline for long-head bicep stretching, and ensure you have at least 3 feet of clearance on either side to allow for unrestricted dumbbell arcs during triceps extensions.
The Software: Installing a Complete Arm Workout With Dumbbells
With the hardware installed, it is time to program the routine. According to the Centers for Disease Control and Prevention (CDC), adults should engage in muscle-strengthening activities that involve all major muscle groups at least two days a week. To maximize arm hypertrophy, we must target the biceps brachii (short and long heads), the brachialis, and all three heads of the triceps.
Below is the installation matrix for your complete arm workout with dumbbells. This routine utilizes antagonist supersets to maximize metabolic stress and cellular swelling (the 'pump') while keeping the workout under 45 minutes.
| Exercise | Target Muscle | Sets x Reps | Tempo | Rest |
|---|---|---|---|---|
| A1. Incline Supinating Curls | Biceps (Long Head) | 3 x 10-12 | 3-1-2-0 | 0s (Superset) |
| A2. Overhead DB Skull Crushers | Triceps (Long Head) | 3 x 10-12 | 3-0-1-0 | 90s |
| B1. Cross-Body Hammer Curls | Brachialis / Forearms | 3 x 12-15 | 2-0-2-0 | 0s (Superset) |
| B2. Neutral Grip DB Kickbacks | Triceps (Lateral Head) | 3 x 15-20 | 2-1-1-0 | 90s |
Execution Protocols & Biomechanical Nuances
To get the most out of this programming, you must adhere to the prescribed tempo. The American Council on Exercise (ACE) emphasizes that time under tension (TUT) is a primary driver of muscular adaptation. Here is how to execute the critical movements:
- Incline Supinating Curls (A1): Set your bench to 45 degrees. Let your arms hang straight down to fully stretch the long head of the bicep. As you curl, supinate (twist) your wrist so your pinky finger turns outward. The 3-second eccentric (lowering) phase is where the most muscle damage and subsequent growth occurs.
- Overhead DB Skull Crushers (A2): Use a single, heavier neoprene dumbbell held with both hands. Lower it behind your head rather than directly to your forehead. This maintains constant tension on the triceps long head and protects the elbow joint from sheer force.
- Cross-Body Hammer Curls (B1): Instead of curling straight up, curl the dumbbell across your torso toward the opposite shoulder. This shifts the mechanical load onto the brachialis, a muscle that sits under the bicep and pushes the bicep peak upward when developed.
Maintenance: Preventing Neoprene Degradation
Neoprene is highly durable, but it is susceptible to specific failure modes if not maintained correctly. The most common issue is seam splitting at the handle junction. This occurs when the acidic pH of human sweat breaks down the adhesive bonding the neoprene shell to the cast iron core, compounded by the mechanical torque of heavy hammer curls.
"To extend the lifespan of your neoprene coated dumbbells, never use bleach or ammonia-based cleaners. These harsh chemicals dry out the polychloroprene, leading to micro-cracking. Instead, wipe them down post-workout with a solution of warm water and a few drops of mild dish soap, followed by a dry microfiber cloth."
Furthermore, avoid leaving your dumbbells in direct sunlight. UV exposure degrades neoprene rapidly, causing the vibrant color-coding to fade and the surface to become brittle. As noted by Harvard Health Publishing, consistency is the cornerstone of strength training; protecting your equipment ensures your training environment remains safe and inviting for years to come.
Progressive Overload Installation
Once you can comfortably complete the upper end of the rep ranges (e.g., 3 sets of 12 on Incline Curls) with perfect tempo, it is time to upgrade your hardware. Move up to the next 5-pound increment in your rack. If your current neoprene set maxes out at 25 pounds, consider transitioning to a pair of adjustable dumbbells (like the Bowflex SelectTech 552) for your heavy compound movements, while keeping your neoprene pair for high-rep isolation and drop sets. By meticulously setting up your space and strictly following this complete arm workout with dumbbells, you will build a home training station that yields serious, measurable hypertrophy.
More gear to consider
All reviews
Cast Iron vs Competition Kettlebells & Dumbbell Exercises Sitting Down

Barbell Collar Comparison: Squats to Dumbbell Back Extension

Olympic Barbell Knurling & Setup for Proper Dumbbell Curl Form

Power Rack vs Squat Stand for Your Womens Full Body Dumbbell Workout

Maximizing Dumbbell Lunges Benefits: Adjustable Dumbbell Setup & 2026 Review
