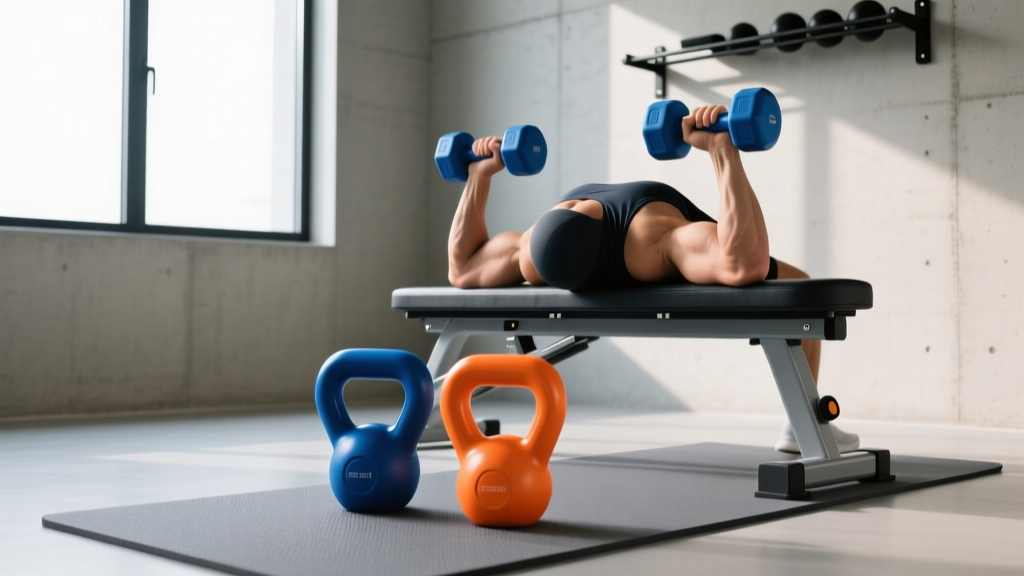
Neoprene Dumbbell Home Setup & Mastering Dumbbell Chest Press Form
Learn how to set up your neoprene dumbbell home gym station and master perfect dumbbell chest press form for maximum hypertrophy and joint safety.

The Home Gym Foundation: Environmental Setup for Neoprene Dumbbells
Transitioning to a home gym in 2026 often means prioritizing floor-friendly, low-odor equipment. Neoprene-coated hex dumbbells (like the popular Yes4All or CAP Barbell lines) have become the gold standard for residential spaces. However, simply buying the weights is only step one. A proper 'installation' involves spatial planning, bench ergonomics, and environmental controls to ensure safety and longevity.
Unlike commercial power racks that require lag-bolting into concrete joists, setting up a dedicated dumbbell pressing station requires precise clearance metrics to accommodate the biomechanics of the movement. According to the American Council on Exercise (ACE), adequate spatial awareness and unobstructed movement paths are critical for joint safety during free-weight pressing.
Station Installation & Clearance Metrics
- Bench Height: 16.5 to 18 inches (ensures flat foot placement for leg drive).
- Lateral Clearance: Minimum 24 inches on both sides of the bench for elbow drop and dumbbell kick-ups.
- Overhead Clearance: At least 12 inches above your maximum seated reach to allow for safe kick-backs.
- Flooring: Despite neoprene's soft exterior, dropping a 50 lb dumbbell from 3 feet will dent hardwood. Install 3/4-inch vulcanized rubber stall mats directly under the bench footprint.
Material Science: Caring for Neoprene Coatings
Neoprene (polychloroprene) is a synthetic rubber prized for its tactile grip and shock absorption. Most premium home-gym neoprene dumbbells feature a 3mm to 5mm outer layer with a Shore A durometer rating of roughly 60-70, providing a firm but forgiving grip. However, new neoprene requires an off-gassing period. The Environmental Protection Agency (EPA) notes that synthetic rubbers can emit Volatile Organic Compounds (VOCs) when first unboxed. Store your new dumbbells in a garage or well-ventilated patio for 7 to 10 days before bringing them into your primary living space.
| Material | Avg. Cost (per lb) | Floor Safety | Odor / Off-Gassing | Best Use Case |
|---|---|---|---|---|
| Neoprene (Hex) | $1.60 - $2.20 | High (Light/Med drops) | Moderate (7-10 days) | Living rooms, finished basements |
| Virgin Urethane | $3.50 - $5.00 | Very High | Minimal | Premium home gyms, commercial |
| Recycled Rubber | $1.20 - $1.80 | High | Severe (30+ days) | Garages, outdoor patios |
Step-by-Step: Dialing in Your Dumbbell Chest Press Form
Having the right equipment is meaningless without the right execution. Mastering your dumbbell chest press form is essential for targeting the pectoralis major while protecting the anterior deltoids and rotator cuff. As detailed in ExRx.net's biomechanical breakdown, the dumbbell press allows for a greater range of motion and natural wrist rotation compared to a barbell, but it demands strict stabilizer engagement.
The 5-Point Setup Sequence
- The Pickup and Kick-Up: Rest the dumbbells on your thighs just above the knees. Use your legs to 'kick' the weights back one at a time as you roll backward onto the bench. Never attempt to curl heavy dumbbells into position using only your biceps.
- Scapular Retraction and Depression: Pinch your shoulder blades together and pull them down toward your hips (imagine putting your shoulder blades into your back pockets). This creates a stable shelf on the bench and protects the AC joint.
- Foot Placement and Leg Drive: Plant your feet flat on the floor, slightly wider than shoulder-width. Your shins should be nearly vertical. Push through the floor to create full-body tension, transferring force from the ground through your torso.
- The 45-Degree Arm Angle: Do not flare your elbows out to 90 degrees (perpendicular to your torso), as this causes severe shoulder impingement. Tuck your elbows to roughly a 45-degree angle relative to your torso, aligning the weights over your mid-to-lower chest.
- Eccentric Control and Lockout: Lower the weights over 2-3 seconds until you feel a deep stretch in the pecs. Press upward and slightly inward, stopping just short of locking out the elbows to maintain continuous tension on the chest muscles.
Troubleshooting Common Form Breakdowns
Even experienced lifters develop bad habits when fatigued. Use this diagnostic guide to correct your dumbbell chest press form mid-set.
⚠️ Error: Bouncing at the Bottom
Fix: You are relying on the stretch reflex rather than muscular force. Implement a deliberate 1-second pause at the bottom of the eccentric phase before initiating the concentric press.
⚠️ Error: Asymmetrical Lockout
Fix: One arm is extending faster than the other, indicating a unilateral strength deficit. Switch to unilateral (single-arm) dumbbell presses for 3 weeks to correct the imbalance before returning to bilateral pressing.
Grip Width and Wrist Alignment
With neoprene hex dumbbells, the handle thickness is usually around 32mm to 35mm. Ensure your wrists remain completely neutral—stacked directly over your elbows. If your wrists bend backward (extension), you are leaking kinetic energy and risking carpal strain. Squeeze the neoprene handle tightly; the irradiation effect will increase neural drive to your chest and triceps.
Progressive Overload & Storage Solutions
To build muscle, you must systematically increase the stimulus. Because neoprene dumbbell sets typically jump in 5 lb or 10 lb increments, micro-loading is impossible without specialized tools. Pro Tip: Purchase magnetic micro-weights (like PlateMates) that stick to the flat hex ends of the dumbbells, allowing for 1.25 lb or 2.5 lb jumps.
Finally, proper storage extends the life of your gear. Never leave neoprene dumbbells in direct sunlight or near HVAC vents, as UV exposure and extreme heat fluctuations will cause the synthetic rubber to dry out, crack, and peel away from the cast-iron core. Invest in a 3-tier A-frame dumbbell rack, keeping the heaviest weights on the bottom tier to lower the center of gravity and prevent tipping hazards in your home gym space.
More gear to consider
All reviews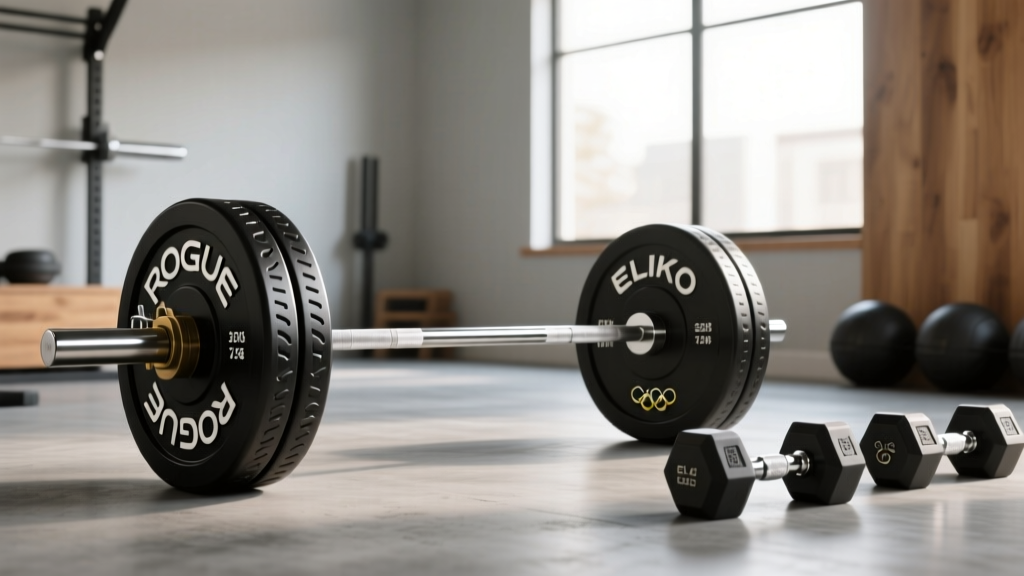
Barbell Knurling & Forearm Workouts with Dumbbells: Rogue vs Eleiko

Adjustable Dumbbell Comparison: Dumbbell Jack Mistakes & Fixes
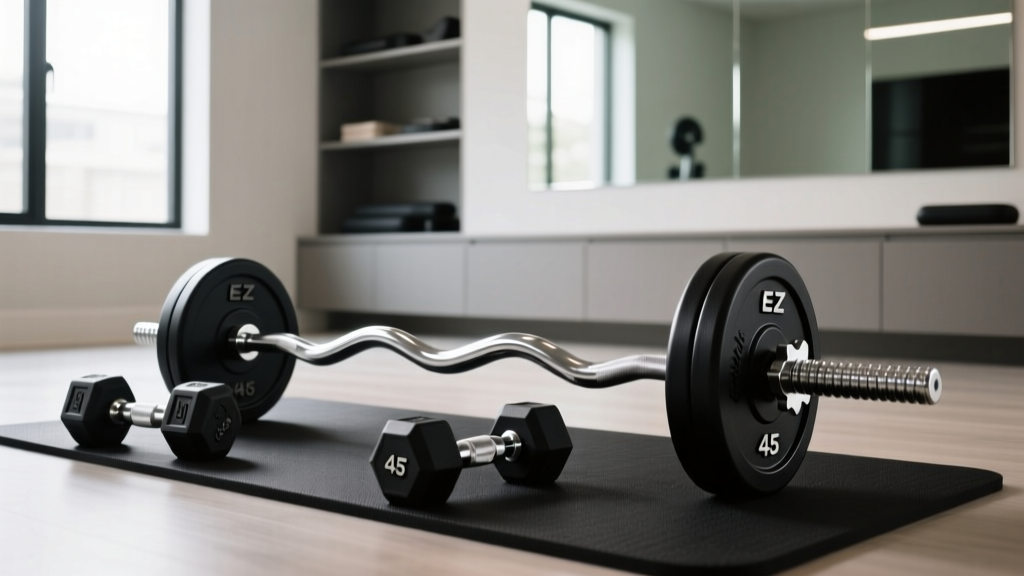
EZ Curl Bar vs Straight Bar: Beyond the Dumbbell Shrugs GIF

Swap Standing Rows with Dumbbells: Kettlebell Buying & Care Guide

EZ Curl vs Straight Bar Care: Longevity & Dumbbell Routine Tips
