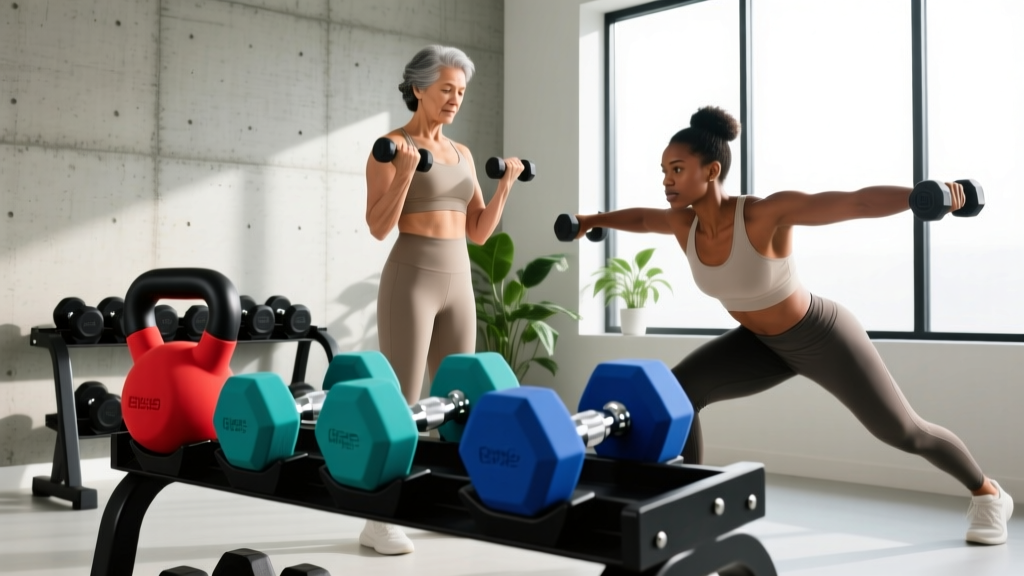
Home Setup: Arm Workout Routine With Dumbbells & Neoprene Gear
Build the perfect home gym station. Learn how to set up neoprene dumbbells and execute an effective arm workout routine with dumbbells for maximum growth.

The Foundation: Selecting Neoprene Dumbbells for Home Use
Setting up a dedicated home training space requires more than just buying weights and dropping them on the floor. When your primary goal is executing a high-volume arm workout routine with dumbbells, the equipment you choose dictates your biomechanical efficiency and space flow. Neoprene-coated dumbbells remain a top choice for home setups in 2026 due to their tactile grip, floor-friendly hex design, and aesthetic versatility. Unlike bare cast iron or chalk-heavy urethane, neoprene offers a slightly softer durometer (typically 3-5mm thick) that protects hardwood floors and reduces noise during drop-sets.
Expert Insight: The Grip Thickness FactorBe aware that the neoprene coating process often adds 2-3mm to the handle diameter compared to bare steel. While this improves comfort for pressing movements, it can accelerate forearm fatigue during high-rep isolation exercises like hammer curls. If your arm workout routine with dumbbells heavily features brachioradialis work, consider keeping a block of gymnastics chalk nearby or selecting brands like Yes4All that maintain a slimmer, knurled inner core beneath the coating.
As of early 2026, pricing for premium neoprene sets has stabilized. You can expect to pay between $1.60 and $2.20 per pound. A comprehensive 5-to-25 lb pair set (ideal for isolated arm hypertrophy) will cost roughly $190 to $240. Brands like BalanceFrom and Amazon Basics dominate this tier, offering reliable hexagonal molds that prevent rolling—a critical safety feature when transitioning between bicep and tricep supersets.
Space Preparation and Storage Rack Installation
A proper installation walkthrough ensures your workout environment supports seamless transitions between exercises. An effective arm routine requires minimal rest between supersets, meaning your weights must be staged ergonomically.
Step-by-Step Rack and Floor Setup
- Floor Protection (The Base Layer): Lay down 3/4-inch (19mm) thick vulcanized rubber horse stall mats. Cut them to fit a 6x4 foot footprint. This thickness is mandatory to absorb the acoustic shock of dropping 25 lb neoprene dumbbells, which can still crack subflooring or tile over time.
- Rack Selection: For a dedicated arm and accessory station, a 3-Tier A-Frame Dumbbell Rack (such as the Marcy or CAP Barbell models, priced around $75-$95) is optimal. A-frames offer a smaller footprint than flat benches and keep weights at eye and waist level.
- Assembly and Torque: When assembling the rack, use the provided M8x40mm hex bolts. Crucial step: Do not fully tighten the bolts until all crossbars are seated. Once aligned, apply 25 Nm of torque. If your rack lacks rubber saddle padding on the tiers, apply 2-inch wide grip tape or stick-on EVA foam strips to prevent the neoprene coating from tearing against bare metal edges.
- Weight Staging Logic: Organize your neoprene dumbbells by weight increments, placing the 5-10 lb pairs on the top tier (for high-rep tricep kickbacks and lateral raises), the 12-18 lb pairs in the middle (for standard bicep curls), and the 20-25 lb pairs on the bottom tier (for heavy hammer curls and overhead extensions).
Designing Your Arm Workout Routine With Dumbbells
With your station installed, we can program the actual training protocol. According to the National Institutes of Health (NIH), maximizing muscle hypertrophy requires a dose-response approach to weekly volume, ideally targeting 10-20 working sets per muscle group per week. Because the arms are smaller muscle groups that recover relatively quickly, they can withstand higher frequency and metabolic stress techniques.
The following matrix is designed specifically for a neoprene dumbbell setup, utilizing a 3-1-2-0 tempo (3 seconds eccentric, 1 second pause, 2 seconds concentric, 0 seconds rest at the top) to maximize time-under-tension without needing excessively heavy loads.
| Exercise | Target Muscle | Sets x Reps | Tempo | Rest |
|---|---|---|---|---|
| Incline Supinating Curl | Biceps Brachii (Long Head) | 3 x 10-12 | 3-1-2-0 | 60s |
| Cross-Body Hammer Curl | Brachialis / Brachioradialis | 3 x 12-15 | 2-0-1-0 | 45s |
| Overhead Rope-Style Extension | Triceps (Long Head) | 4 x 12-15 | 3-1-2-0 | 60s |
| Pronated Kickbacks | Triceps (Lateral/Medial) | 3 x 15-20 | 1-1-1-0 | 45s |
| Zottman Curl Drop-Set | Full Arm Complex | 2 x Failure | Continuous | 90s |
Execution Notes for Neoprene Gear
When performing the Cross-Body Hammer Curl, the hex shape of the neoprene dumbbell allows you to rest the weight against your thigh at the bottom of the movement without it rolling away. For the Overhead Extension, grip the inner hex plates of a single heavier dumbbell rather than the handle to reduce wrist strain and bypass the thicker neoprene grip diameter.
Progressive Overload and Neoprene Limitations
The Mayo Clinic emphasizes that progressive overload is the non-negotiable driver of muscular adaptation. However, neoprene dumbbell sets typically cap out at 25 or 30 lbs per hand. For advanced lifters, this weight ceiling will eventually become a limiting factor for bicep strength.
"Once you can comfortably execute 3 sets of 15 reps with strict 3-second eccentrics using your heaviest neoprene dumbbells, you have maximized the mechanical tension potential of that specific tool. At this juncture, you must transition to adjustable steel dumbbells or urethane hex sets to continue forcing hypertrophy."
Until you hit that ceiling, you can force progressive overload through metabolic stress. Implement rest-pause sets or 1.5-rep styles (going all the way up, halfway down, back up, then all the way down) to increase time-under-tension without requiring heavier physical weights.
Maintenance and Edge Cases
Neoprene is highly durable, but it is not impervious to environmental factors. To ensure your home setup lasts for years, adhere to these maintenance protocols:
- Sweat Degradation: Neoprene can absorb acidic sweat over time, leading to a chalky, degrading surface. Wipe down the handles with a damp microfiber cloth and a mild, non-bleach antibacterial spray after every session.
- UV Exposure: Do not stage your dumbbell rack in direct sunlight. Prolonged UV exposure will cause the neoprene coating to fade, dry out, and eventually flake off, exposing the cast iron core to oxidation.
- Handle Rusting: If the neoprene coating chips near the collar (where the handle meets the weight head), moisture can seep into the bare metal. Inspect the collars quarterly and apply a light coat of 3-IN-ONE oil or WD-40 Specialist Corrosion Inhibitor if you spot any micro-rust.
By meticulously installing your storage station and respecting the biomechanical nuances of your equipment, your arm workout routine with dumbbells will transform from a casual living-room activity into a highly structured, hypertrophy-driven protocol.
More gear to consider
All reviews
Around The World Dumbbells: 2026 Loadable Plate Market Analysis

Best Heavy-Duty Dumbbell Racks & Row Form GIF Guide
Olympic Barbell Knurling: Weight, Grip & Incline Dumbbell Curl Angle
Dumbbell Workouts for Belly Fat: 2026 Adjustable Gear & Mistakes
Space-Saving Loadable Dumbbells for Dumbbell Circuit Training
