
Major Fitness All In One Home Gym Smith Machine SML07 Outdoor Setup
Learn how to safely install the Major Fitness All In One Home Gym Smith Machine SML07 outdoors with our complete weatherproofing and setup walkthrough.

The Reality of Installing the Major Fitness All In One Home Gym Smith Machine SML07 Outdoors
As outdoor and semi-outdoor training spaces surge in popularity through 2026, many lifters are looking to move their heavy iron into the fresh air. However, taking a complex, multi-functional rig like the Major Fitness All-In-One Home Gym Smith Machine SML07 outside introduces severe environmental variables. Retailing between $1,299 and $1,499, the SML07 is a powerhouse featuring 2x3-inch 11-gauge steel uprights, a linear-bearing Smith bar, and a dual weight-stack functional trainer. But it is engineered for climate-controlled indoor environments.
If you place this machine in a fully exposed outdoor setting, UV radiation will degrade the nylon pulley coatings within six months, and ambient humidity will cause internal upright rust that weeps through the bolt holes. As a senior installation specialist, I strongly advise against fully exposed setups. Instead, this complete setup and installation walkthrough focuses on the semi-outdoor or covered patio environment, detailing the exact chemical treatments, foundation requirements, and structural modifications required to keep your SML07 pristine and safe for years of heavy lifting.
Expert Warning: The 3-Wall Minimum RuleNever install the SML07 on an open deck or uncovered patio. To maintain the manufacturer warranty and prevent catastrophic cable failure, your outdoor setup must have a solid roof and at least two to three enclosed walls to block driving rain and direct, prolonged UV exposure.
Phase 1: Foundation and Flooring for Exterior Environments
Outdoor foundations must handle not just the 800+ pound footprint of the machine and your loaded plates, but also water runoff and temperature-induced concrete shifting. According to the American Concrete Institute, exterior slabs require specific PSI ratings and drainage slopes to prevent water pooling beneath heavy equipment.
Concrete Pad Specifications
- Thickness & Strength: Minimum 4-inch thick poured concrete slab with a 3000 PSI compressive strength rating.
- Drainage Slope: The pad must be graded at a 1/4-inch per foot slope away from your home or primary structure to prevent hydrostatic pressure buildup under the machine.
- Finish: Broom finish for slip resistance when wet. Avoid smooth trowel finishes, which become ice rinks with sweat and humidity.
Sub-Flooring and Mats
Do not use standard interlocking EVA foam tiles outdoors; they will absorb moisture, harbor mold, and compress unevenly under the SML07's footprint. Instead, use 3/4-inch thick vulcanized horse stall mats (typically 4x6 feet). These are highly water-resistant and heavy enough to stay put. Leave a 1/2-inch expansion gap between the mats and any exterior walls to allow for thermal expansion during summer heatwaves.
Phase 2: Weatherproofing the SML07 Hardware
The most critical step in an outdoor-adjacent installation occurs before you even tighten the first bolt. You must proactively treat the machine's vulnerabilities. According to corrosion prevention data from Corrosionpedia, powder-coated steel is highly susceptible to micro-cracking and internal oxidation when exposed to fluctuating outdoor humidity.
| Component | Weather Threat | Mitigation Strategy |
|---|---|---|
| 2x3 Steel Uprights | Internal condensation causing hidden rust | Spray Fluid Film NAS inside tubes before capping |
| Smith Guide Rods | Surface pitting from airborne moisture | Coat with Boeshield T-9 or Marine White Lithium Grease |
| Nylon-Coated Cables | UV degradation leading to brittle snapping | Apply UV-resistant silicone spray monthly |
| Zinc-Plated Bolts | Galvanic corrosion and seizing | Swap to 304 Stainless Steel or coat with anti-seize |
Pro-Tip: Buy a can of Fluid Film NAS (lanolin-based) and spray it generously into the open ends of the uprights and crossmembers before you assemble them. This creates a self-healing, non-drying barrier that stops internal rust from ever forming, a common failure mode in garage and patio gyms.
Phase 3: Step-by-Step Installation Walkthrough
With your pad cured and your hardware treated, it is time to anchor and assemble the Major Fitness SML07. Follow these steps precisely to ensure structural integrity in an environment subject to temperature shifts.
Step 1: Anchoring to the Exterior Slab
The SML07 comes with standard wedge anchors, but for an outdoor concrete pad, you must upgrade to 3/8-inch x 3-inch Stainless Steel Wedge Anchors. Standard zinc-plated anchors will rust at the concrete line, expanding and cracking your slab over time. Drill 3/8-inch holes exactly 3.5 inches deep, blow out the concrete dust with a compressor (crucial for holding power), and torque the stainless anchors to 20 ft-lbs.
Step 2: Assembly and Cable Routing
Assemble the 2x3 uprights and Smith machine frame first. When routing the aircraft-grade steel cables through the functional trainer pulleys, ensure the cables do not rub against the powder-coated edges of the steel brackets. In humid environments, friction wears the nylon coating, exposing the steel core to rapid oxidation. Use a small file to smooth any sharp bracket edges before threading.
Step 3: Tensioning and Lubrication
Once assembled, tension the cables according to the Major Fitness official manual. After tensioning, apply a light coat of marine-grade white lithium grease to the Smith machine's linear bearings and guide rods. Standard garage lithium grease will wash away in high humidity; marine grease is formulated to adhere to metal and repel moisture.
Installation Checklist Summary:1. Slab sloped at 1/4-inch per foot.
2. Uprights treated internally with Fluid Film.
3. Upgraded to stainless steel wedge anchors.
4. Sharp cable bracket edges filed smooth.
5. Smith rods coated in marine-grade grease.
Phase 4: Ongoing Outdoor Maintenance Schedule
An outdoor or semi-outdoor gym requires a stricter maintenance cadence than an indoor basement setup. To protect your investment and ensure the 1000-pound capacity of the Smith bar remains safe, adhere to this schedule:
- Weekly: Wipe down the Smith guide rods and functional trainer selector pins with a dry microfiber cloth to remove ambient moisture and sweat.
- Monthly: Inspect the functional trainer cables for micro-cracks in the nylon sheathing. Apply a UV-blocking silicone protectant to the cables and pulleys.
- Bi-Annually (Spring/Fall): Check the torque on all structural bolts. Temperature fluctuations cause steel to expand and contract, which can loosen hardware over a 6-month period. Re-torque to factory specifications and re-apply anti-seize lubricant to the threads.
By respecting the environmental realities of an exterior setup and executing this meticulous installation walkthrough, your Major Fitness All-In-One Home Gym Smith Machine SML07 will deliver safe, heavy-duty performance for years, regardless of the weather outside.
More gear to consider
All reviews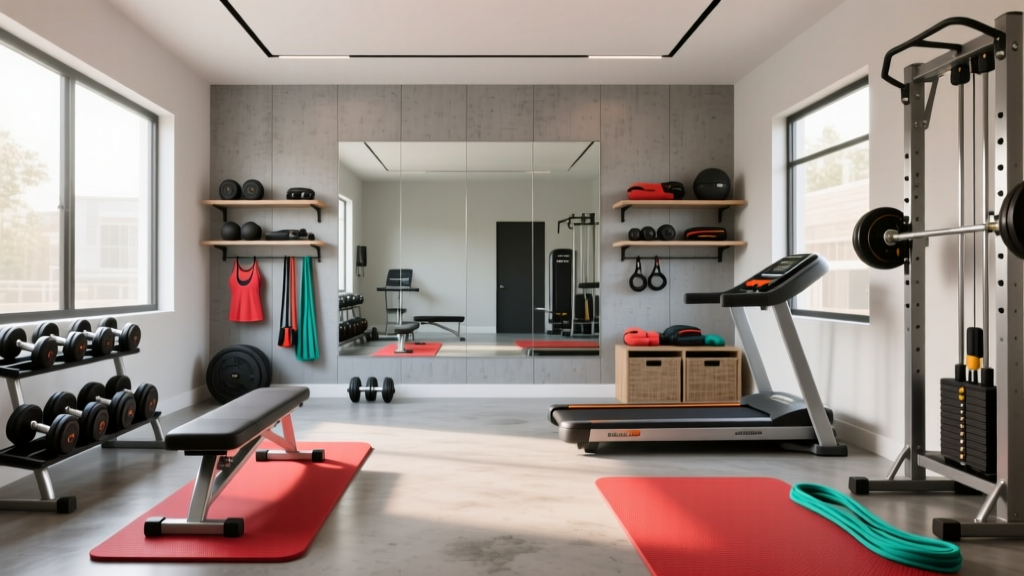
Top Home Gym Tips and Hacks for Budget Renovations
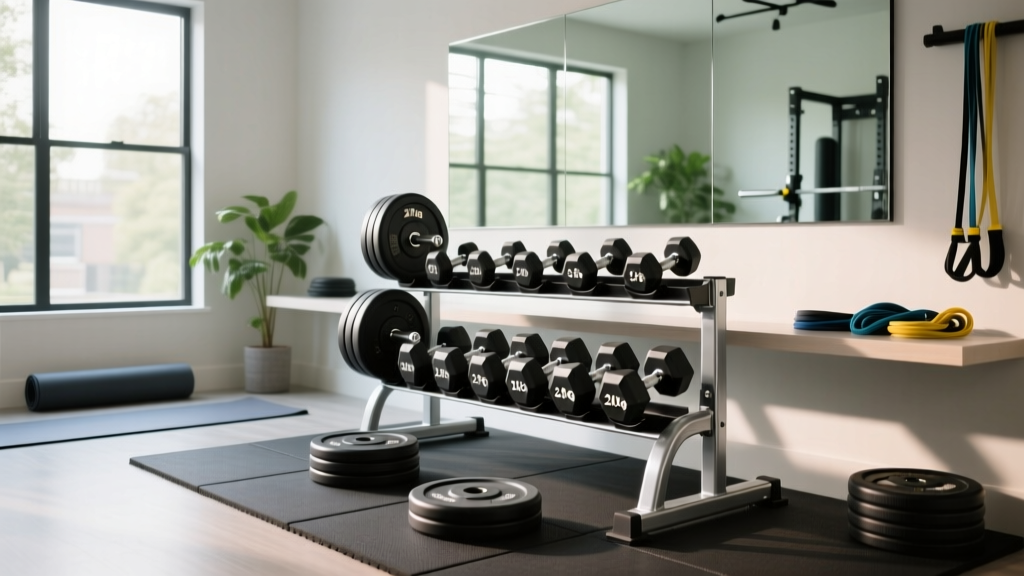
Building a Home Gym: How Much Weight You Actually Need
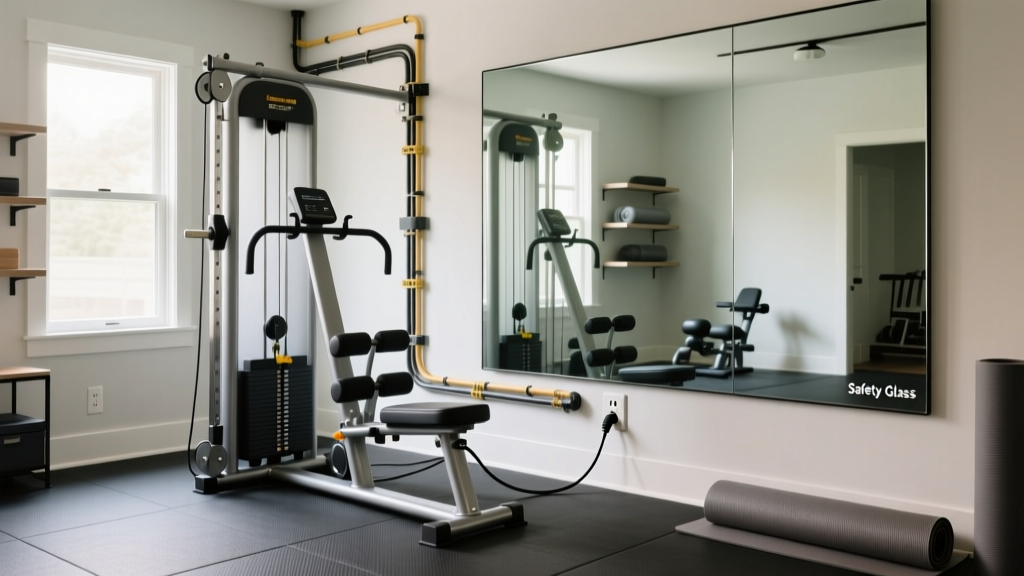
Troubleshooting Electrical Safety and Mirrors for a Home Gym Setup

How Much Weight You Need: Iron vs MaxPro SmartConnect Home Gym Review

Equipment for Home Gym: The Ultimate Weight Selection Guide
